"Kids also love to sort the crayons into the little pockets which also helps with tidying up."
This simple crayon roll not only looks super cute but is functional as well. They keep crayons from getting broken too quickly and keep things organized. Kids also love to sort the crayons into the little pockets which also helps with tidying up. Use up some scrap fabric to create a custom crayon roll for a little one in your life! Our finished dimensions ended up being 12 x 25 cm (4.5” x 10”) but you can customize it to be as long as you need it to be and hold as many crayons as you wish.
You will need:
- Fabric – we used one for the lining and a different one for the outside and the pockets.
- Thread in a matching color
- Elastic
- Interfacing – we used S320, a lightweight non-woven interfacing. Another alternative would be Pellon Craft Fuse.
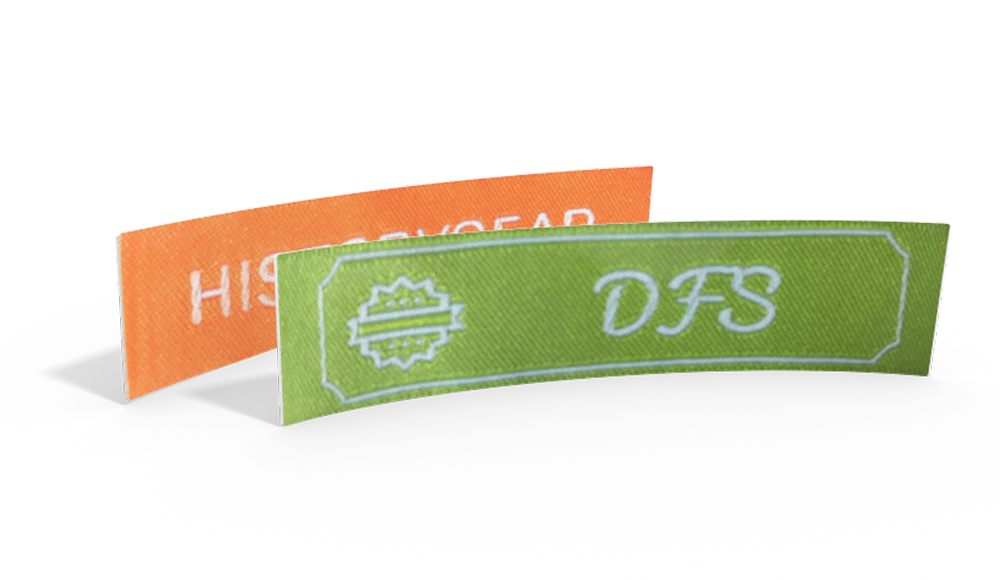
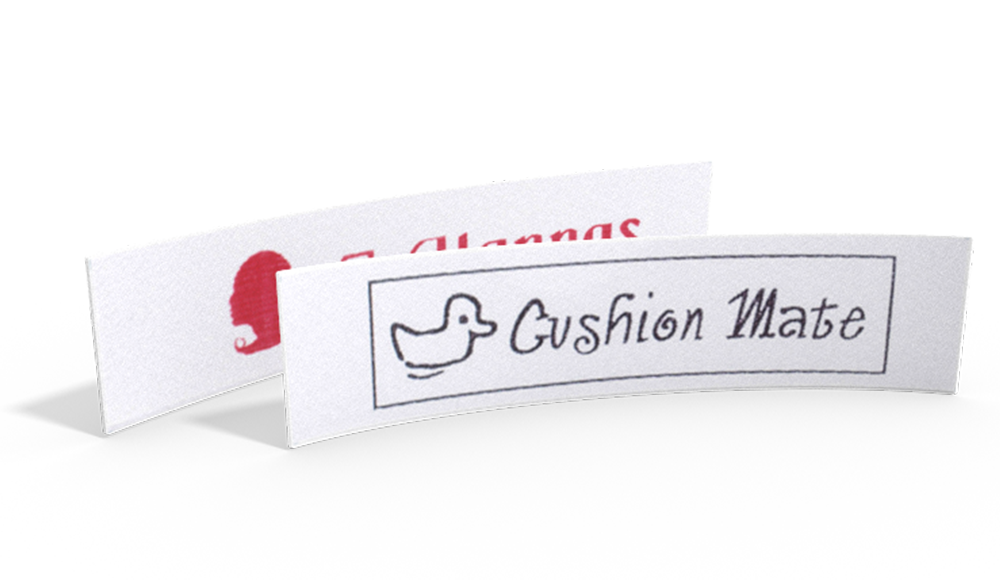
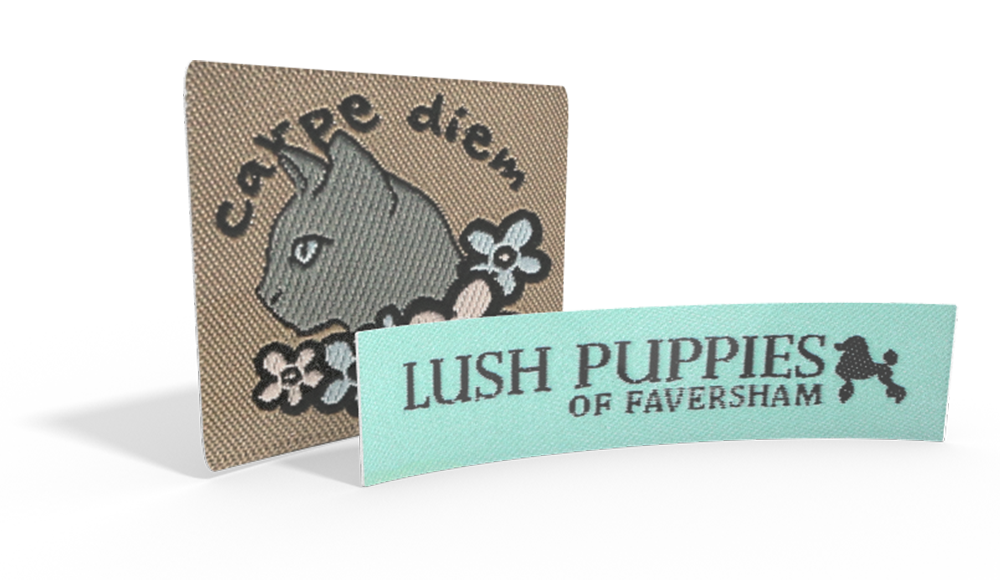
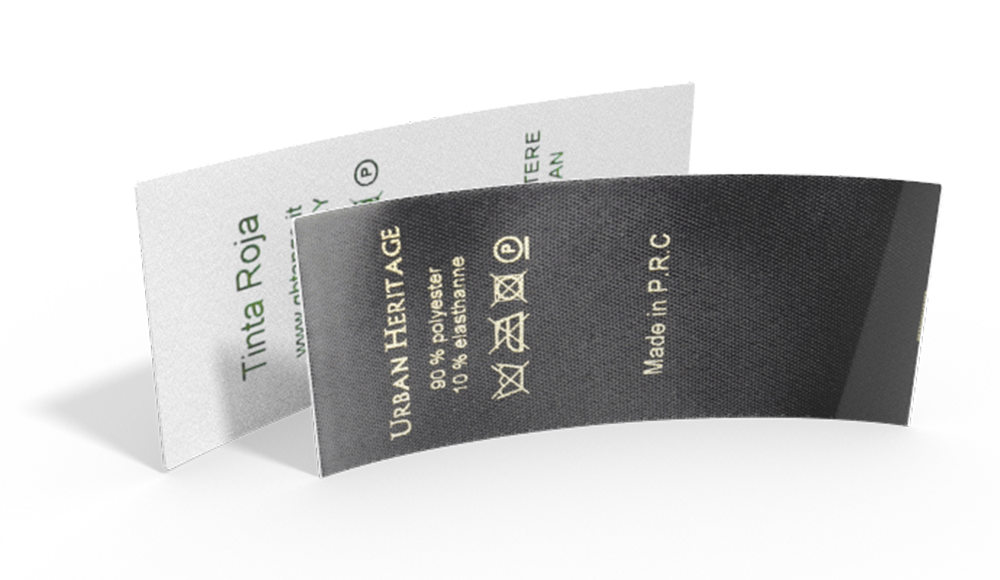
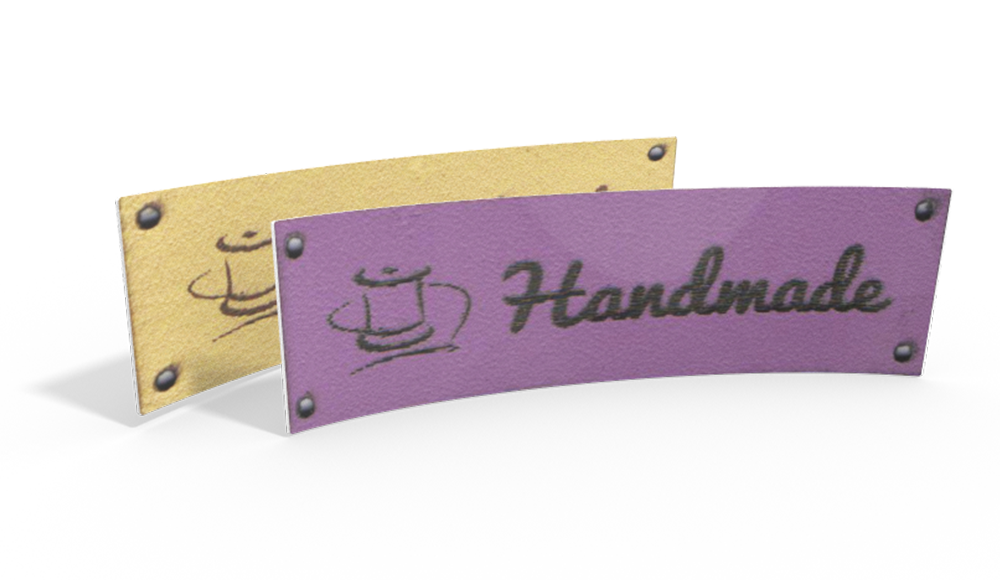
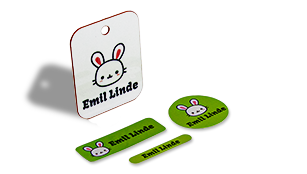
- your own uniqe Iron on Clothing Label
Cut your fabric – you will need two pieces measuring 14 x 27cm (5.5” x 11”) for the inside and lining of the crayon roll, and one piece measuring 16 x 27cm (6” x 11”) to form the pocket. You will also need a piece of interfacing measuring 14 x 27cm (5.5 x 11”). Iron the interfacing to the wrong side of your lining piece, following the manufacturer’s instructions. Fold your pocket piece in half lengthways, wrong sides together, and press the fold neatly and topstitch close to the edge.

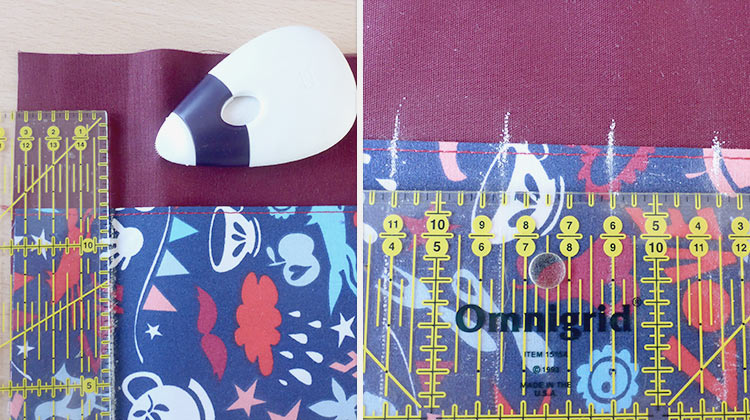
Place the pocket piece near the bottom of the lining piece, right sides together and raw edges lined up. Mark a line 3.5cm (1 ½”) from one short edge. Continue marking lines 2.5cm (1in) apart from each other all the way along the pocket – your last line should be 3.5cm (1 ½”) from the other short edge.
Iron the label on or sew it on.
If adding a label, sew it to the pocket piece (don’t sew through the lining!) 0.5cm (¼”) away from the line and 1cm (½”) down from the top of the pocket. Sew the pocket and the lining together along these lines. You can either backstitch at the top of the lines or do a narrow zigzag stitch to secure the top edge of the pocket. Cut a piece of elastic 18cm (7”) long and baste the ends to the lining piece on one of the short edges, just above the pocket. The elastic should be facing towards the lining piece with the raw edges aligned.

Pin or clip the outer piece and the lining piece with the pocket together, with the right sides facing each other. Sew around the edge, using a 1cm (½”) seam allowance and leaving a gap of about 8cm (3”) for turning on the bottom long edge. Don’t forget to backstitch before and after your turning gap.
Trim the corners of your crayon roll, being careful not to cut your stitches. This will help make the corners neat in the next step.

Turn the crayon roll the right way out and press carefully. Pin or clip your turning hole closed with the seam allowance folded inwards. Topstitch all the way around the crayon roll close to the edge. This will close your turning gap.

Finished!


