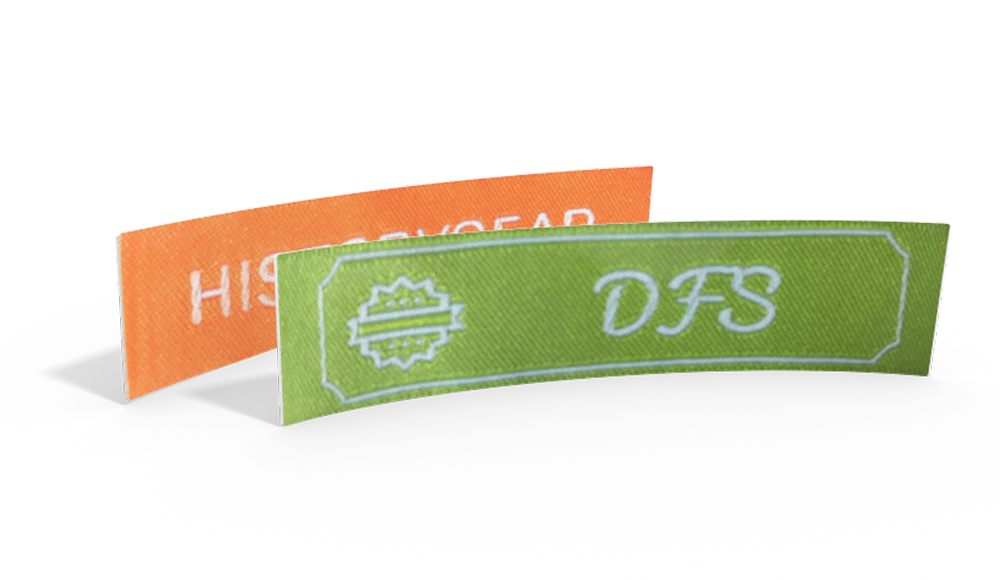
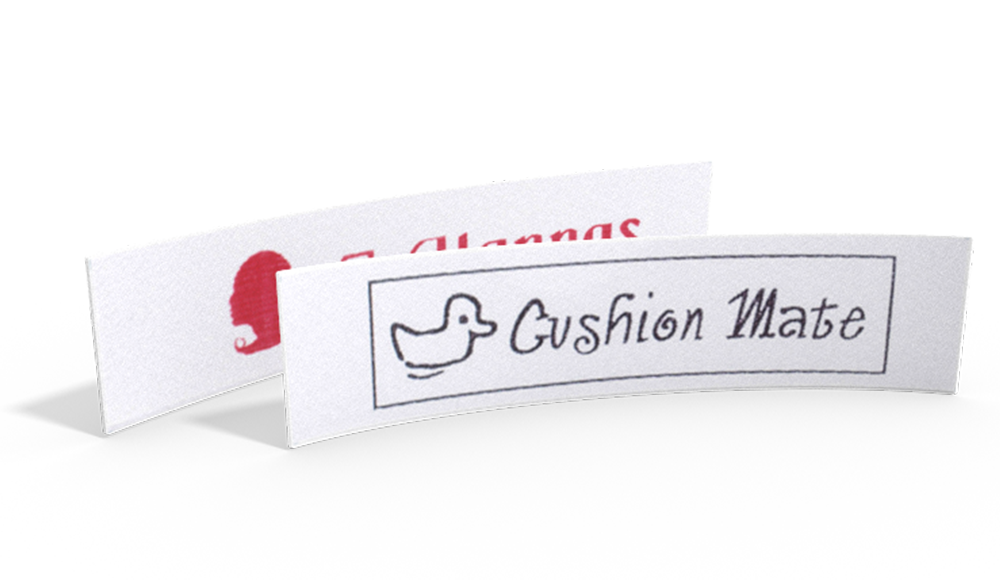
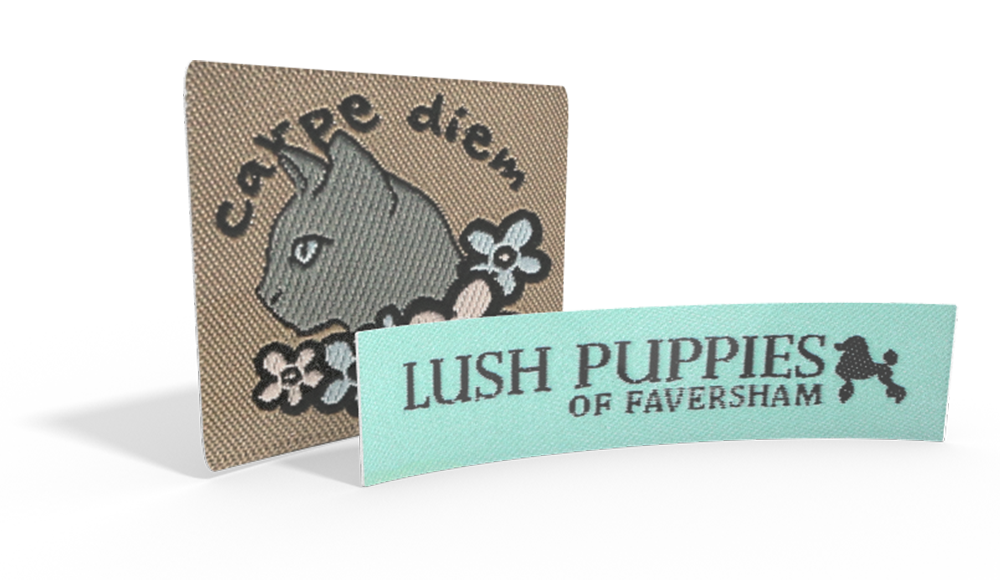
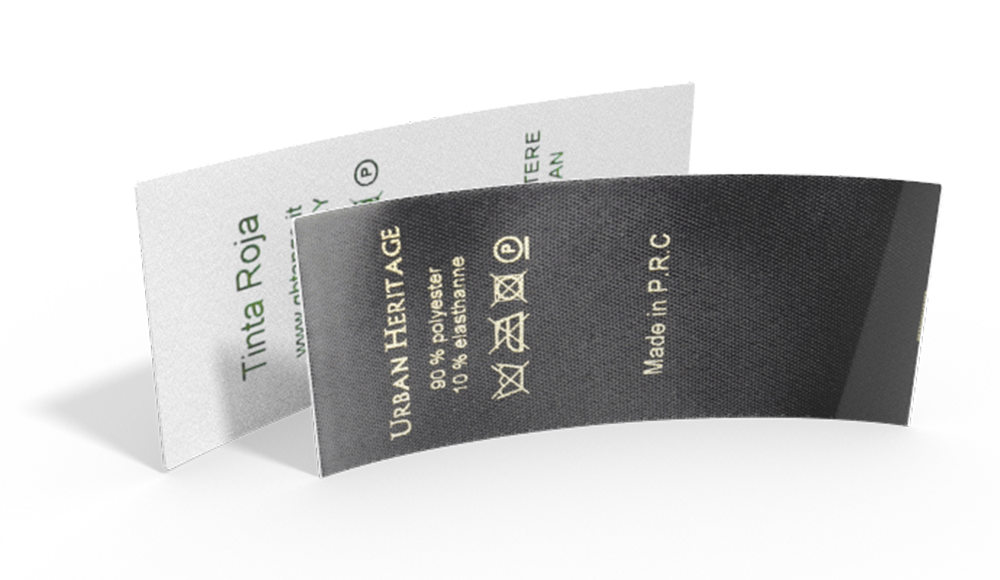
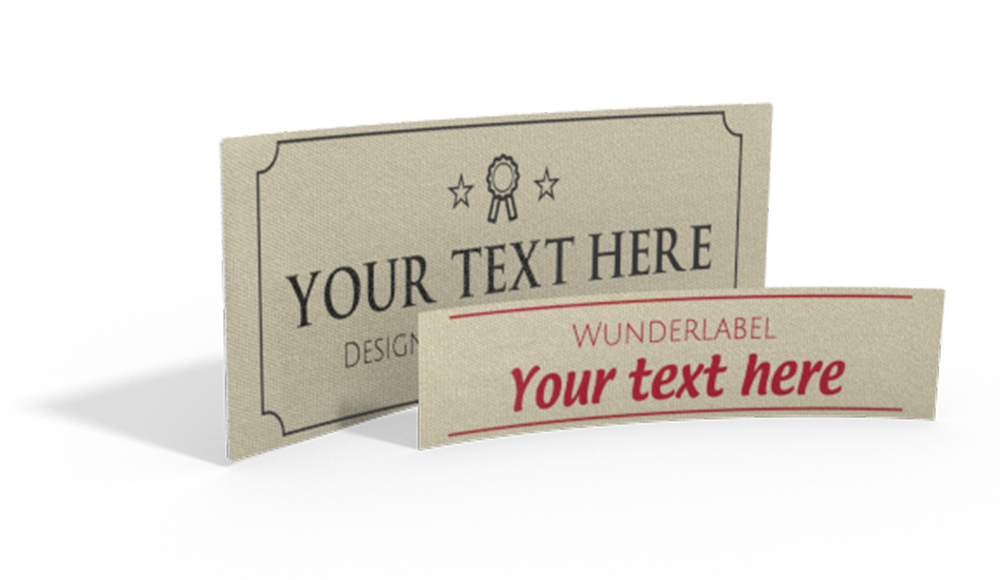
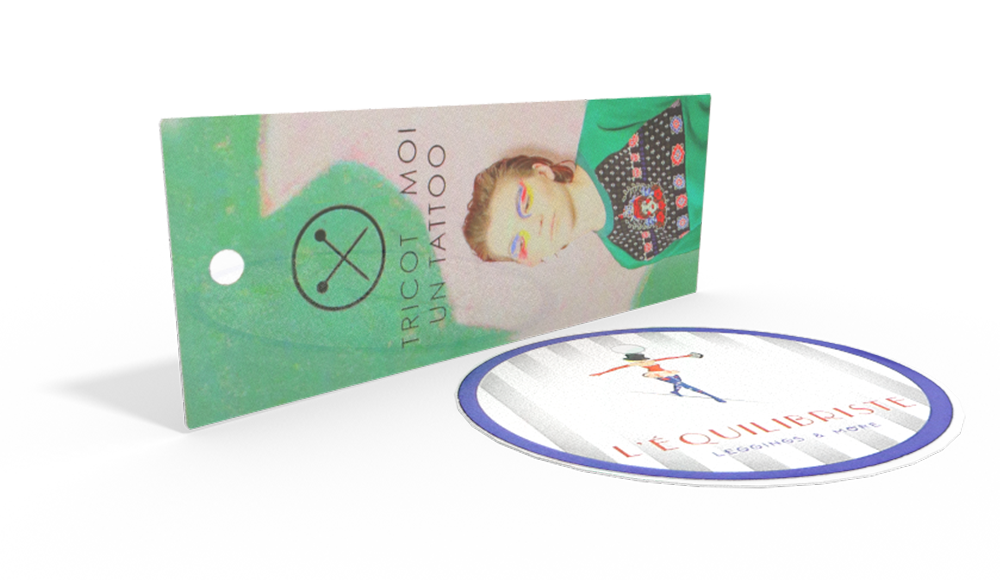
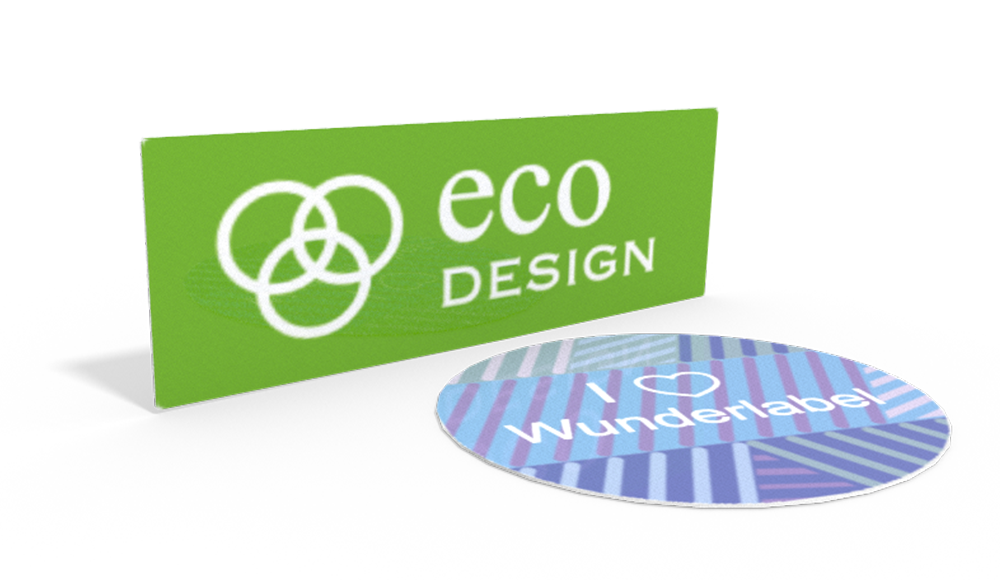
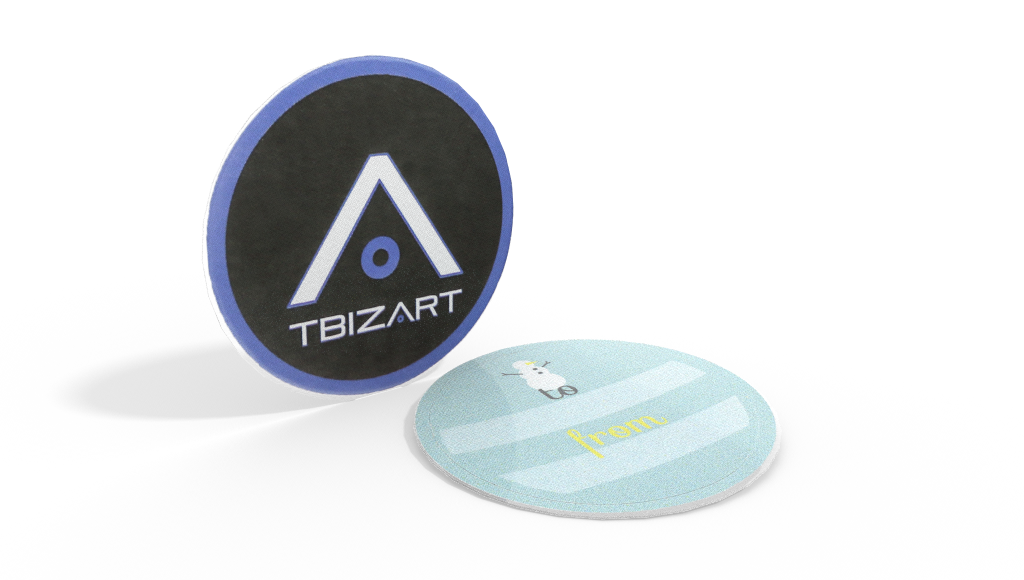
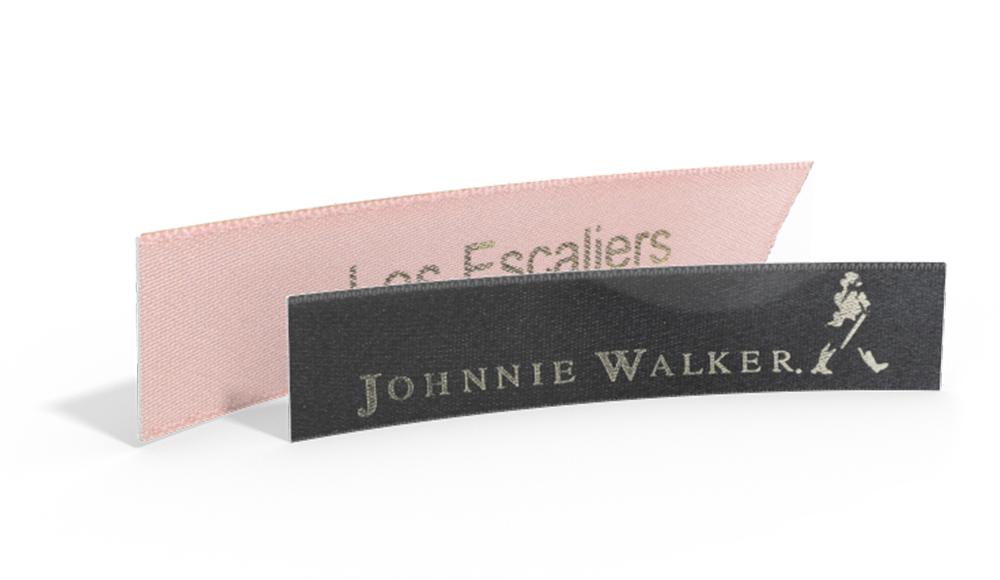
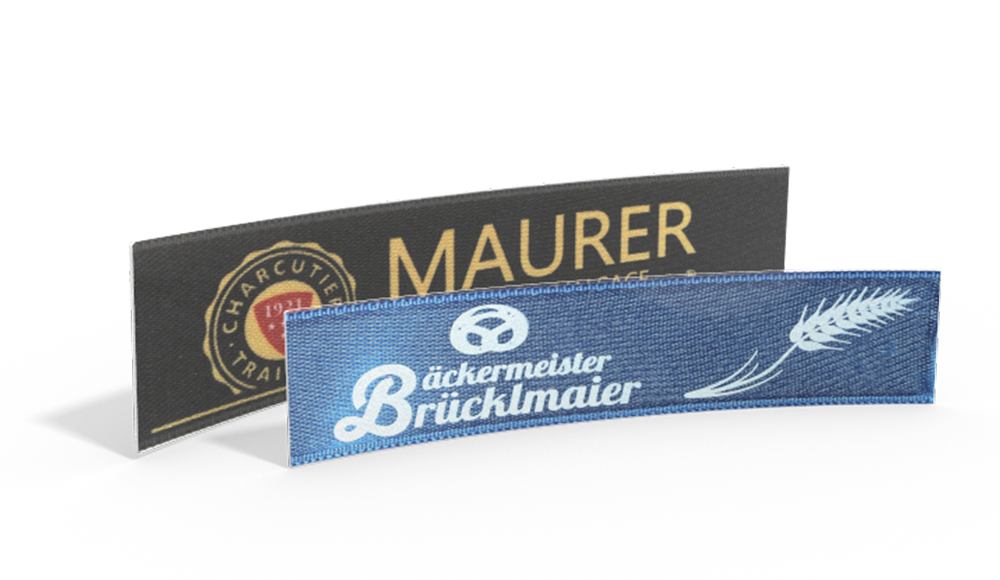
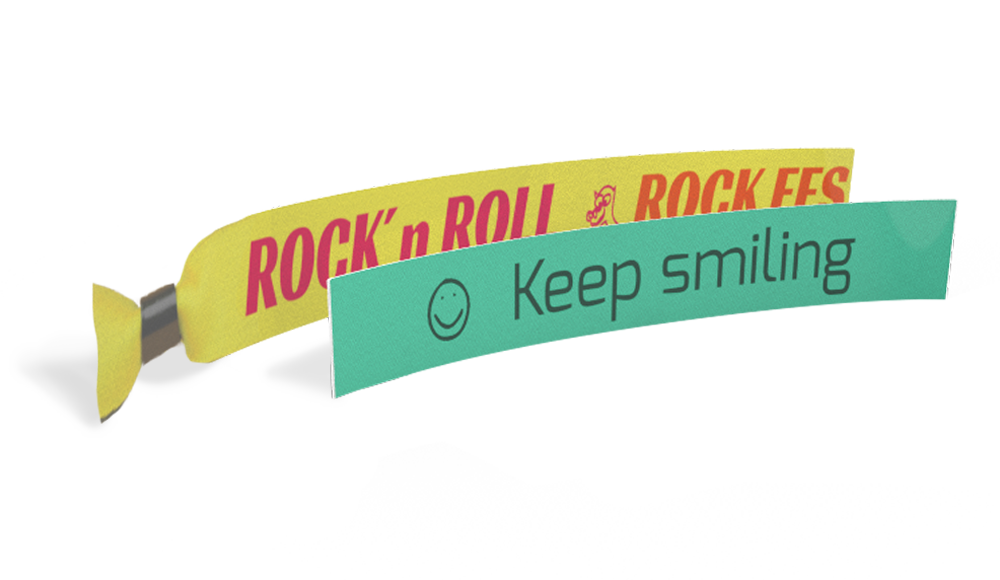
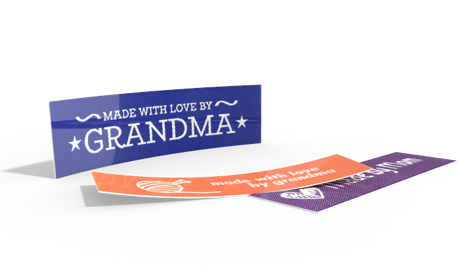
Our standard woven labels are a cinch to apply. They can be attached with a sewing machine in just a few minutes. Follow these simple steps to have your labels attached and looking fantastic in no time!
Position the label where you wish to have it attached.

Start at one corner. Using a straight stitch, slowly sew along the edge of the label.

When you reach the next corner, use a pivot stitch and continue sewing along the edge of the label. A pivot stitch is achieved by leaving the sewing machine needle down in the fabric, raising the presser foot, and turning the fabric 90 degrees.

Sew along the entire perimeter of the label.

Once you reach the end, do a quick backstitch to secure the thread. Trim the threads and you’re finished!

Of course, our woven labels can be stitch on by hand using a standard straight stitch as well.
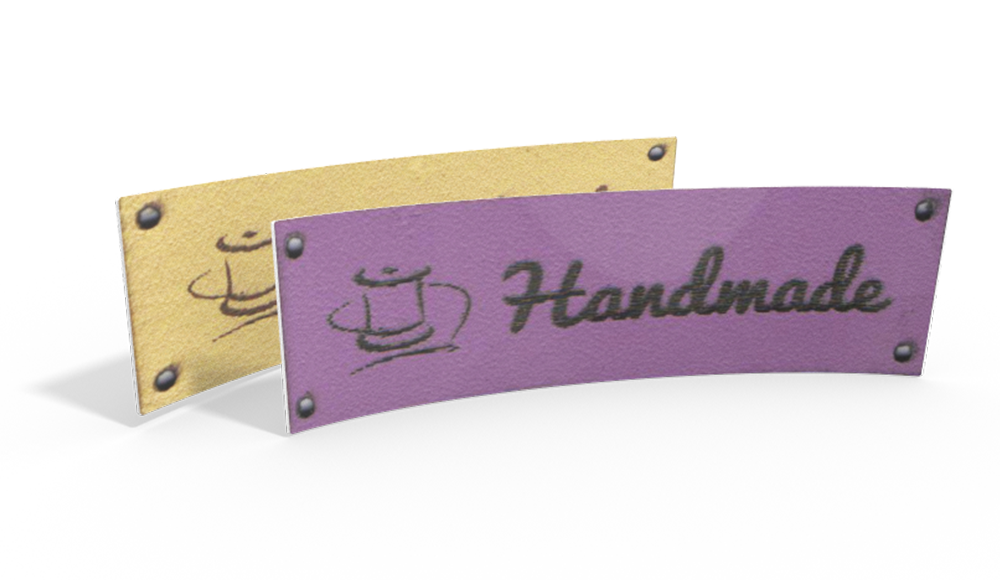
By the way, have you already seen our woven labels with texture?
This is how you can also attach woven labels to knit accessories, for example, to a knitted hat or sweater. By the way, have you discovered our post about decreasing stitches in a hat yet? If not, you should definitely take a look! It's packed with useful tips to ensure that your hat fits perfectly and looks professional. And for those looking to enhance their sewing skills, we recommend "Advanced Sewing Techniques You Need to Know" . This way, you can gain insider insights that will take your projects to the next level. Whether you're an experienced seamstress or a beginner, you'll find the necessary knowledge with us to make your creations shine.
