A sewn cake carrier or cake bag makes it so much easier to transport savoury and sweet dishes. Unlike a tupperware box, this bag can be folded and stowed away quickly and easily after eating and does not take up much space.
How often do you bake or cook something and then wonder how to take it to your friends', a picnic or a birthday without it falling apart?
It's simple: Just sew a cake carrier bag. Most bags are made of plastic, and we want to avoid that at all costs. Wunderlabel to the rescue! In this simple tutorial you will learn how to sew your very own personalized cake or cake bag.
The handles make it really easy to transport cakes, pies, quiches and so on. And in terms of design, anything is possible! The size of our sewn casserole bag is 37 x 37 cm.
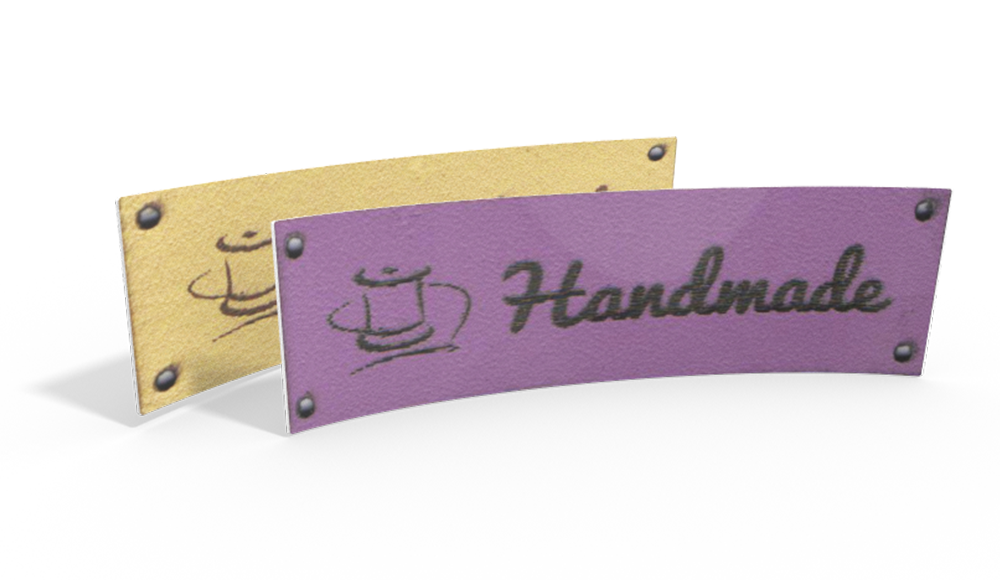
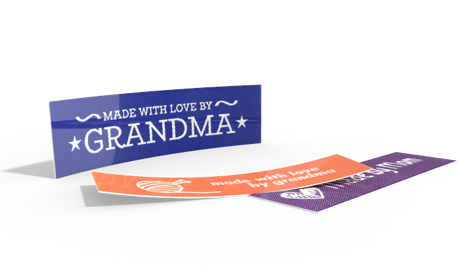
Tip: Don’t forget to add a name label with your name on it! This way your carrier bag will always find its way back to you!
This is what you need for the cake carrier:
- Fabric – for the exterior and the lining
- Vlies - when using cotton, your fabric needs some reinforcement, e.g. with Vlieseline G700. If you are using a stronger fabric (e.g. oilcloth), you don’t need the vlies.
- Sewing thread in matching color
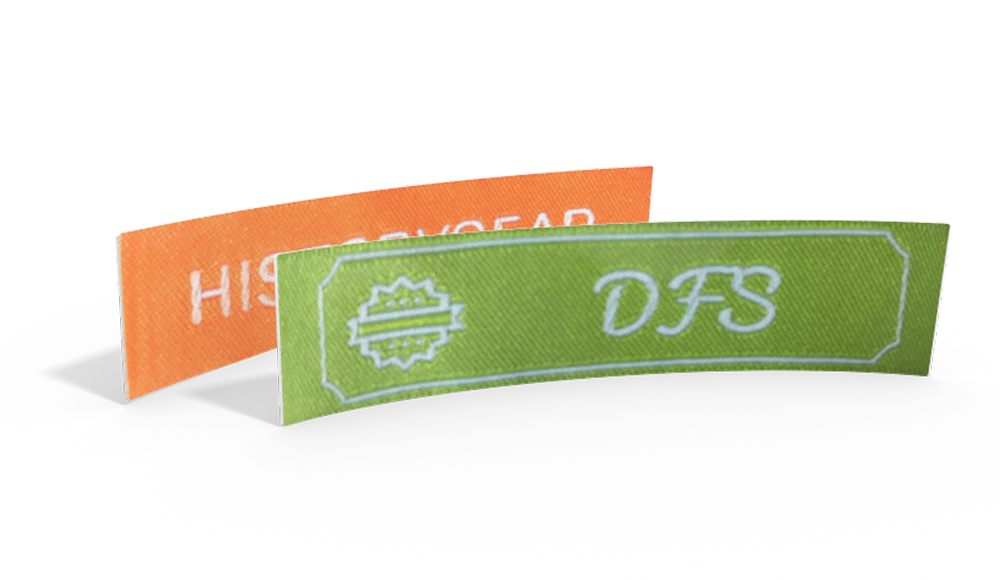
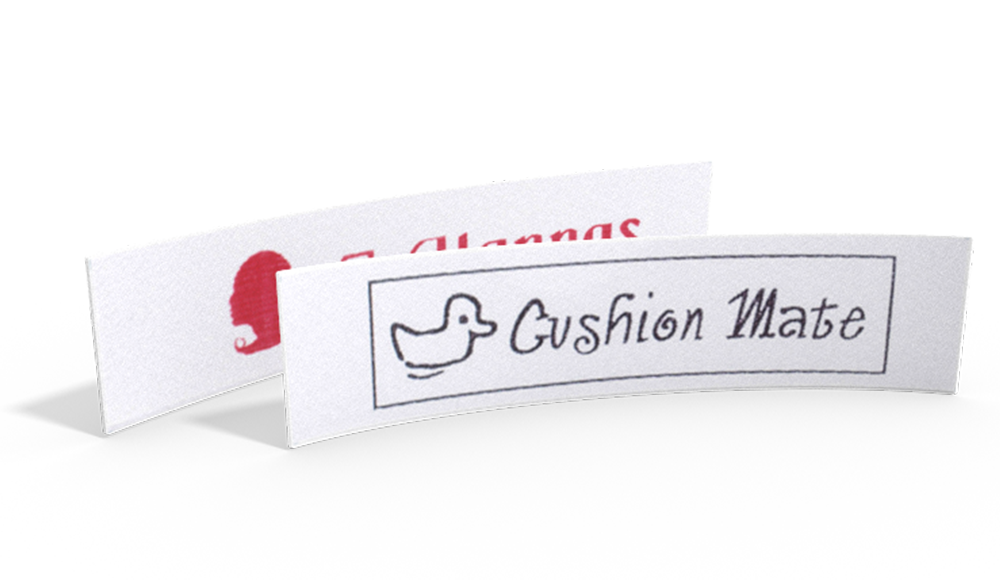
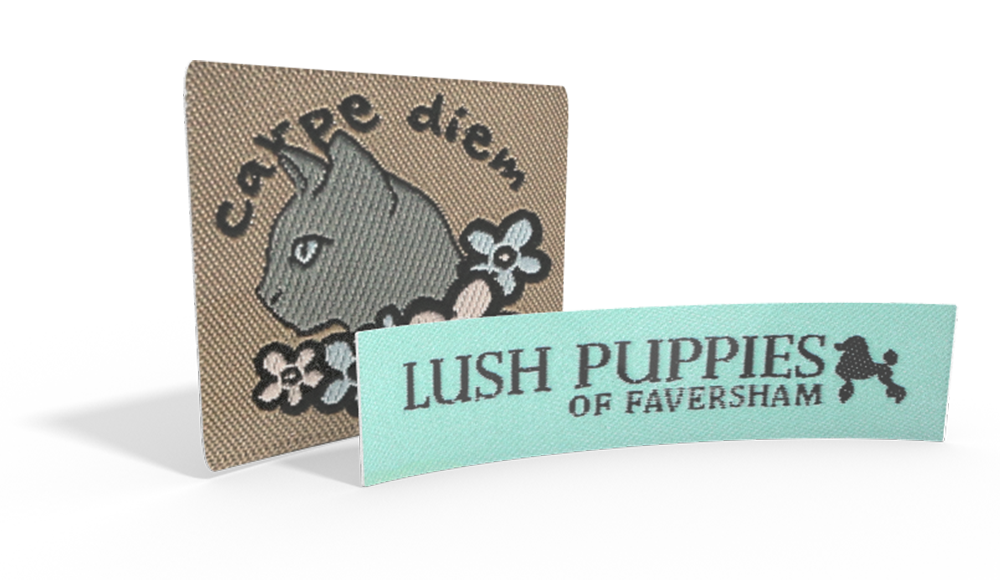
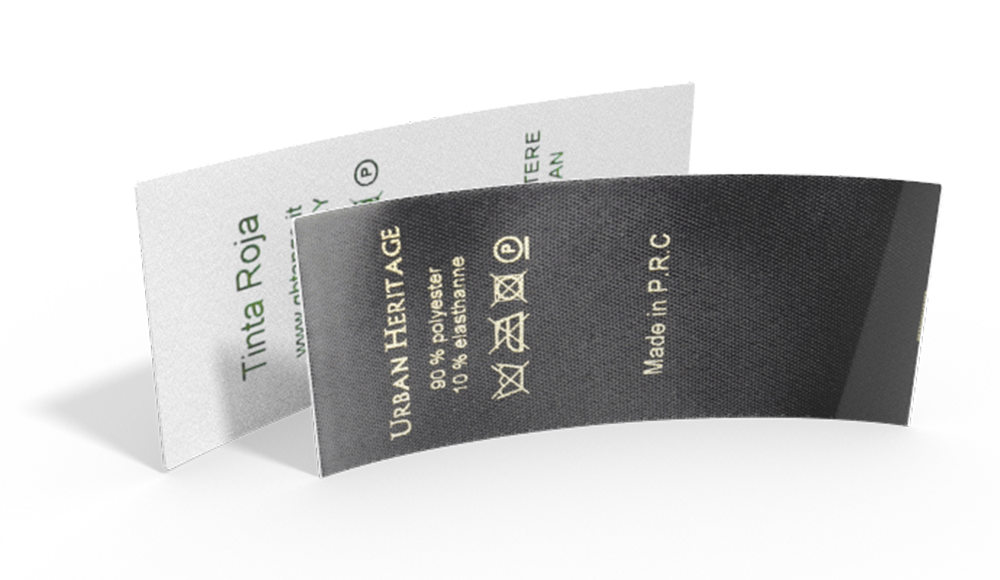
- A personalized woven iron-on label
Tutorial: How to Sew a Cake Carrier - DIY
First cut the fabric for the cake bag. You will need two 70 x 40 cm pieces (and possibly a piece of vlies in the same size) and two 30 x 8 cm pieces for the handles. If you use vlies, iron it onto the wrong side of your outer fabric according to the manufacturer's instructions.
Now you must prepare the handles for the cake carrier bag. Fold both handle parts wrong side to wrong side lengthwise into two and iron the fold. Unfold the handle, fold both edges towards the centre line and iron again. Now fold the handle in the middle one more time, so that the edges are on the inside, iron it one last time and sew the handle closed. Repeat this for the second handle.

Pin the handles to the short sides of the outer fabric of the cake bag - they should be 10 cm from each corner. Then sew them on several times with a seam allowance of less than 0.75 cm.

Now sew the two pieces of cloth right side to right side together all around. When sewing a cake carrier bag, the handles should be facing towards the middle of the fabric. Use a seam allowance of 0.75 cm. Don't forget to create a turn opening of about 10 cm on one of the long sides. Shorten the seam allowance at the corners to make them look tidier later on.


Now turn your cake carrier bag out through the turn opening. Use a pointed object to form the corners. Iron your bag, making sure that the seam allowance at the turn opening is ironed inwards.

Fold the short sides of the bag about 15 cm towards the middle and iron the whole thing smooth. The lining must be visible in the middle. Close the long sides tightly - this will also close the turn opening. To be safe, sew back and forth over the corners a few times.

And for the final touch: Complete your cake bag with your own iron-on name label!
All that's missing now is a delicious dish! That's how easy it is to sew a casserole or cake carrier bag!

We hope you enjoyed our simple tutorial Cake Carrier - DIY - Tutorial and we would love to see your new handmade cake bag!
Don't miss these blog posts from Wunderlabel:
Reusable Bowl Covers - Free Tutorial
Free Tutorial: How to Sew a Mug Rug
How to Make an Easy Wine Bottle Gift Bag
Do You want to save this idea for later?
Simply bookmark the link to this blog post or add it to your "Favorites" so that you can quickly find it in your browser later.
Here is how to save the tutorial:
- On your computer: Click on the asterisk or the three dots in the top right hand corner or on the book icon in the top left hand corner (depending on the browser you use).
- On your Android smartphone: Click on the three dots in the top right hand corner and then on the asterisk.
- On your iPhone: Click the book icon at the bottom and add the link to your bookmarks or book list.

