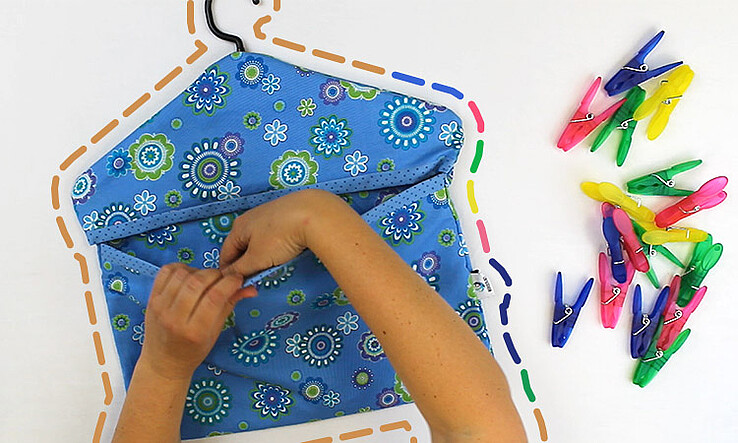
In this day and age, it is important to act in an environmentally conscious way and to conserve resources. One way to do this is to avoid disposable products and instead use reusable alternatives. One example is clothespins, which are often sold in plastic packaging. To store them in an eco-friendly way and keep them handy, you can just sew a pin bag with our clothespin bag pattern.
You can also use the bag as a storage bag for various small items in the bathroom, hallway, nursery and kitchen.
The practical clothespin holder is sewn from 100% cotton. A clothes hanger is used as a base, which also serves as a hook.
In this DIY tutorial you will learn how to sew your own clothespin bag.
You will need
- 2 main fabric pieces measuring 45 x 85 cm, 100% cotton
- 2 strips in contrasting color measuring 5 x 45 cm, 100% cotton
- A plastic clothes hanger
- Thread to match the fabric
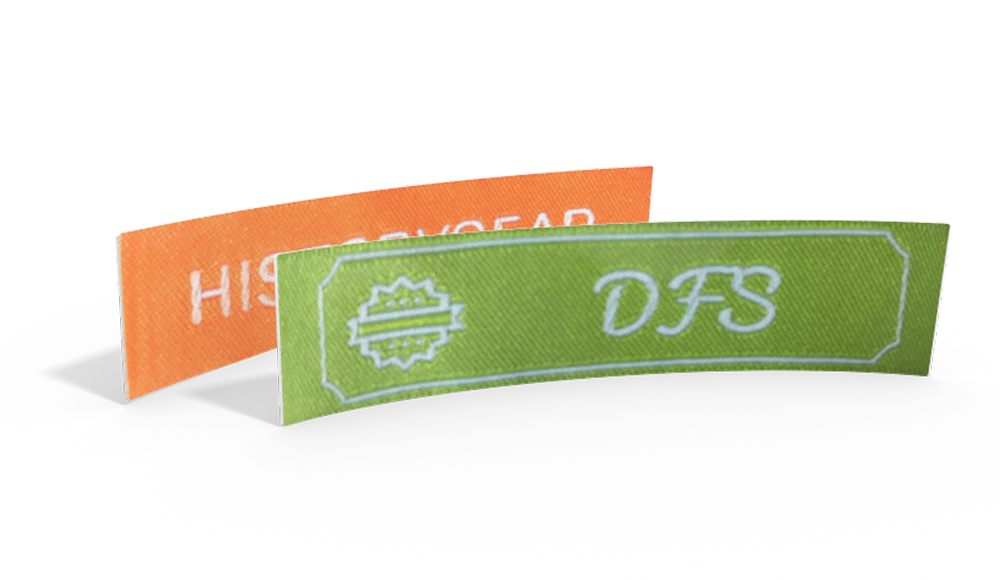
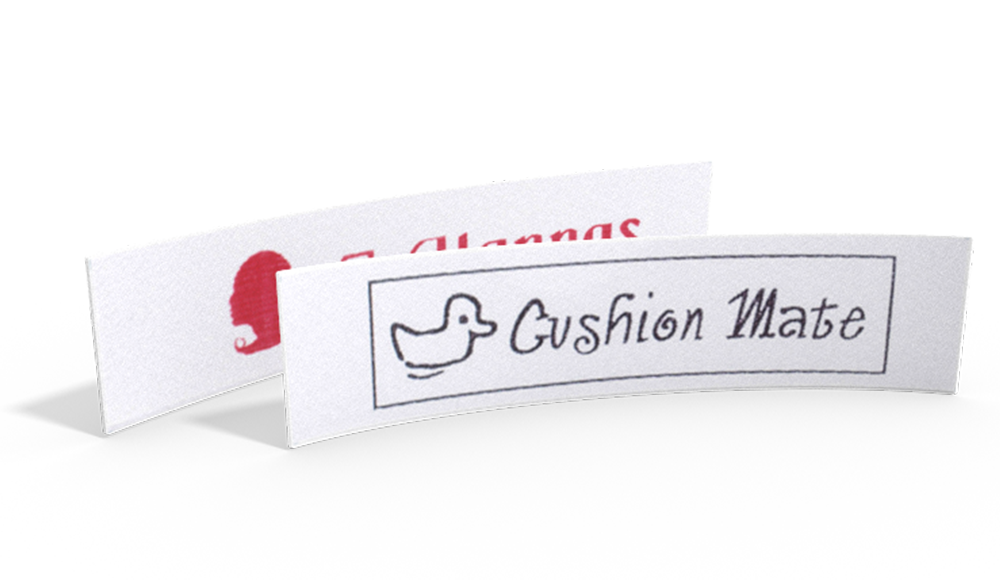
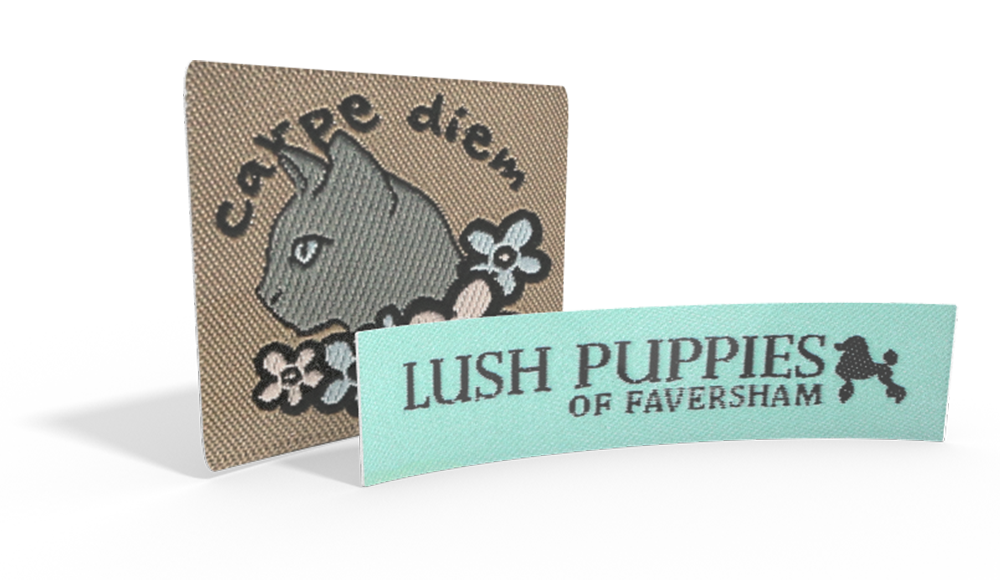
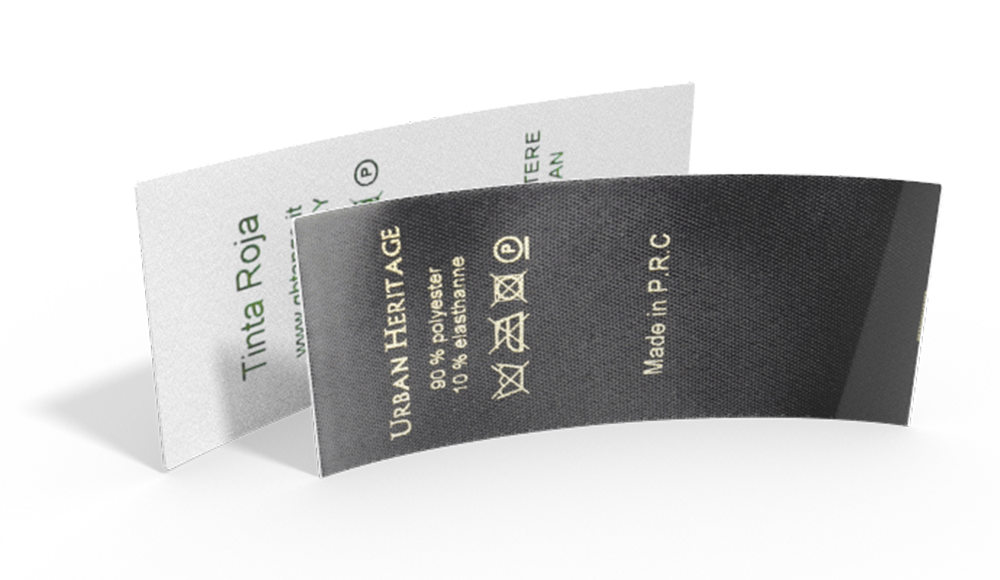
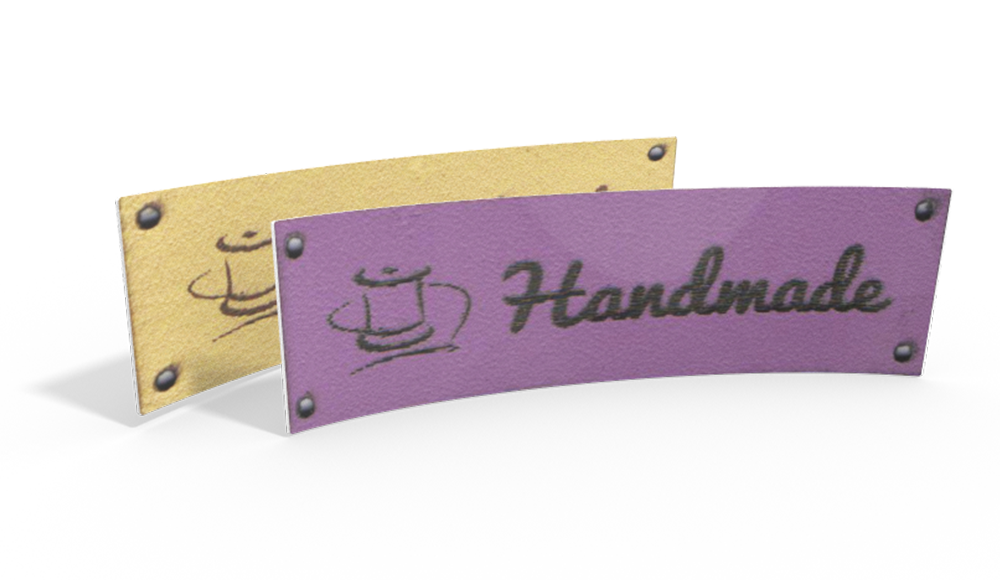
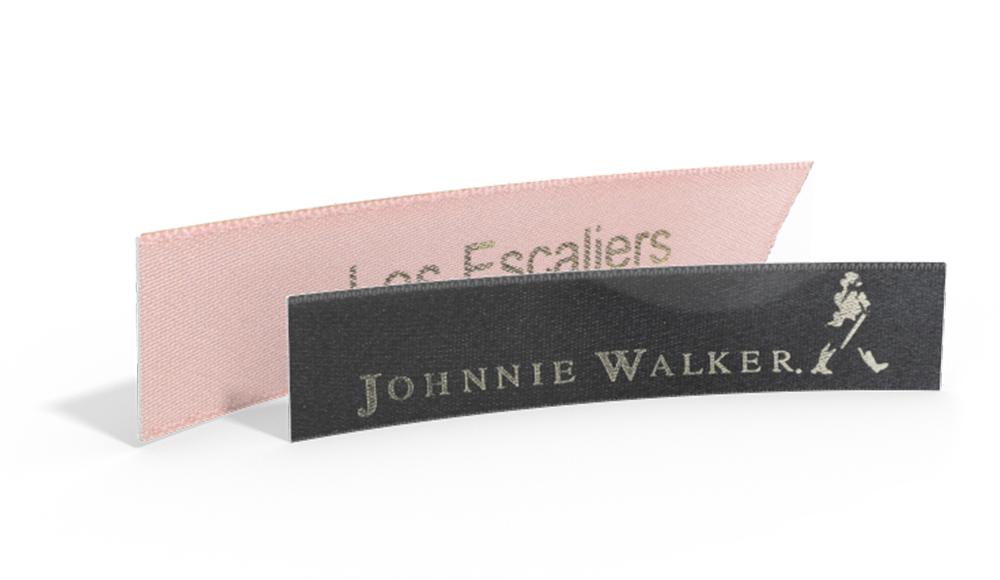
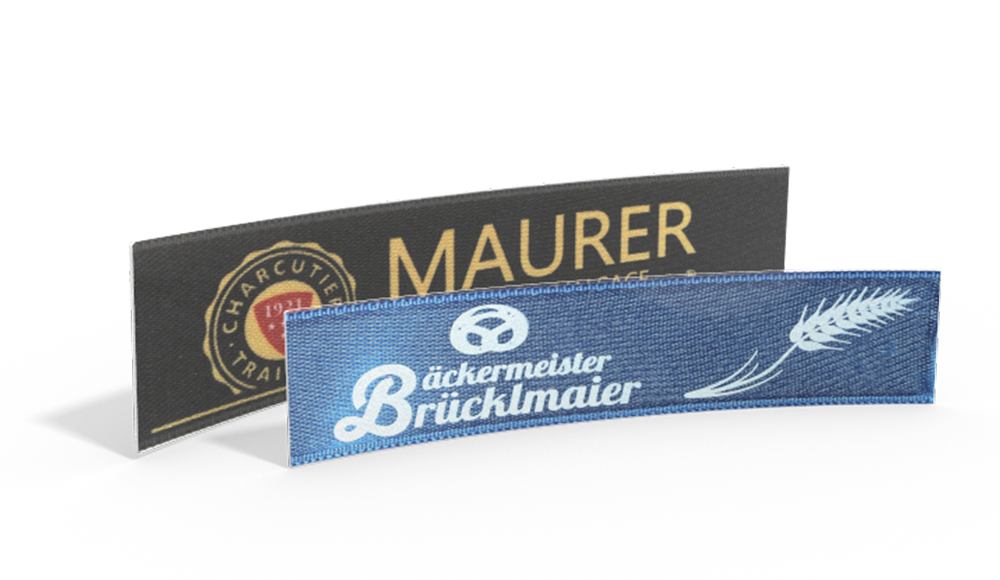
- Custom label
Instructions
1. To make a clothespin bag, first prepare and sort all the materials. Place the main fabric right sides together, center the hanger and trace the top hanger outline onto the fabric. Use our clothespin bag pattern: Free and easy to follow!

2. Below you can see how the top of the hanger has been traced. You can now proceed with cutting the fabrics to size.

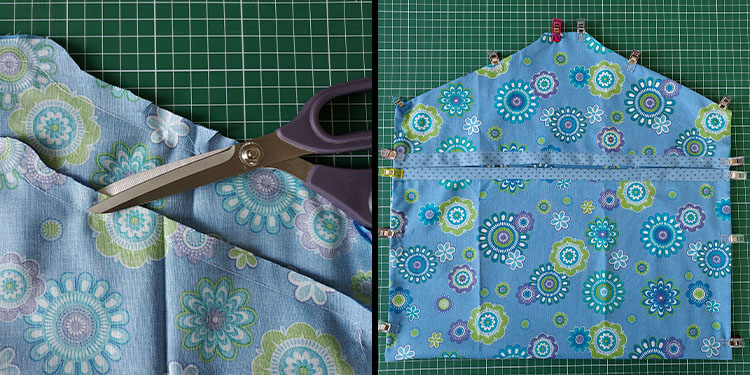
3. Fold the fabric and cut the shape on the opposing side. You will end up with 4 hanger shapes and a fold at the bottom.

4. This is what the fold will look like.
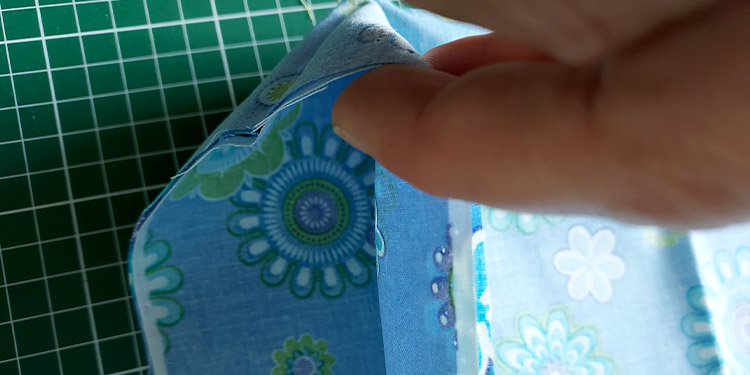
5. Now make a horizontal cut through 2 layers of fabric at the height of your choice. This is where the opening for the clothes pegs will be. Cover the upper part with a strip of fabric.

6. Place fabric right sides together on the top and bottom longer piece. Use pins or clips to secure the fabric.

7. Sew both pieces with a 3 mm stitch. Then press or iron the seam allowance apart.

8. Pin the opposite fabric piece onto the other side of the strip - right sides together - and sew with a 0.39” (1 cm) seam allowance. Do the same with the large piece.

9. This is what the small top part looks like. If you put both parts together, you can already see what the shape of the bag will look like.

10. With right sides together, pin or clip both pieces together and sew them, leaving a turnaround opening on the side. Seam allowance approx. 0.39” (1 cm) with the previously set stitch.

11. Cut the seam allowance at the corners to make them eaisr to shape. Turn the piece right side out and shape the seam with a knitting needle or similar, iron if necessary. Arrange the bag neatly and clip or pin everything together. Stitch close to the edge, and make sure to tidily hem the turn openings. Leave a gap of approx. 0.79” (2 cm) at the top for the coat hanger hook.
12. Don’t forget to sew a nice woven label into the side seam! This will give your DIY clothespin bag a professional look.

13. Double-check that the hanger fits well, turn the clothespin bag and iron again if necessary. Insert the hanger and hang up your clothespin bag!

Use the finished clothespin bag to store clothespins or other small items.

Don't miss these blog posts from Wunderlabel:
Fabric Basket: Pattern not Needed!
DIY Earbud Holder: Free Tutorial
Tutorial: DIY Toothbrush Pouch
Do You want to save this idea for later?
Simply bookmark the link to this blog post or add it to your "Favorites" so that you can quickly find it in your browser later.
Here is how to save the tutorial:
- On your computer: Click on the asterisk or the three dots in the top right hand corner or on the book icon in the top left hand corner (depending on the browser you use).
- On your Android smartphone: Click on the three dots in the top right hand corner and then on the asterisk.
- On your iPhone: Click the book icon at the bottom and add the link to your bookmarks or book list.

