To shape a piece of knitting all you need to do is reduce the number of stitches. Our easy tutorial will show you how to decrease knitting hat stitches to achieve the best result. First, divide all the stitches into equal parts. The more stitches you have, the more sections there will be. For hats, divide the stitches into 4, 6 or 8 equal sections.
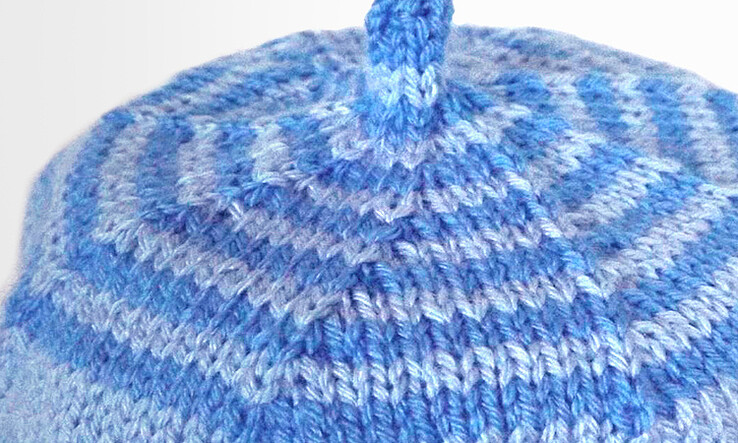
Let’s say that you are knitting a striped hat with 2 different yarns, starting with 104 stitches. The decreases will be knitted on 4 needles as outlined below.
(We used 2 contrasting colors to make the process easier to follow. The hat is knitted in stockinette stitch in the round.)
- In the 1. round (dark blue) the aim is to decrease (knit 2 stitches together) 8 times at regular intervals, which means that you will be knitting 11 stitches and then knitting 2 stitches together until the end of the round.
- In the 2. round (dark blue) you will simply be knitting, without any decreases.
- Do exactly the same as above for the 3. and 4. round using the light blue yarn.
Decrease the stitches every second row and change your yarn color.
Once there are only 8 stitches left, pull them together with a double thread or continue knitting for another 0.8” (2 cm) and then bind off.
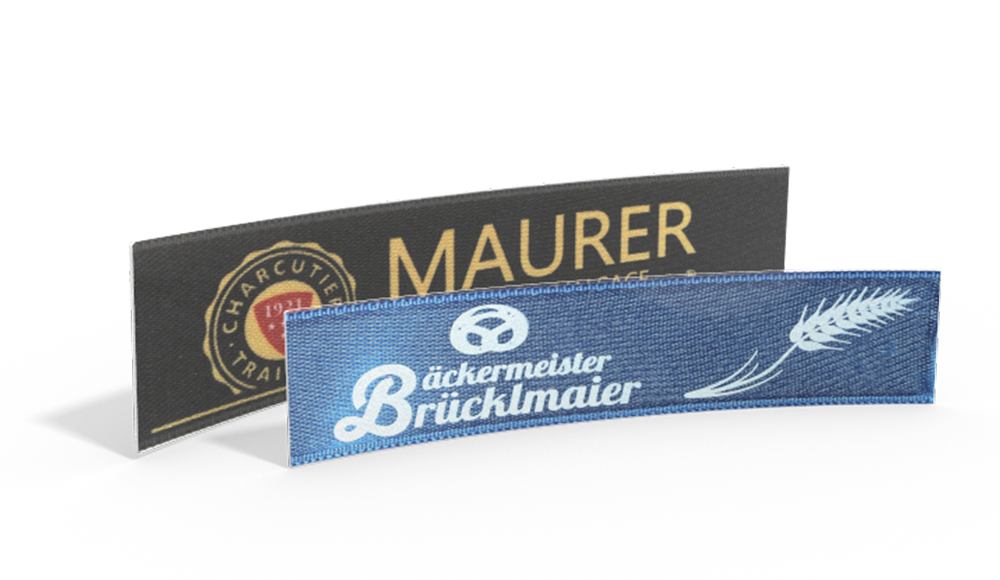
After decreasing stitches, the hat is finished. For a finishing touch, attach your own label to the front or side.
Tip: We've also created a post for you on how to attach woven labels.
Tip: If you want to learn more about sewing with wool fabrics, read our blog post "13 Tips for Sewing with Wool".
Learn how to knit a baby hat (including how to decrease when knitting a hat) in our previous blog post “How to Knit a Baby Hat”.
Our tip for you are the woven labels.

Don't miss these blog posts from Wunderlabel:
How to Knit a Scarf for Beginners
How to Knit a Triangle Shawl - Free Tutorial

