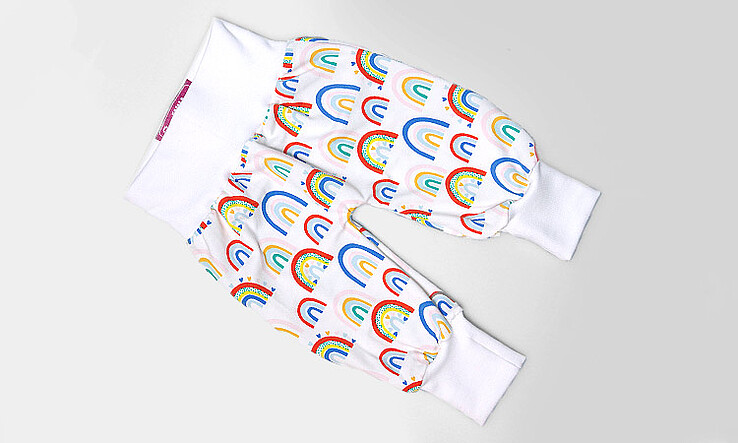
If you are looking at this tutorial then it is likely that you have a special occasion for making DIY baby pants. They are very quick to sew and there is no pattern required for these easy baby pants. All you need to do is cut the fabric to size, adjust them and sew them together.
What kind of fabric is used for DIY baby pants?
A comfortable pair of DIY baby pants is made of jersey and elasticated fabric for the cuffs.
How much ribbing do you need for baby pants 0-2 months?
For easy baby pants size 0-2 months you will only need one piece of ribbing measuring 50 x 50 cm.
For what ages are DIY baby pants made?
In this free tutorial we show you how to sew baby pants for babies aged 0-2 months.
You will need the following to sew easy baby pants:
- 2 pieces of jersey fabric measuring 30 x 26 cm
- 1 piece of ribbing measuring 38 x 16 cm
- 2 pieces of ribbing measuring 15,5 x 16 cm
- Rotary cutter or scissors
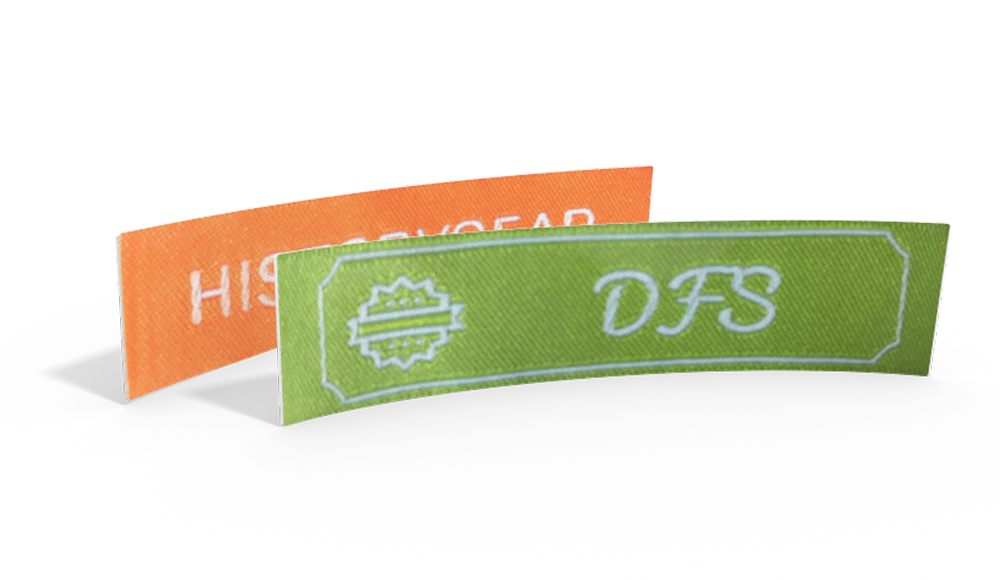
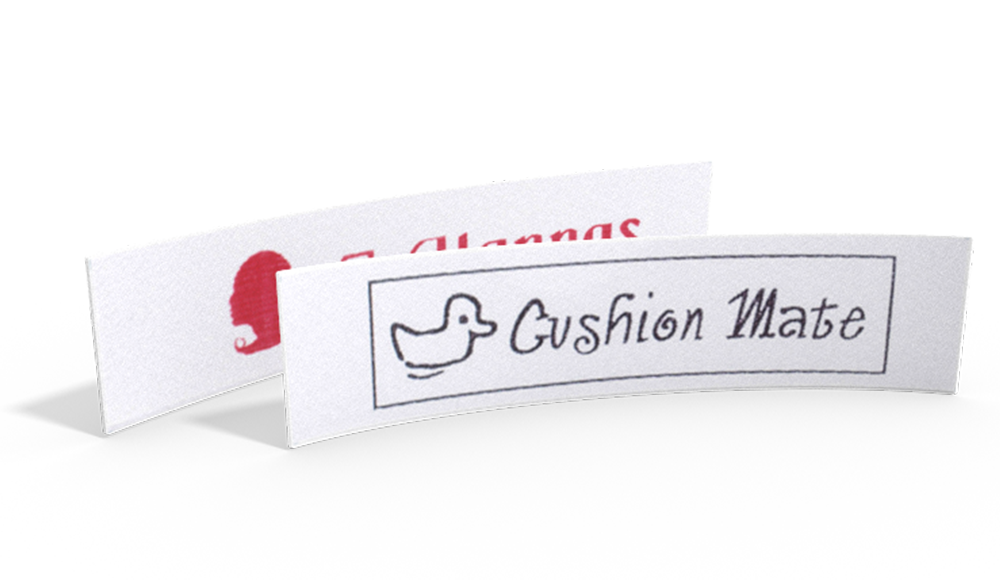
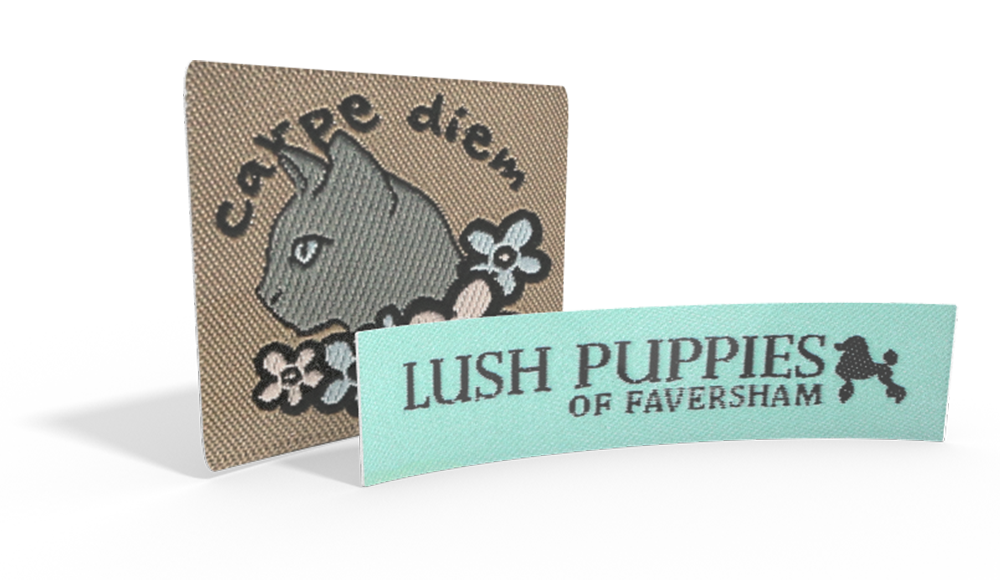
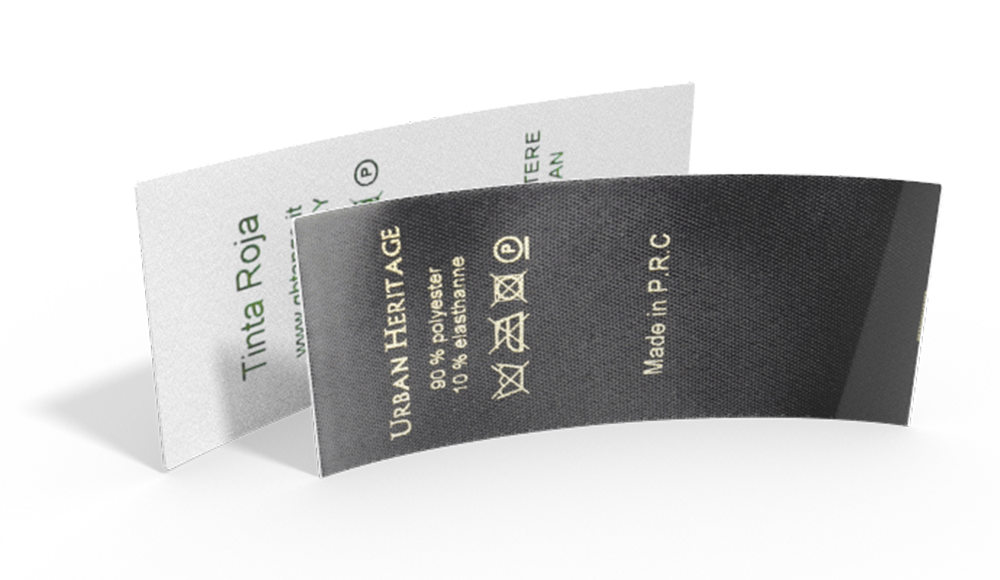
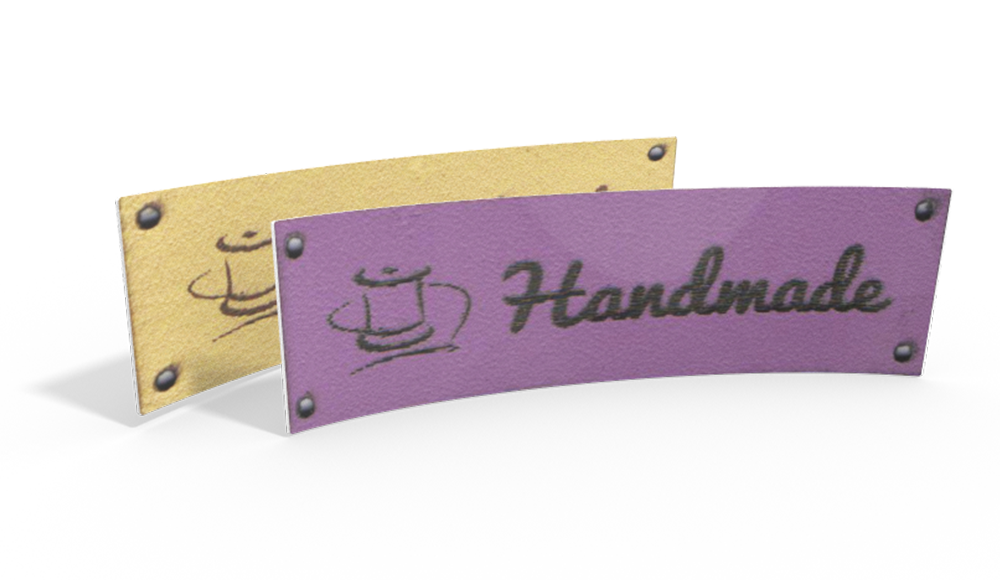
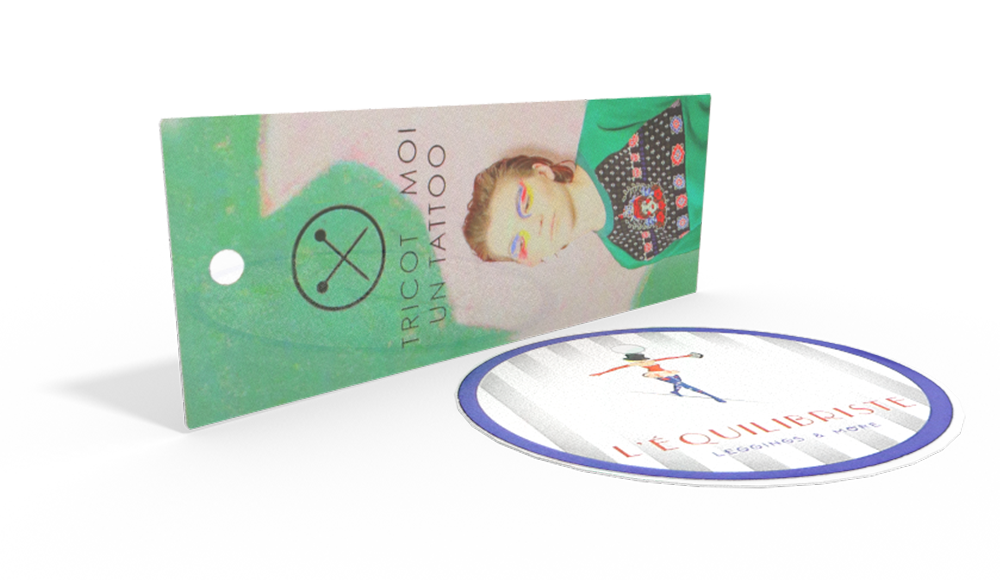
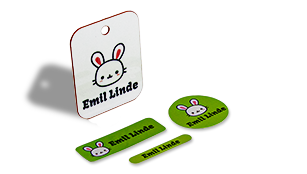
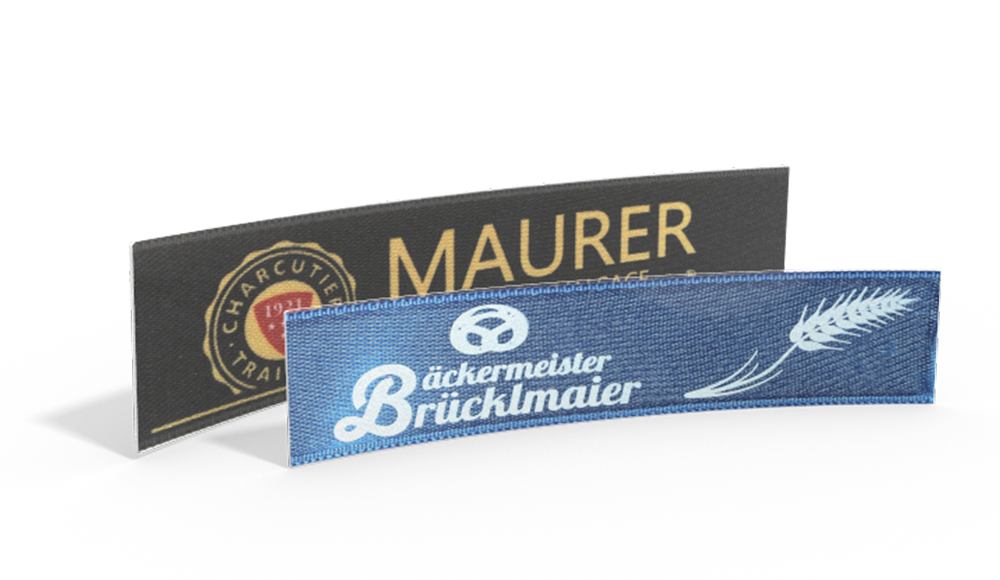
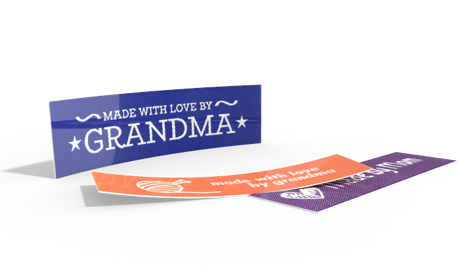
- Personalized Name Tag
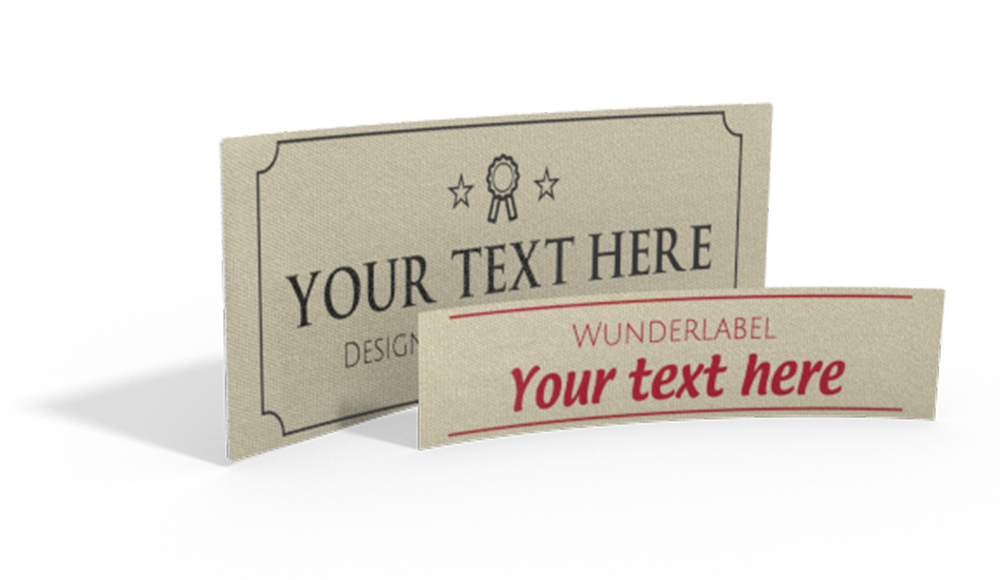
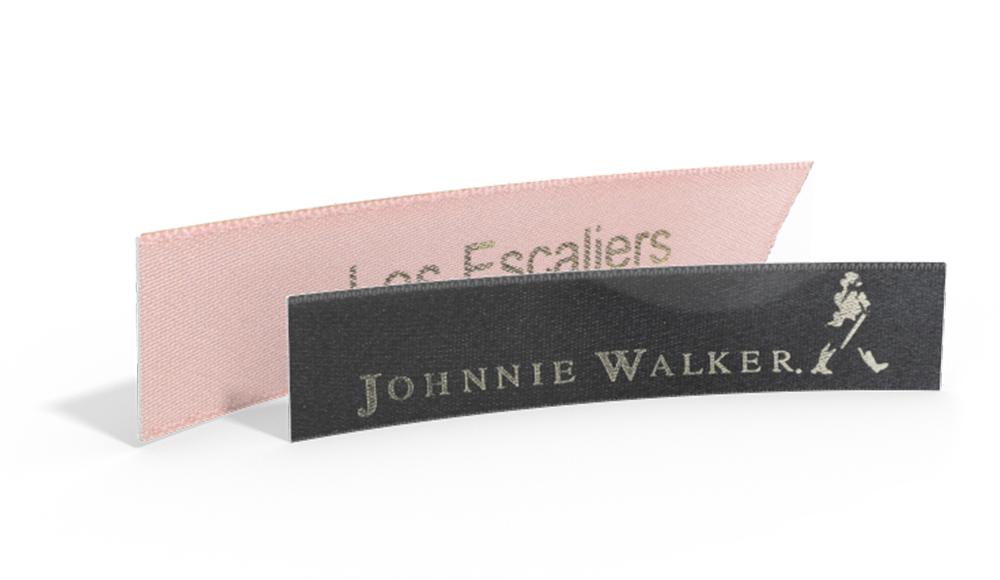
- Custom size label
How to Sew Baby Pants
We will simply be using rectangular pieces of fabric and no pattern is required for these easy baby pants. You can cut the fabric to size with a rotary cutter or scissors.

Lay the two pieces of jersey fabric wrong sides together.

Now halve the fabric lengthwise and cut into the folded edge at a height of 13 cm. Cut downwards at a distance of about 0.5 cm from the folded side. This will become the crotch of the trousers.

Unfold the trousers. This is how they should look:

To sew the fabric together choose an overlock stitch like the one shown below (no. 17).

Make sure that you use the correct foot for this stitch.

This is an example of the settings for this stitch:

Now sew the outer edges with the chosen stitch, making sure that you run the fabric slowly along the foot.

This is how the stitching is likely to look. Do the same in the crotch section.

Do the same for the waistband and the leg cuffs (right sides together in this case).

Next, turn the legs and ribbing for the cuffs and waistband inside out (wrong sides together).

Let’s start with the waistband. Divide this into 4 equal sections with clips or pins.

Pull the waistband over the pants with the open side up so that the pants lie inside the waistband. Now clip the pants to the waistband on the left and right first and then with the two remaining clips.
You can sew the size label in now or attach it later.

Sew slowly to fasten the waistband to the legs and make sure to always get all 3 layers in every stitch.

You will have to stretch the waistband again and again so that the pants will end up being evenly distributed around the waistband.

The waistband should look like this:

Do the same for the cuffs on the legs. This will be a bit more challenging since they are more narrow.

You are now ready to sew on your name tag.

All done.
Good luck!
Do You want to save this idea for later?
Simply bookmark the link to this blog post or add it to your "Favorites" so that you can quickly find it in your browser later.
Here is how to save the tutorial:
- On your computer: Click on the asterisk or the three dots in the top right hand corner or on the book icon in the top left hand corner (depending on the browser you use).
- On your Android smartphone: Click on the three dots in the top right hand corner and then on the asterisk.
- On your iPhone: Click the book icon at the bottom and add the link to your bookmarks or book list.
