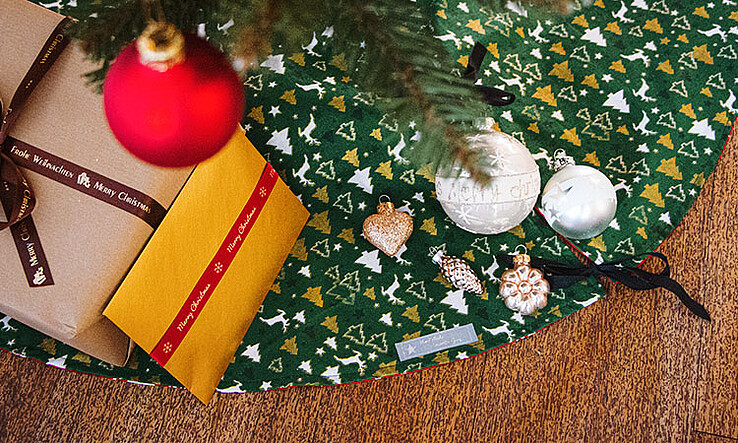
Do you have a Christmas tree blanket or Christmas tree carpet? The Wunderlabel team has been trying to come up with ideas for decorating the base of the Christmas tree and hiding the stand. And we have found a great solution: A Christmas tree skirt! You don’t need to go out and buy one, just follow our tutorial and sew a Christmas tree blanket yourself.
What fabric is best for a DIY Christmas tree blanket?
You can use any fabric you like but cotton does have some advantages, like being able to make beautiful appliqués from it. And there are many gorgeous Christmas patterns to choose from. Cotton will also make sewing the Christmas tree carpet easier.
How big should a Christmas tree blanket be?
The size of the Christmas tree blanket depends on the size of the tree. The ideal circumference could lie anywhere between 3-4 feet (90 and 120 cm).
Materials for Sewing a Christmas Tree Blanket
- 2 cotton fabrics with a festive pattern.
- Ribbons / ties to match the fabrics
- Sewing thread
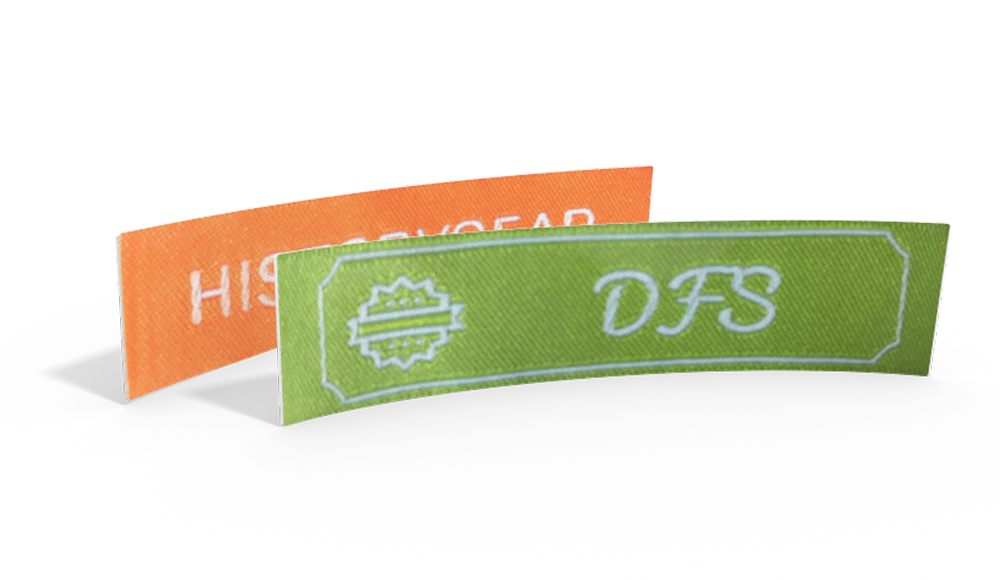
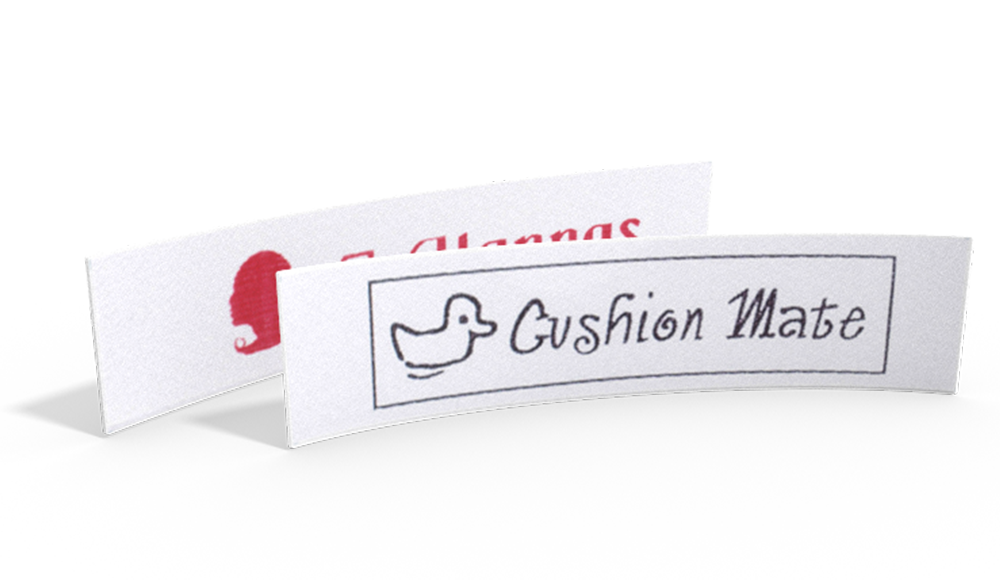
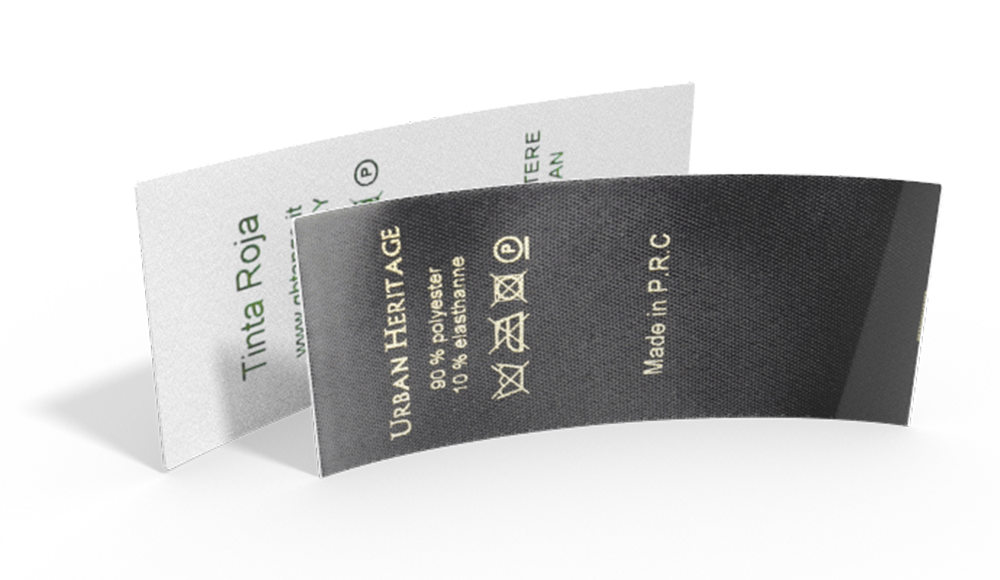
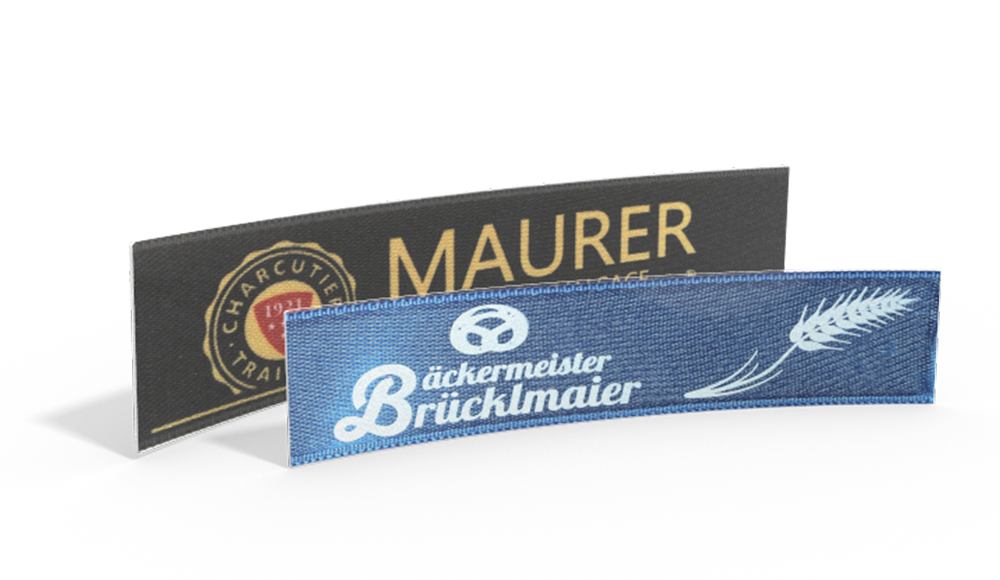
- Custom label
How to Sew a Christmas Tree Blanket
1. To sew a Christmas tree blanket, you should first fold both fabrics in half and then fold them in half again so that the corner with both folded sides is at the bottom.

2. Use a ruler and pencil to mark the largest possible radius, measured from the bottom left corner. Draw the radius bit by bit from the corner like a compass.

3. After the radius is drawn, both layers of fabric can be cut. If necessary, trim the edges again.

4. Once the fabrics are cut to size they should look something like this:

5. Now you need to cut out the curve / hole for the tree base. Draw a 2 ¾” to 3 ¼” (7-8 cm) radius and cut.

6. Once you have finished cutting the blanket to size you can place the fabrics right sides together and cut a long slit to make placing the skirt around the tree easier. The matching ribbons should be cut to a length of about 10” (25 cm). 6 ribbons will be enough for a small blanket.

7. The ribbons are always inserted opposite each other into the sides and pinned in place.

8. Now pin both blanket pieces together and machine stitch a straight stitch, length 3. For the ties, make sure that they are sewn in straight.

9. Leave a turning opening of approx. 4”-6” (10 - 15 cm) at the outer edge.

10. Cut out a small triangle every 4” (10 cm) along the outer curve. This will make it easier to sew the seam after turning the blanket. And don't forget to clip the corners diagonally.

11. The inner curve should have small triangles cut out every 2” (5 cm). After turning the blanket, make sure to shape the corners neatly with the aid of a pin.

12. Sew with a straight stitch close to the edge.

13. The Christmas tree blanket will turn out particularly nice if you match the needle and bobbin threads to each fabric, making the skirt reversible.


14. In the final step you can sew on your customized woven label. Don’t forget to tidy up any loose threads and your charming Christmas tree blanket is ready to be placed under the tree!

Have fun sewing!
Do You want to save this idea for later?
Simply bookmark the link to this blog post or add it to your "Favorites" so that you can quickly find it in your browser later.
Here is how to save the tutorial:
- On your computer: Click on the asterisk or the three dots in the top right hand corner or on the book icon in the top left hand corner (depending on the browser you use).
- On your Android smartphone: Click on the three dots in the top right hand corner and then on the asterisk.
- On your iPhone: Click the book icon at the bottom and add the link to your bookmarks or book list.

