Use this easy drawstring bag pattern free to create a cute bag with Victorian flair (think pompadour handbag) that is perfect for jewellery, hair accessories or make-up. They can also be used for sewing supplies, chargers and cables and much more. Make someone's day with this drawstring bag tutorial. The size and the fabric are completely up to you: get creative and have fun with it!
Let's get started with our Makeup Bag Sewing Tutorial!
Drawstring Bag Tutorial: Materials
- Fabric for the outside / interior pockets and the lining
- Interfacing – we used Vlieseline G700 but you can use any interfacing as long as it is not too thick as this will make it difficult to close the bag
- Matching sewing thread
- Cord or satin ribbon
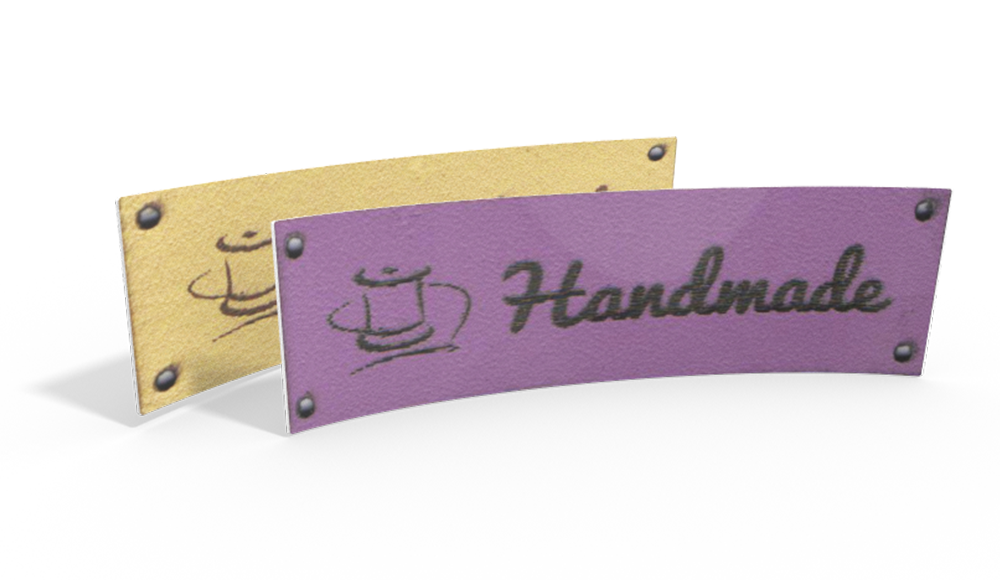
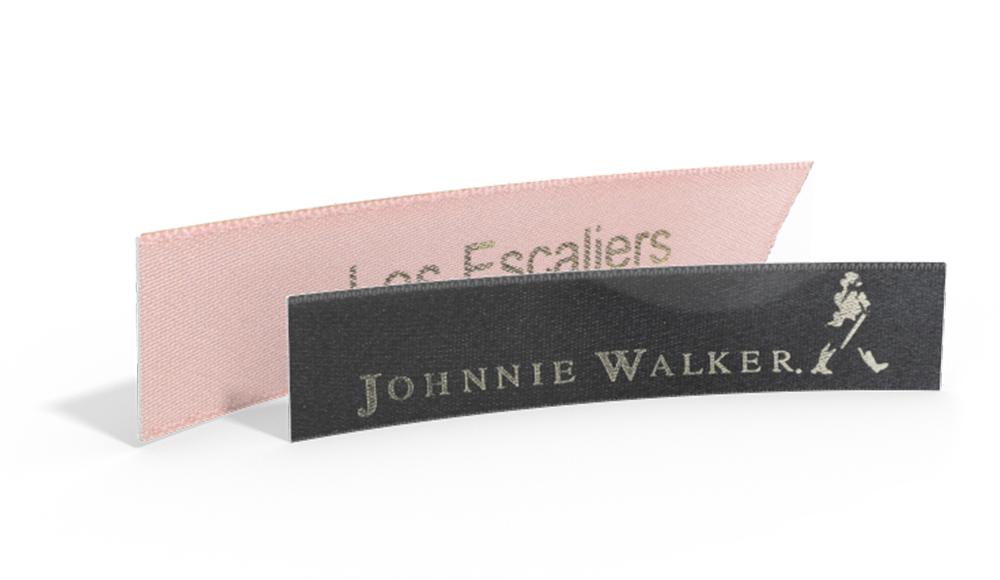
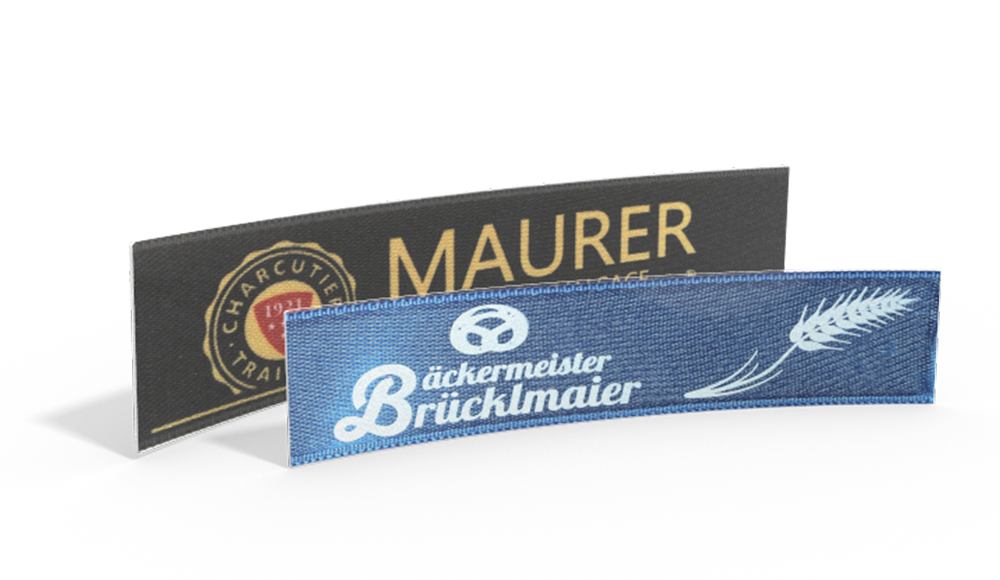
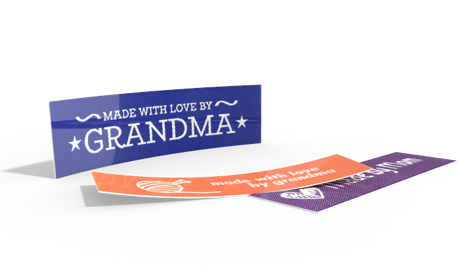
- A Leather Label with Text & Symbol
Drawstring Bag Tutorial: Instructions
First cut your fabrics to size - you will need one 50 cm diameter circle from each fabric and two 30 cm diameter circles from the outer fabric. You will also need two interfacing fabric circles with a diameter of 50 and 30 cm and two small interfacing fabric rectangles of 5 x 5 cm. Mark the centre of your circles by folding them twice in the middle. Then iron the interfacing circles onto the left side of your outer fabric according to the manufacturer's instructions.

First we will prepare the large circles and sew 4 buttonholes in the outer fabric: Mark two spots opposite each other, approx. 3 cm from the raw edge, and reinforce the back of these spots with the small interfacing rectangles.

Your buttonholes start at the spot that you marked and should be 15 to 20 mm long, depending on what cord you decide to use. You can try this on a piece of leftover fabric first to see if your cord will fit through. Use the buttonhole foot on your sewing machine and sew two buttonholes side by side on each side of the circle. Then separate them with a seam ripper - place a pin at each end of the holes to avoid accidentally cutting a hole that's too big!


Now sew the smaller circles together right side to right side all around with a seam allowance of 1 cm, and then shorten the seam allowance to approx. 5 mm. Cut a turning hole of approx. 5 cm in ONE of the two layers of fabric. This will be the underside of the bag, so the hole will not be visible later. Turn the circle through the hole and iron the whole thing nice and flat. Then edgestitch all around the fabric circle.

Now place this small circle in the middle on the right side of the inner fabric (with the hole facing down) and sew it tight: start by sewing a circle with a diameter of 15 cm. Then mark the interior pockets - we have decided on eight pockets of the same size, but of course that is up to you. Then sew several lines from the outer edge of the small circle towards the middle. 
Now sew the large fabric circles right sides together with a seam allowance of 1 cm all around, leaving an opening for turning of approx. 10 cm. Shorten the seam allowance to approx. 5 mm (except for the seam allowance at the opening) so that the edge can be ironed flat. Turn your bag the right way around and iron everything flat. Make sure that the seam allowance at the opening is ironed cleanly inwards.
Edgestitch all around and close the opening. All that's missing now is two seams to form the tunnel for the cord: sew them at a fixed distance from the edge so that they go past the ends of the buttonholes. Keep this distance using the markings on your sewing machine. Alternatively, you can also mark the needle plate with adhesive tape. 
Now thread the cord or ribbon through the buttonholes (it is best to use a safety pin). You need a piece of cord on each side, which makes a whole round through the tunnel and comes out through the hole next to it. Then knot the ends of the cord together.
Then you can sew a nice leather label on your round bag to make it look even better.
And that is how you sew a very easy drawstring bag! We hope you enjoyed our Drawstring Bag Tutorial. Find more tutorials in our blog.
Don't miss these blog posts from Wunderlabel:
Tutorial: DIY Toothbrush Pouch
Zipper Pouch Tutorial: How to Sew a Makeup Bag
Do You want to save this idea for later?
Simply bookmark the link to this blog post or add it to your "Favorites" so that you can quickly find it in your browser later.
Here is how to save the tutorial:
- On your computer: Click on the asterisk or the three dots in the top right hand corner or on the book icon in the top left hand corner (depending on the browser you use).
- On your Android smartphone: Click on the three dots in the top right hand corner and then on the asterisk.
- On your iPhone: Click the book icon at the bottom and add the link to your bookmarks or book list.

