Every sewer or knitter needs organization in their creative corner. Instead of resorting to plastic boxes, why not make your own storage yourself by sewing a fabric basket, for example? You could choose a fabric basket pattern with added pockets for small items. Use it for yarn and knitting needles, or for storing make-up, hair accessories or even First-Aid essentials.
We show you how to make a fabric basket below. It has 4 pockets on the outside for stashing sewing paraphernalia.
You could also sew the pockets to the inside of the storage basket. The waterproof fabric gives the basket its stability.
How can you make a sewing utensil storage basket without a pattern?
Simply cut 6 squares measuring 30 x 30 cm to make a square fabric basket without a pattern. Then follow the instructions in the tutorial.
What fabric do you need to sew a sturdy DIY fabric basket?
We recommend using a waxed cotton and waterproof fabric for sewing a fabric basket. You can also use a plain cotton material and line it with interfacing fabric.
What is the best size for a fabric basket for sewing accessories?
The ideal size for a DIY fabric basket is a height of approx. 23 cm without the folded over fabric at the top.
The optimal width is approx. 27 cm. Have a look at the free fabric basket tutorial below to find out how to make a fabric basket for your sewing accessories.
You will need the following for the “Fabric Basket - No Pattern” tutorial:
- 6 squares measuring 30 x 30 cm:
- White waterproof fabric (for lining the inside and for the outside pockets)
- Waxed cotton (alternatively simple cotton fabric)
- White thread
- A ruler
- Scissors / rotary cutter
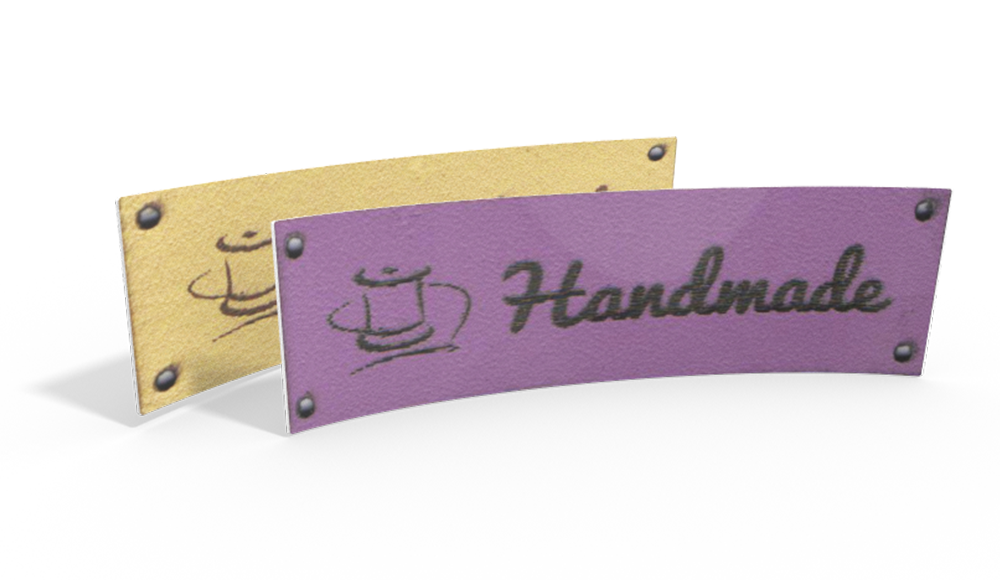
- Personalized leather label
Fabric Basket Tutorial
1. You will need 6 squares measuring 30 x 30 cm each for this project. Fabrics with contrasting colors and patterns make sewing the basket easier and also make the fabric basket look more interesting. We chose a waxed cotton with a maritime theme for the outside of the basket and a white waterproof fabric for the inside and for the outside pockets. You can just use ordinary cotton material but it might need to be reinforced with an interfacing fabric to make it more sturdy.

2. Cut 2 squares of outer fabric, 2 squares for the lining and 2 squares for the outside pockets. In the picture below you can see the squares of fabric, including the material for the pockets which have already been halved.

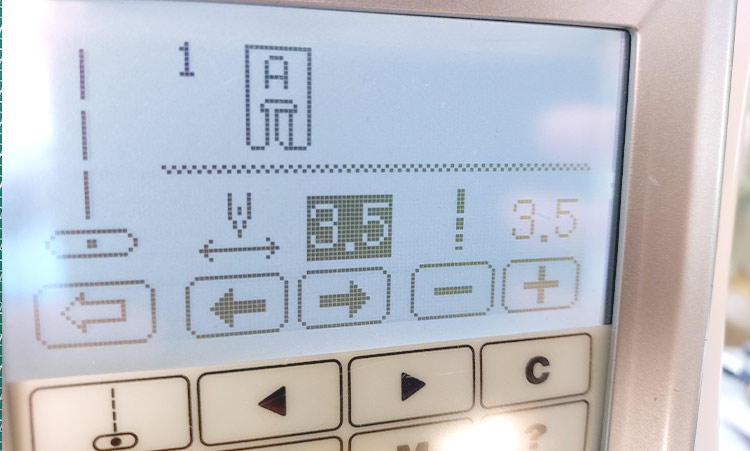
3. You will be using the following setting throughout the project:
4. Topstitch the halved pockets to the width of the presser foot. It is not necessary but gives a much nicer finish. This is what it will look like:

5. Now place the pockets wrong side onto the right side of the outer fabric, pin in place and measure approx. 6 cm from the bottom to create a seam. This way, nothing will be able to slip through the bottom of the pocket later on.
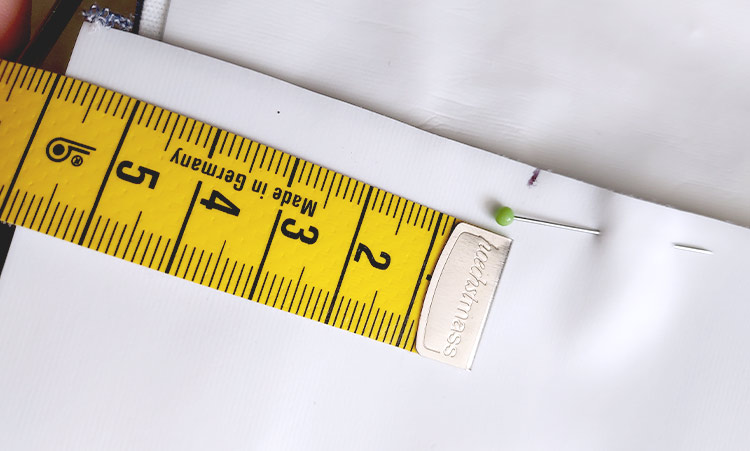
6. Now halve the attached pocket pieces to create a fold. Sew the fold from top to bottom. Make sure you lock the stitches at the beginning and end.

7. Next, lay the inner and outer fabric right sides together. Sew them together at the top only.

8. Now that the two fabrics are attached at the top, you can unfold them to their full length.

9. The two pieces are then placed on top of each other, right sides together. Make sure to pint them together as neatly and securely as possible.

10. The more accurately you work, the neater the result will be. Leave a turning opening of approx. 6 cm for the inner fabric.

11. To give the basket more stability you should line up the corners to form a bag and place one seam on top of the other.

12. Now draw a line of approx. 5 cm from the tip on both corners.

13. Sew the corners and lock the stitches afterwards.

14. Do the same for the inner corners.
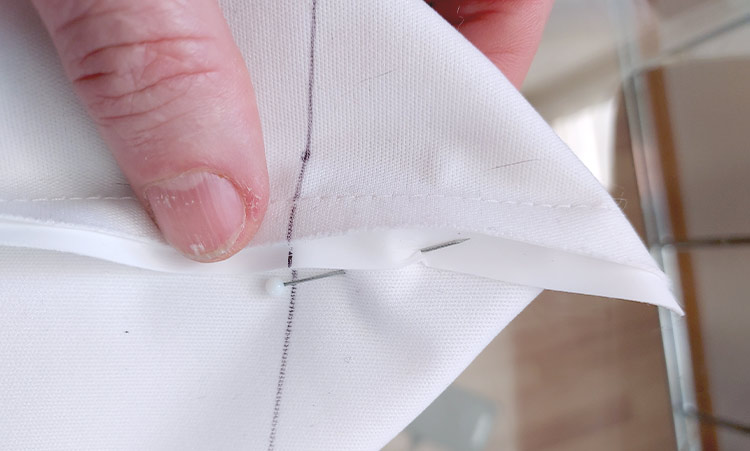
15. Trim all four corners to within 1 cm. Then turn the bag right side out.
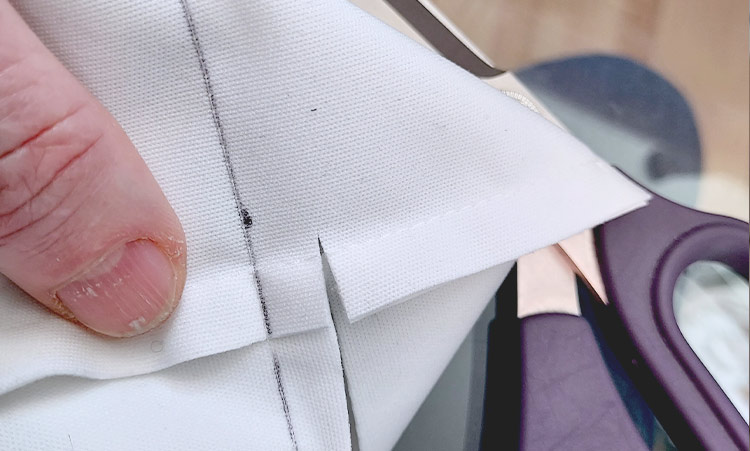
16. Close the turn opening with an edgestitch. Don’t forget to shape the corners to make them look nice.

17. Your fabric basket has turned out well, hasn’t it?
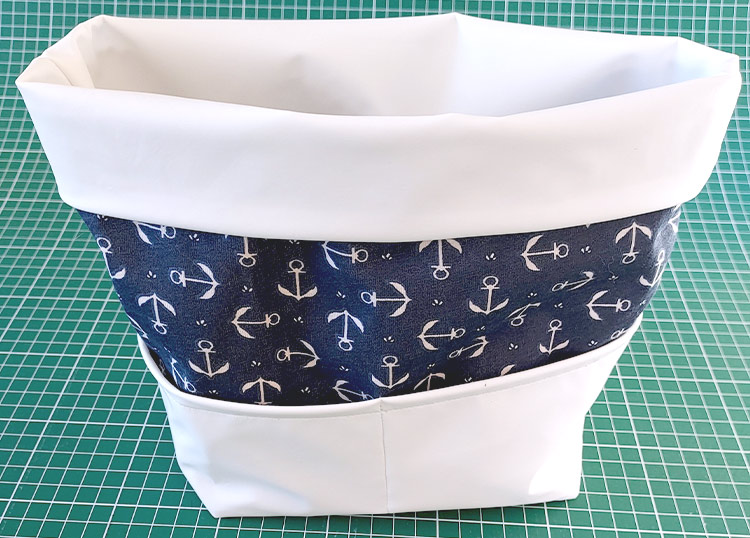

18. To give the basket a special finishing touch we added a custom leather label.

Do You want to save this idea for later?
Simply bookmark the link to this blog post or add it to your "Favorites" so that you can quickly find it in your browser later.
Here is how to save the tutorial:
- On your computer: Click on the asterisk or the three dots in the top right hand corner or on the book icon in the top left hand corner (depending on the browser you use).
- On your Android smartphone: Click on the three dots in the top right hand corner and then on the asterisk.
- On your iPhone: Click the book icon at the bottom and add the link to your bookmarks or book list.

