This sewing project is perfect for beginners. You can make an adorable kid's skirt using our illustrated "How to Make a Skirt for a Child" tutorial: No need for fancy sewing skills! To use this simple easy skirt pattern for a girl, measure the child's waist and adjust the measurements if necessary.
This is a skirt for children aged 18 months to 3 years.
What fabric should you use for a child's skirt?
Cotton and jersey fabrics are best for girls' skirts. We recommend adding an elasticated waistband to skirts for toddlers.
How do you calculate the waistband size for a child's skirt?
If you want to sew a child's skirt with a waistband, simply multiply the waist circumference by 0.7 (in cm).
Can I sew a DIY skirt for children without a pattern?
You can make a simple child's skirt in cotton without a pattern. Just cut a square of fabric and add a matching waistband. Follow the steps of the "How to Make a Skirt for a Child" instructions below to make your own adorable girl's skirt.
Material
- Cotton fabric or blouse material: approx. 115 cm x 35 cm
- Waistband fabric: waist circumference x 0.7 in cm
- Matching sewing thread
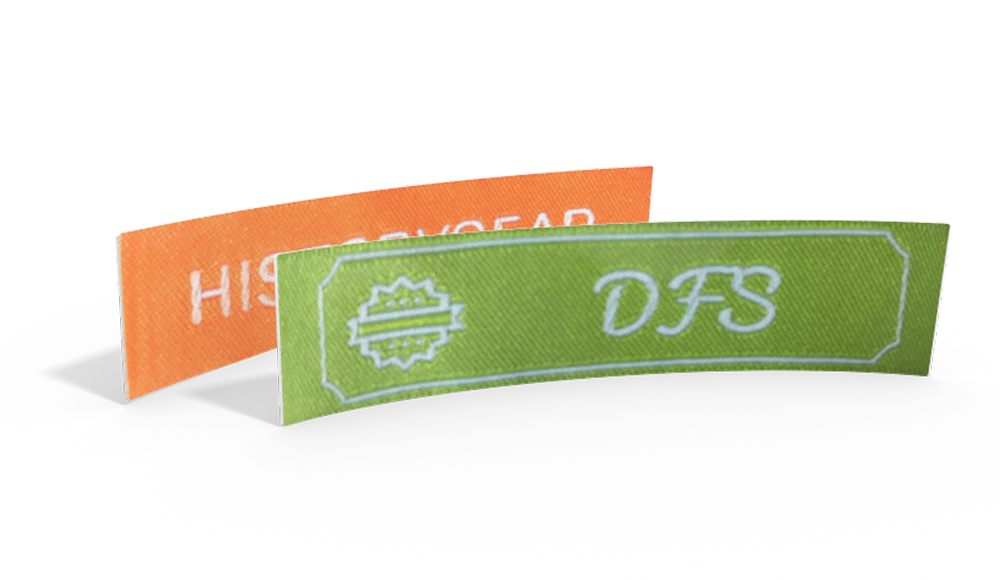
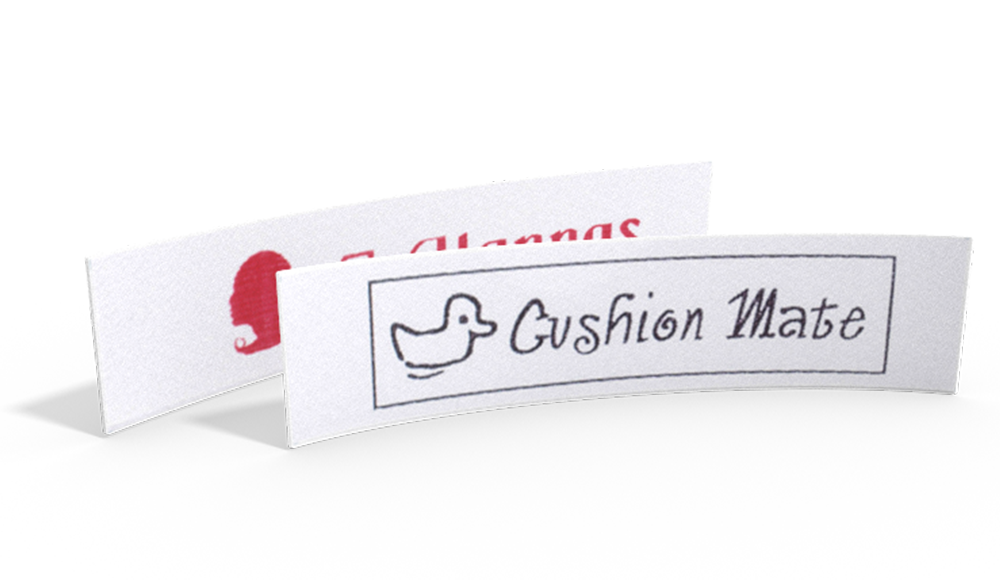
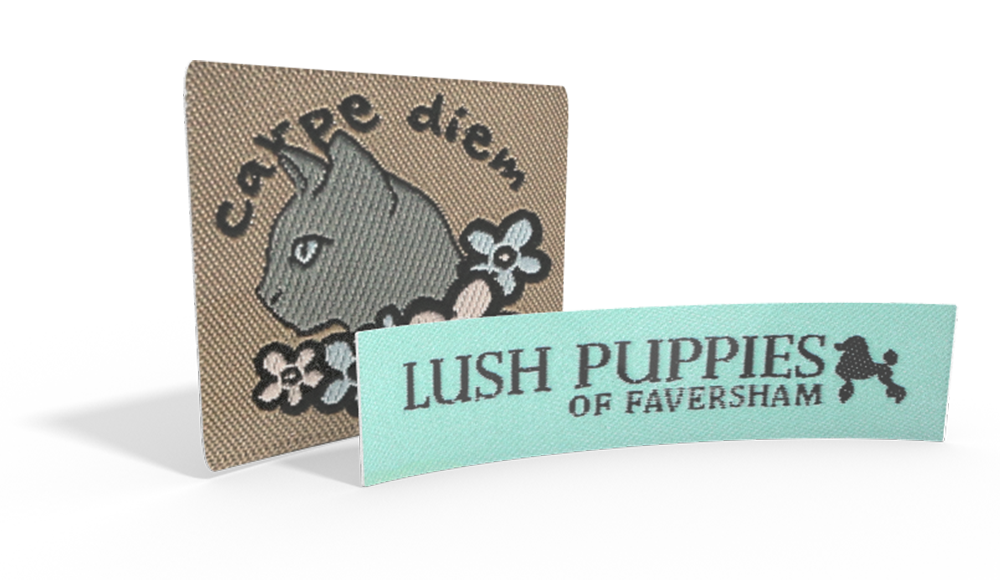
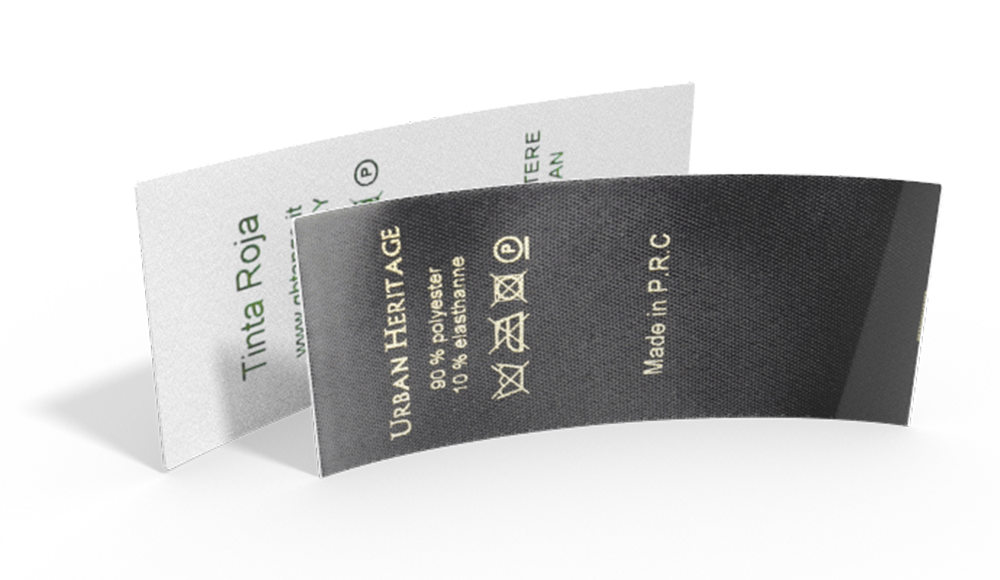
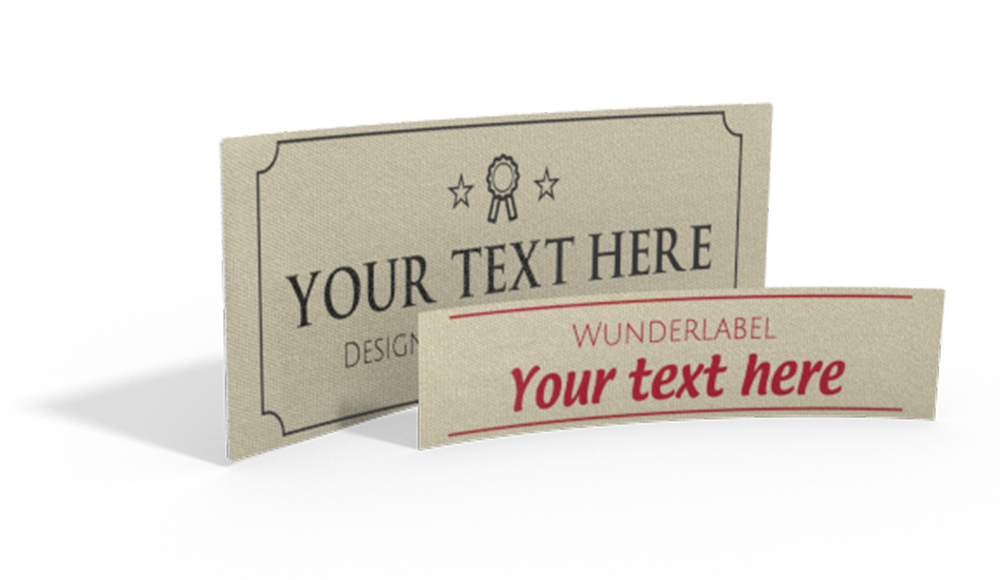
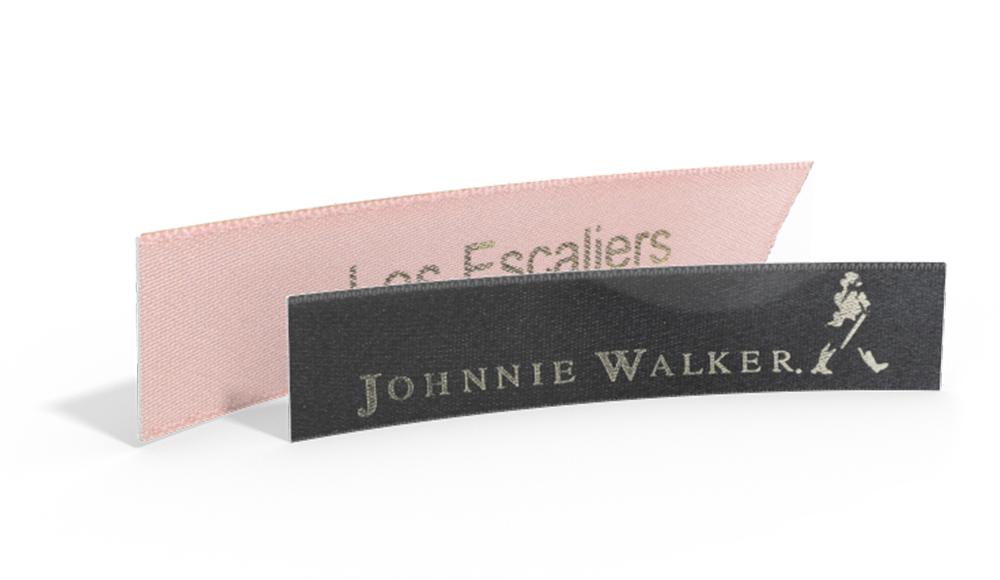
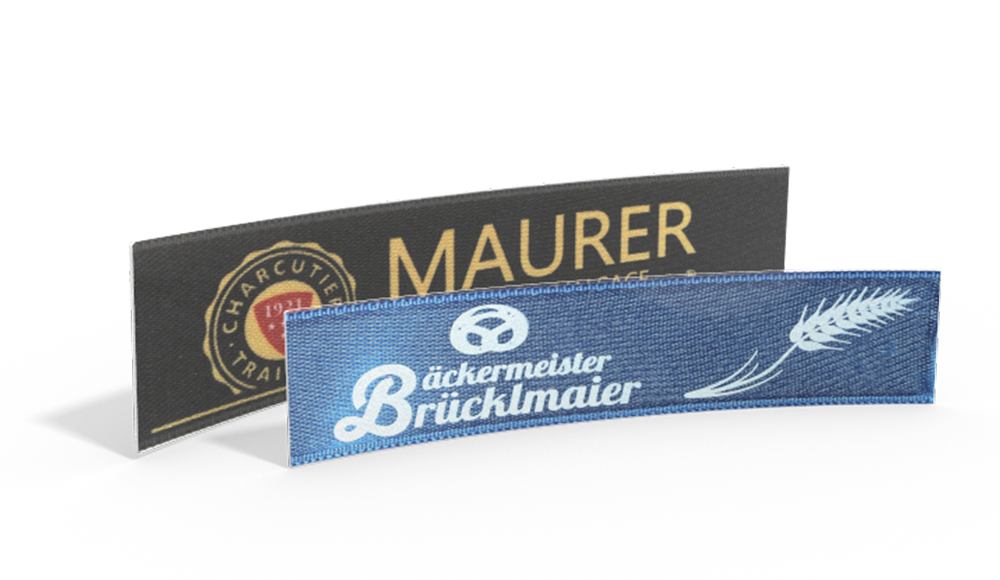
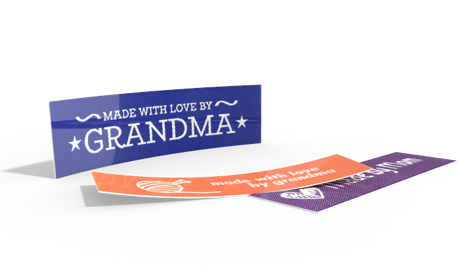
- woven label with sparkling text
Instructions
1. You can make this cute skirt using this easy skirt pattern. Just make the pattern on paper first, then place it on the fabric and cut it to size. If you’re a more experienced sewer, you can skip the paper pattern and just measure out the pieces of fabric.
We’ll show you how to sew a skirt with these simple steps. You will need a waistband fabric (waist circumference x 0.7 in or cm) and a nice light cotton fabric or blouse material for your skirt for a child. The size depends on the length of the skirt and the desired "balloon effect". As a guide, the waistband measurement times 1.5 gives you the minimum amount of fabric required. You will be using an elastic overlock stitch for the whole project: A combination of a straight stitch and a zig-zag stitch. This will sew the fabric together and finish the edges at the same time.

2. Now the side seams of the cuff are hemmed and sewn. This is what the waistband looks like on the right side of the fabric.

3. Now fold the fabric in half lengthwise left sides together. Section the waistband into 4 equal pieces with clips or pins.

4. Next, sew the main fabric along the long sides in the same way. Then smooth out the seam on the right side and iron if necessary.

5. Fold the main fabric to create the balloon shape. Tuck the lower part inwards and align the edge flush at the top. Now you have the fold at the bottom while the two layers at the top are open.

6. The waistband should now be placed the way it will be sewn on. Mark the main fabric in the middle so that the outer seams can be aligned with the clips later on.

7. When pinning the fabrics together, make sure that the 4 layers lie on top of each other. Stretch the waistband so that the thin cotton fabric lies tightly against it.

8. Slowly sew the 4 layers together using the stitch mentioned before. Keep stretching the waistband and sew close to the edge.

9. Your pretty little DIY skirt is finished!! The more fabric you use for the width, the more pronounced "balloon effect" you will get. But it will also be harder to attach to the waistband.

10. Sew on your name woven label.
Tipp: Read more, what fabrics do woven labels use?

Tipp: Find out more about the personalized labels we offer in our shop.
Tipp: If you want to sew a skirt for special occasions, then opt for velvet fabric. However, there are some things to consider when working with velvet. Read the article "14 Tips for Working with Velvet" for that.
All done!
Have fun making your own skirt!
