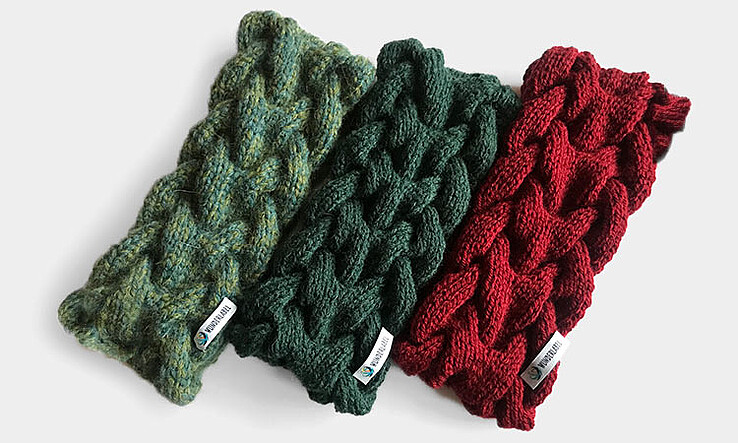
A cable knit headband is a useful accessory for winter that will protect you from the cold weather and make you look good at the same time. It is suitable for all ages, can be combined with any clothing and is an absolute must-have for stylish people. Ideally you would have more than one headband so why not knit a few yourself? Choose your favorite color and get started with our free tutorial right away. We will be knitting a beautiful cable knit headband.
How many stitches should I cast on for a headband?
The number of stitches depends on the yarn and the size of the knitting needles. E.g. for yarn with a length of 180 m / 50 g and needle size 4, cast on 32 stitches.
How long should the cable knit headband be for a head circumference of 58 - 59 cm?
This tutorial is for a cable knit headband measuring 48 cm long. Keep in mind that the stretch of the headband can vary, for example if you knit very loosely. It therefore makes sense to keep trying it on once you have reached a length of 45 cm. As soon as the headband fits snugly around your head you can sew the ends together.
How wide should the knit headband with cable pattern be?
A width of 9 cm is ideal for the headband. A thicker yarn will result in a wider headband. You can also add width with ribbing on both sides.
How to Knit a Headband for Beginners: Materials
- 100 g yarn (180 m length)
- Size 4 needles
- Cable needles
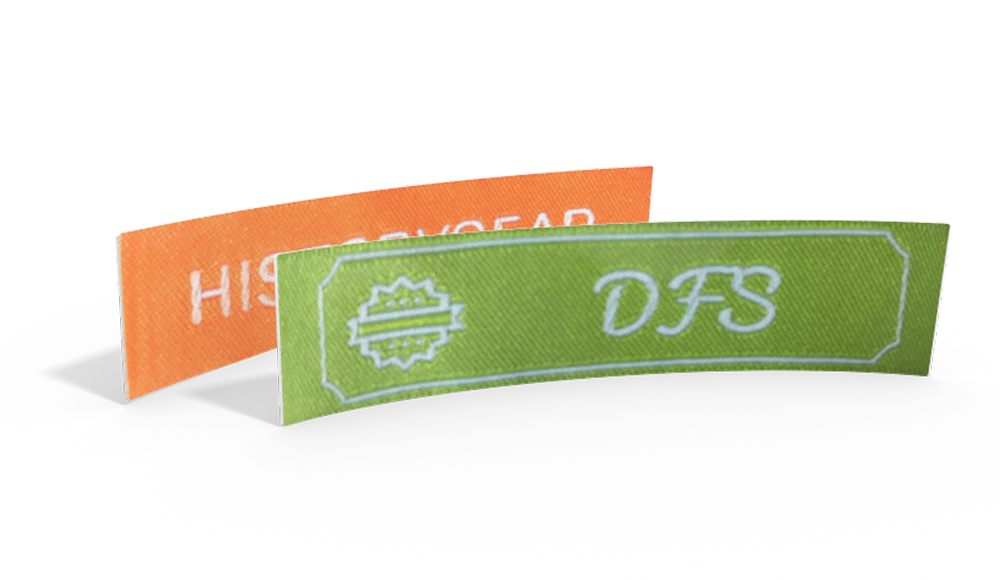
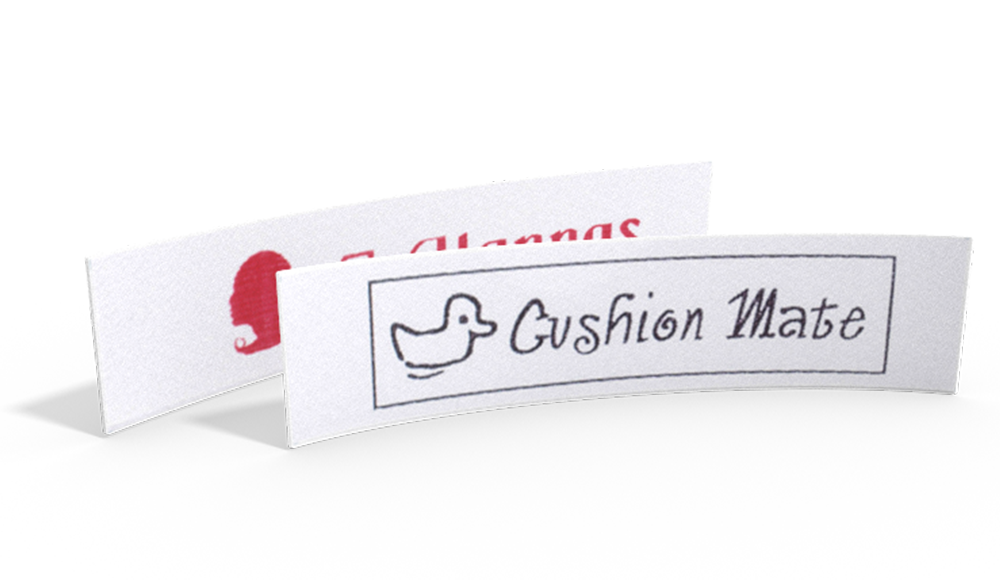
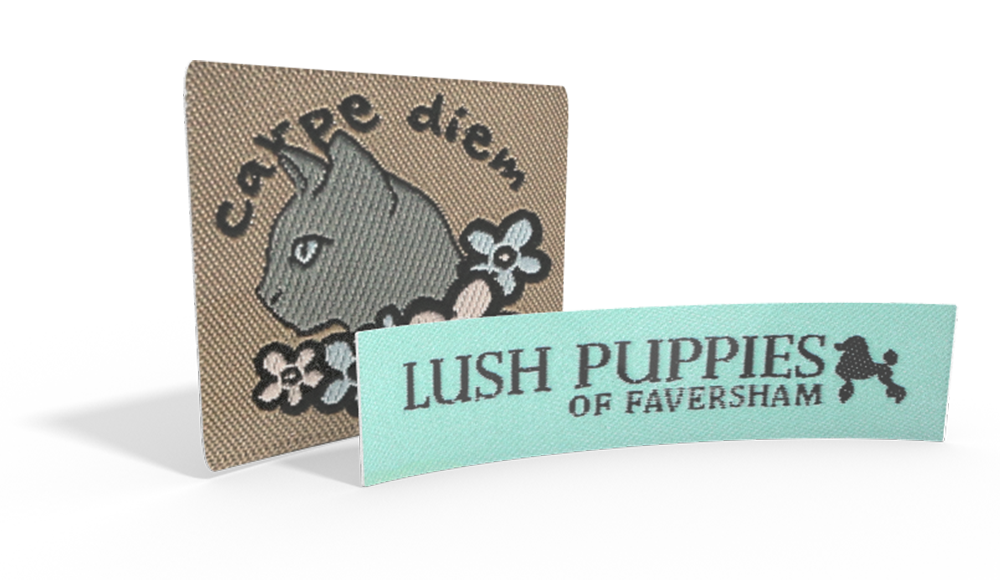
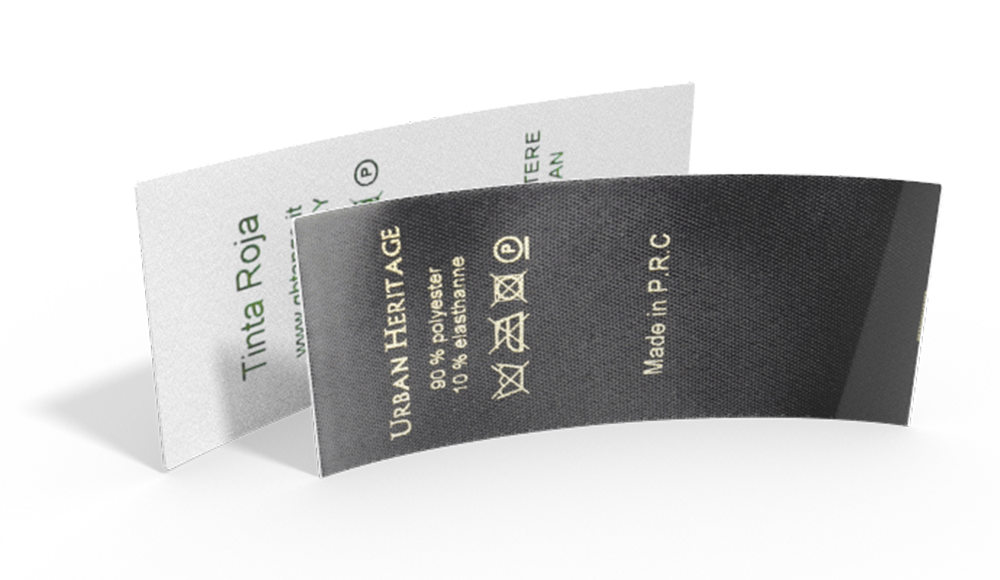
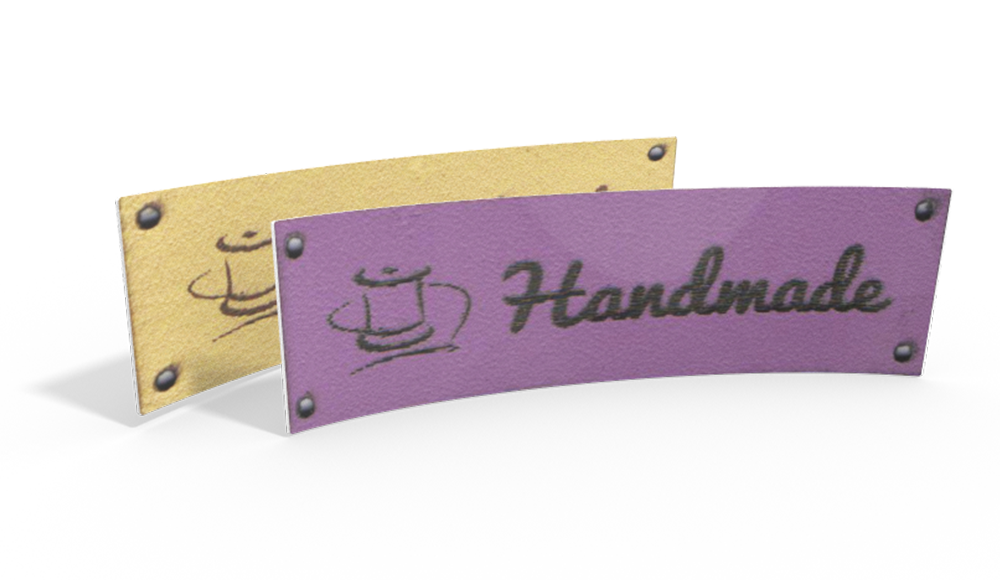
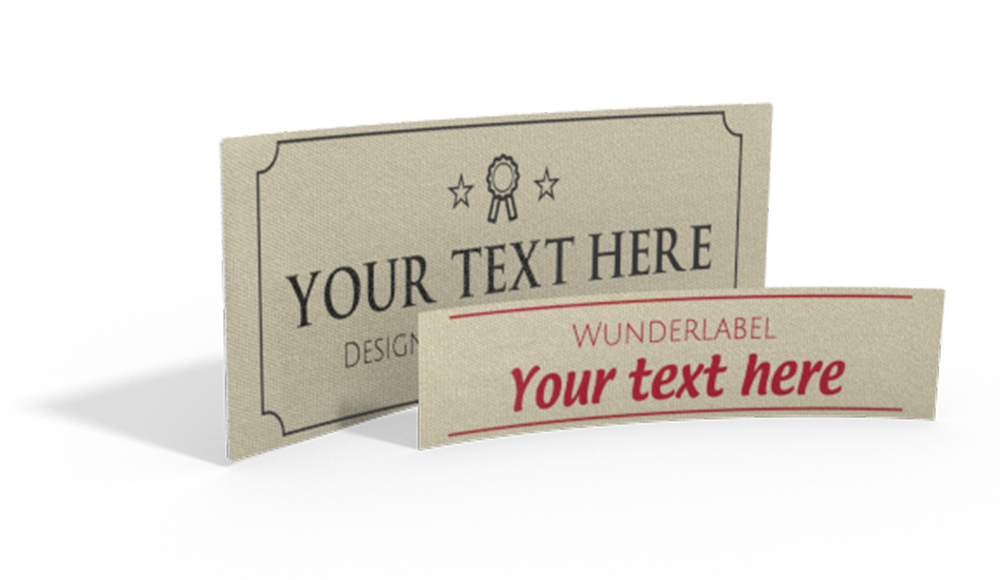
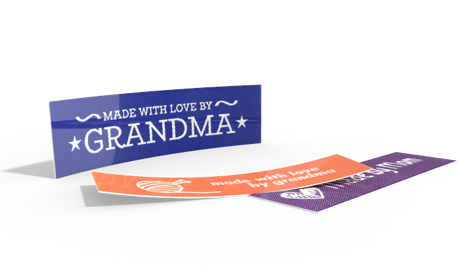
- Personalized labels
Knitting instructions
Step 1. Cast on 32 stitches
Cable pattern

Step 2. Work in stockinette stitch for 5 rows
Tip: To make the edges look nice, always purl the last stitch of each row. And pick up the first stitch of each row without knitting it.
Step 3. In the 6th row you will start to cross stitches to create the cable pattern: Slip the first stitch, put 5 stitches on the cable needle and hold it at the front of the fabric, knit 5 stitches from your left-hand needle, knit 5 stitches from the cable needle, knit 10 stitches, put 5 stitches on the cable needle and hold it at the back of the fabric, knit 5 stitches, knit 5 stitches from the cable needle and finally purl the last stitch.
Step 4. Work in stockinette stitch for 5 rows
Step 5. In the 12th row start crossing stitches again as follows: Slip the first stitch, put 5 stitches on the cable needle and hold it at the back of the fabric, knit 5 stitches from your left-hand needle, knit 5 stitches from the cable needle, knit 10 stitches, put 5 stitches on the cable needle and hold it at the front of the fabric, knit 5 stitches, knit 5 stitches from the cable needle and finally purl the last stitch.
Step 6. Repeat the steps above until you have reached the desired length (approx. 50 cm)
Step 7. Sew the ends of the headband together
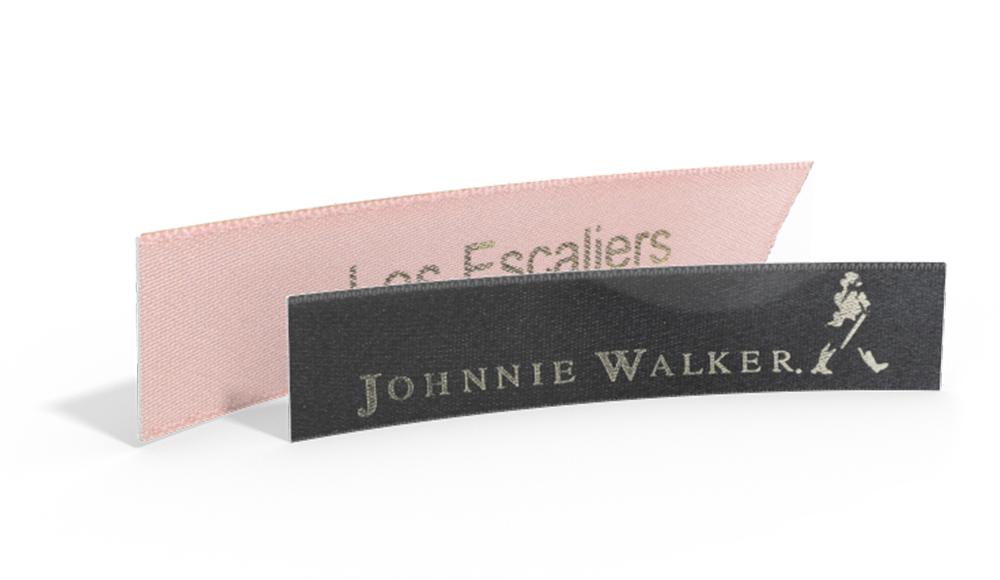
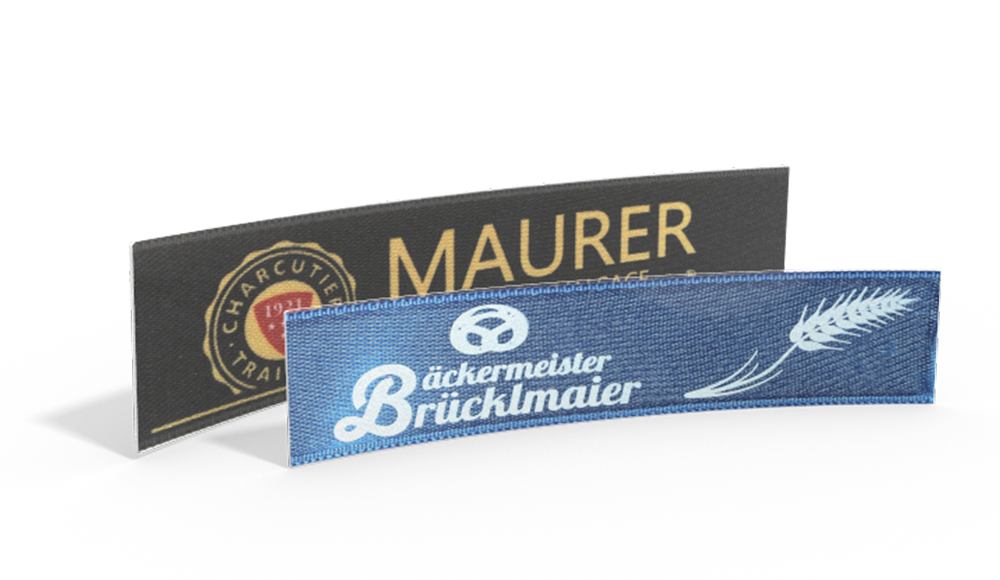
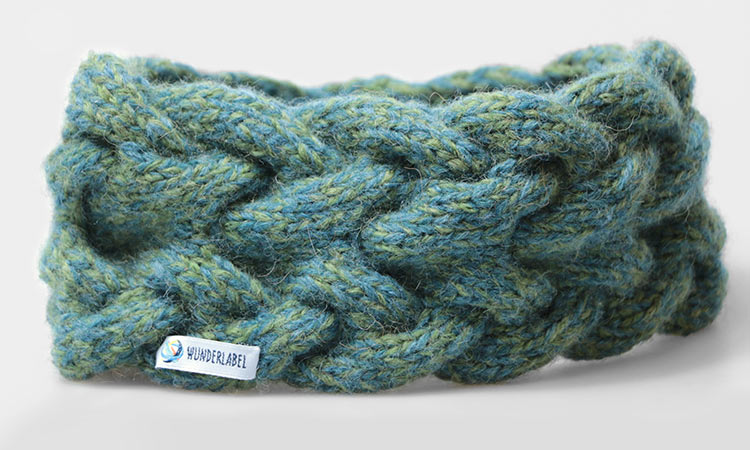
Step 8. Embellish your cable knit headband with a Wunderlabel woven label for a unique finishing touch!

All done!
Tip: Check the care instructions before washing your DIY cable knit headband.

Do You want to save this idea for later?
Simply bookmark the link to this blog post or add it to your "Favorites" so that you can quickly find it in your browser later.
Here is how to save the tutorial:
- On your computer: Click on the asterisk or the three dots in the top right hand corner or on the book icon in the top left hand corner (depending on the browser you use).
- On your Android smartphone: Click on the three dots in the top right hand corner and then on the asterisk.
- On your iPhone: Click the book icon at the bottom and add the link to your bookmarks or book list.

