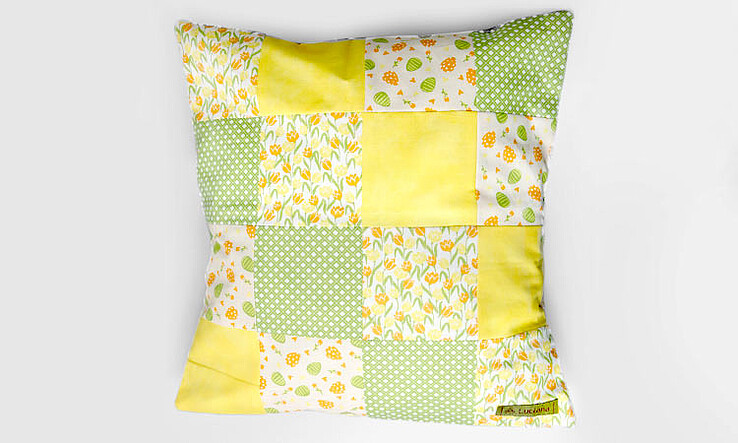
Easter is always something to look forward to. There are some great craft and decoration ideas to get ready for this holiday. Easter sewing projects are also very popular. If you have already sewn egg cosies or decorative eggs, then it's now time to sew a patchwork pillow for Easter with our "How to Make DIY Pillow Covers" tutorial. This is an envelope pillow cover that fits a 40 x 40 cm pillow.
What is a patchwork envelope pillow cover?
A patchwork pillow cover is a pillow cover that consists of different pieces of fabric. The fabrics are cut into geometric shapes, like triangles or squares, and then combined and sewn together to create a colorful pattern.
How much fabric do I need to sew a 40 x 40 cm envelope pillow cover?
To sew a pillow cover for a 40 x 40 cm pillow, you will need a piece of cotton fabric measuring approx. 100 x 60 cm. However, if you want to sew a patchwork pillow cover from squares (10 x 10 cm), you should buy 4 x different cotton fabrics of approx. 40 x 40 cm each.
To make your Easter pillow covers you will need the following:
- 4 x different cotton fabrics measuring approx. 40 x 40 cm each in shades of yellow and green
- A rotary cutter
- White sewing thread
- A ruler
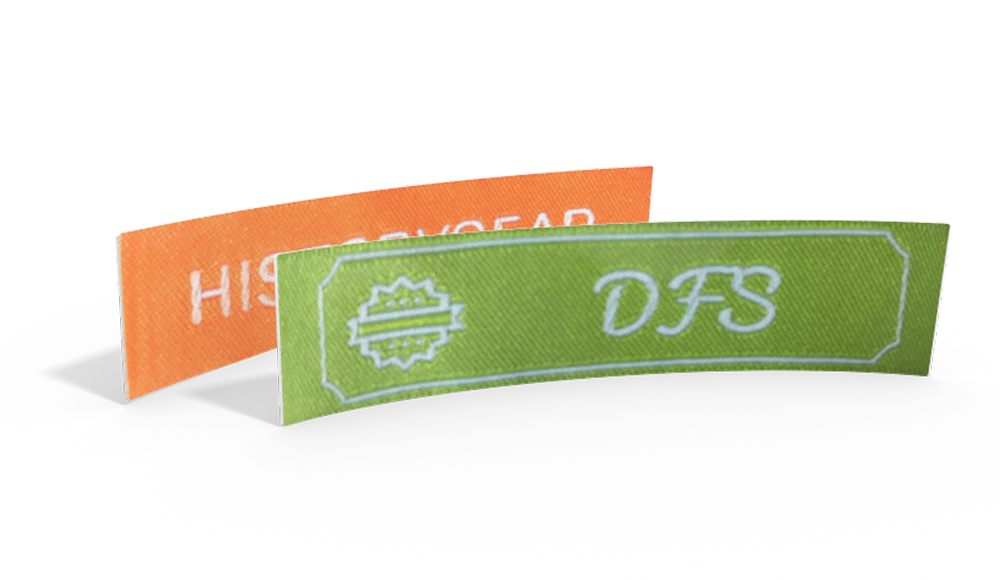
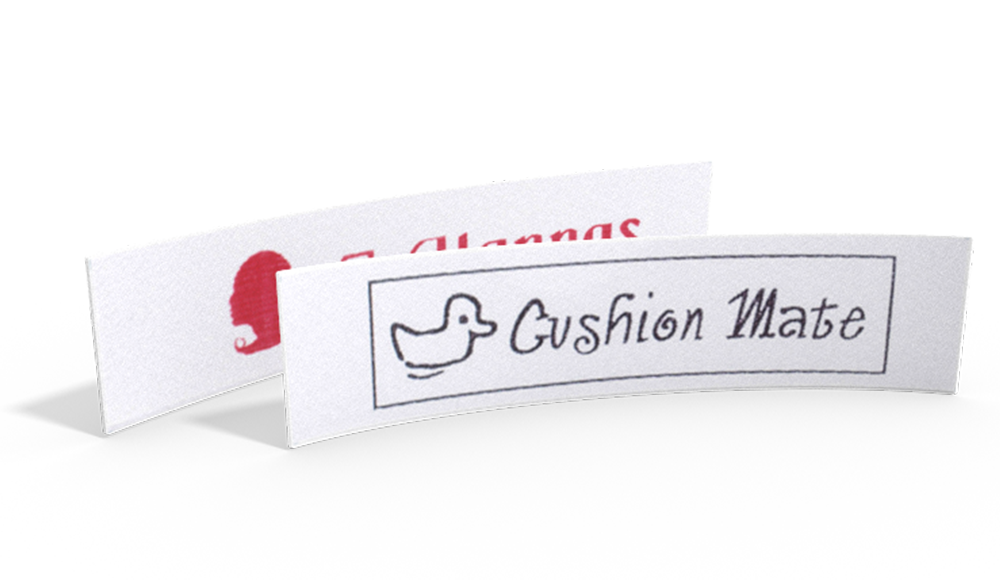
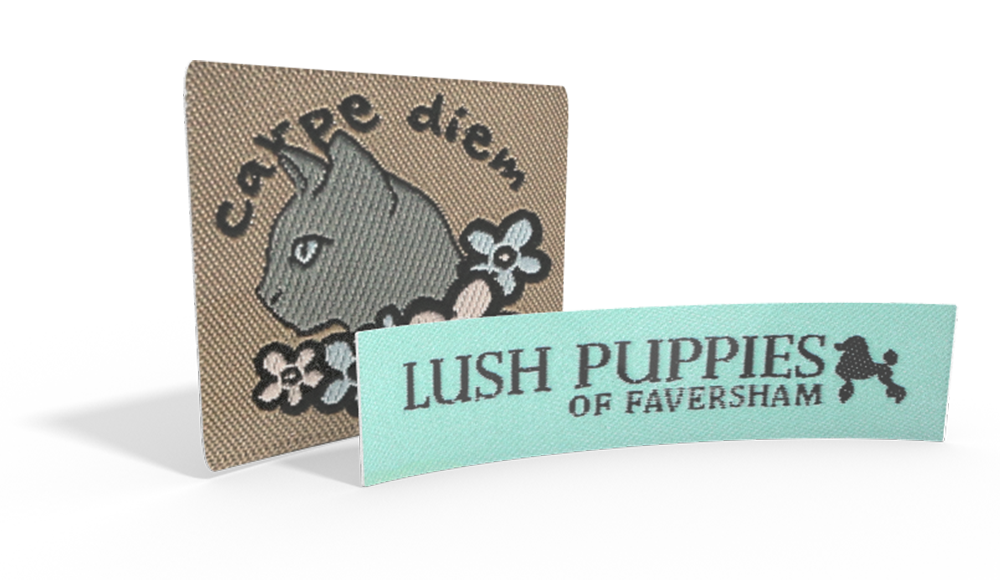
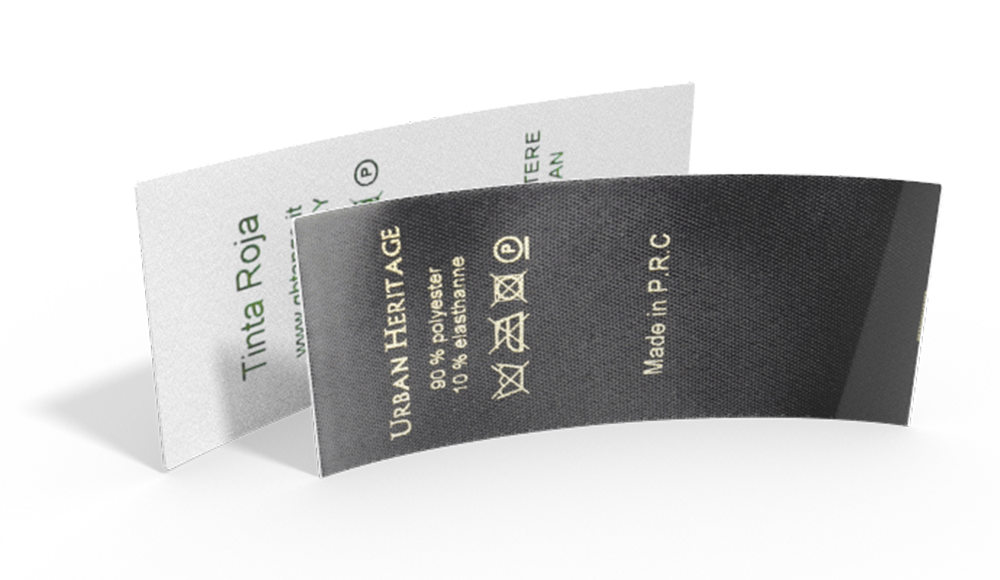
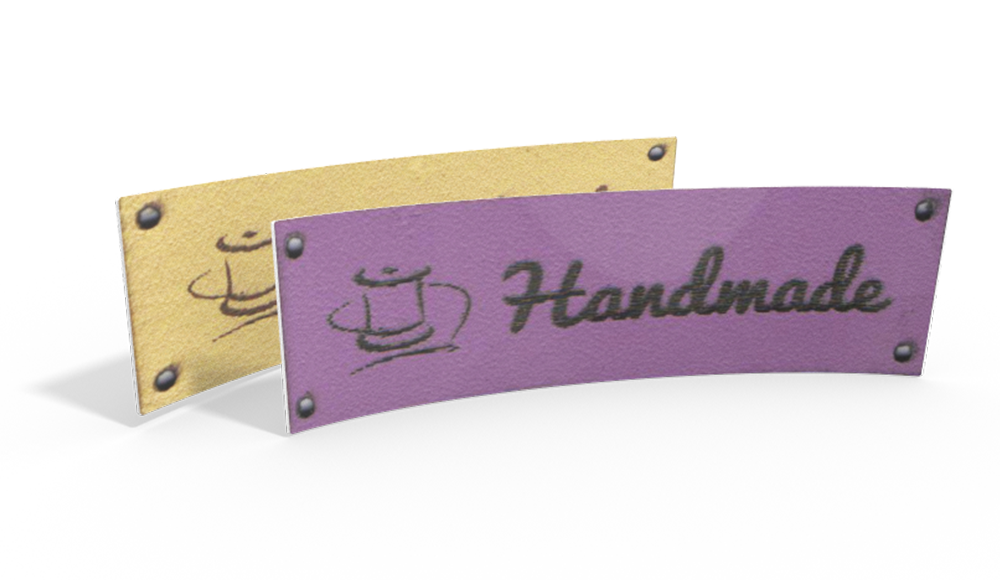
- Your own Iron on Clothing Labels with your name
How to Sew a Pillow Cover: Instructions
1. You don't need a lot of materials or tools for making pillow covers. Buy fabrics in different shades of green and yellow to sew your pillow cover with. Or simply use leftover fabric scraps from previous projects or even upcycled material like denim will do.

2. You will need a total of 36 patchwork squares. We used 4 different colors, which meant that we needed 9 squares of each color measuring 12 x 12 cm each. Cut the squares as cleanly as possible using a rotary cutter, cutting mat and a ruler. Arrange them in a pattern.

3. Take the patchwork squares that will later be sewn together in a row and stack them on top of each other so that you have one stack for each row.

4. You can now sew the squares together with a seam allowance of 1 cm. Make sure that any patterns are the right way up before you start sewing.

5. Use a straight stitch with a maximum stitch length of 2.5 mm.

6. Flatten the sewn-together squares with a crease maker or an iron.

7. Now pin all the strips neatly together making sure that the seams of each row are aligned as precisely as possible. The more precise the positioning, the better the end result.

8. Double-check the front and positioning of the patterns one more time before you start sewing the strips together. Make sure that the seam allowance stays flat throughout.


9. This is how the back should look after sewing.

10. You can see on the front that the seams are neatly aligned.

11. Now pin the sides. The seam allowance should lie flat. Choose a zig-zag stitch and sew down both long sides with the zig-zag stitch so that they won't fray later on.

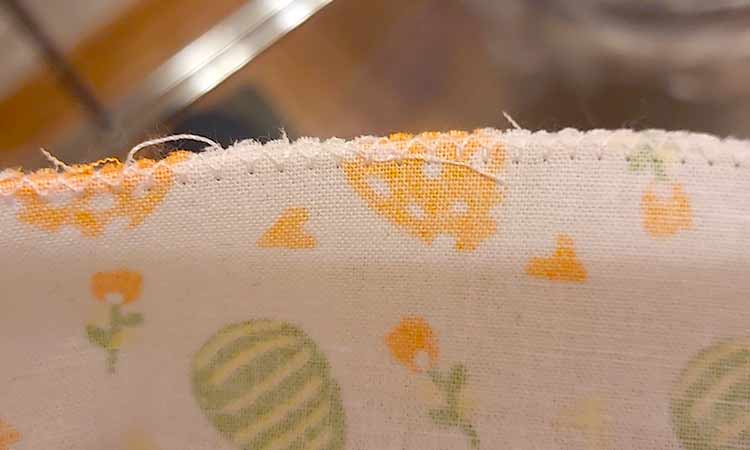
12. Next, sew a turned-in seam at the bottom and top of 0.75 to 1 cm each, i.e. fold the fabric over twice.

13. You can now sew a personalized iron on label onto the front of the pillow cover.

14. Continue by laying the pillow as if you had already sewn the side seams. Make sure that the patterns are correct again. The front consists of 16 squares. Now let the last square overlap with a square on the back and place them exactly on top of each other and pin them together.

15. The edges can be pulled quite tightly outwards so that they won’t sag too much later.

16. Check that everything is pinned together correctly one more time before proceeding.

17. You can now sew the two pieces together. Turn the cover inside out and shape the corners.

18. This is what our pillow looks like. Now it’s your turn to get creative!

Don't miss these blog posts from Wunderlabel:
How to Make a Quilted Throw Pillow: A 5 Post Series
Sew Your Own Envelope Pillow Cover
Do You want to save this idea for later?
Simply bookmark the link to this blog post or add it to your "Favorites" so that you can quickly find it in your browser later.
Here is how to save the tutorial:
- On your computer: Click on the asterisk or the three dots in the top right hand corner or on the book icon in the top left hand corner (depending on the browser you use).
- On your Android smartphone: Click on the three dots in the top right hand corner and then on the asterisk.
- On your iPhone: Click the book icon at the bottom and add the link to your bookmarks or book list.

