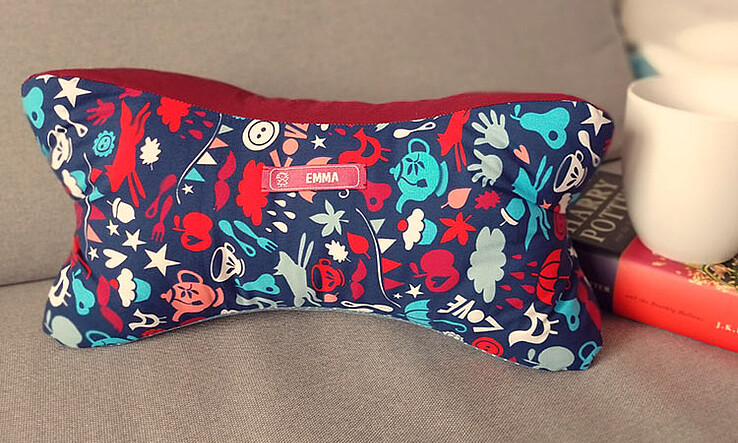
Having to stay at home also means having plenty of time to relax and read. This is the perfect time to learn how to sew a neck pillow! We’ve made it even easier by supplying a neck pillow pattern. Whether you are making it for yourself or a loved one, this comfy dog bone pillow is ideal to support your neck during a reading marathon or even when taking a little nap. So get your sewing machine ready and let us show just how easy it is!
Here is what you will need for the Dog Bone Neck Pillow:
- Printer, scissors and adhesive tape or glue
- Three matching fabrics, each measuring 30x40cm (12x16 in)
- Polyfill stuffing
- Matching thread
- Dog Bone Sewing Template
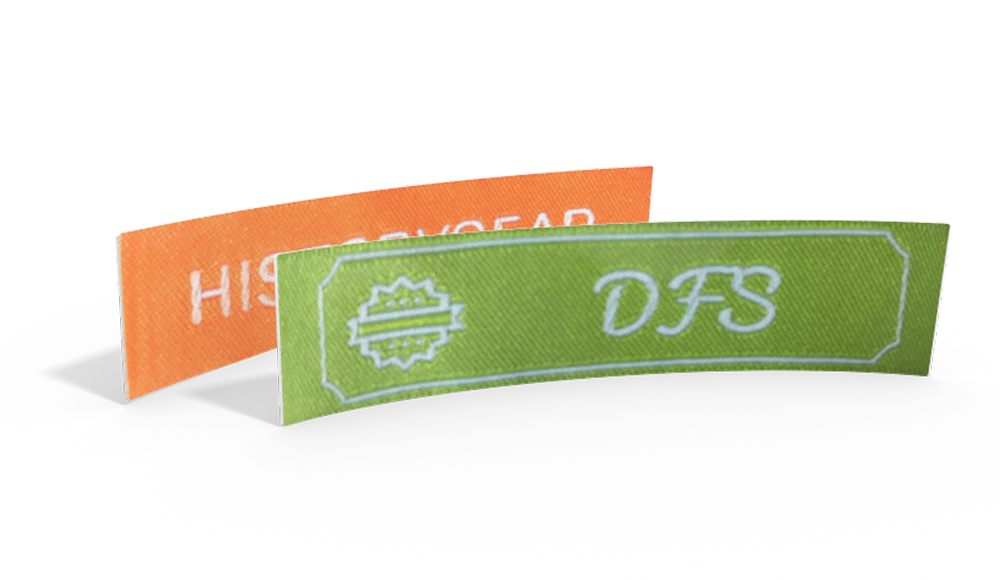
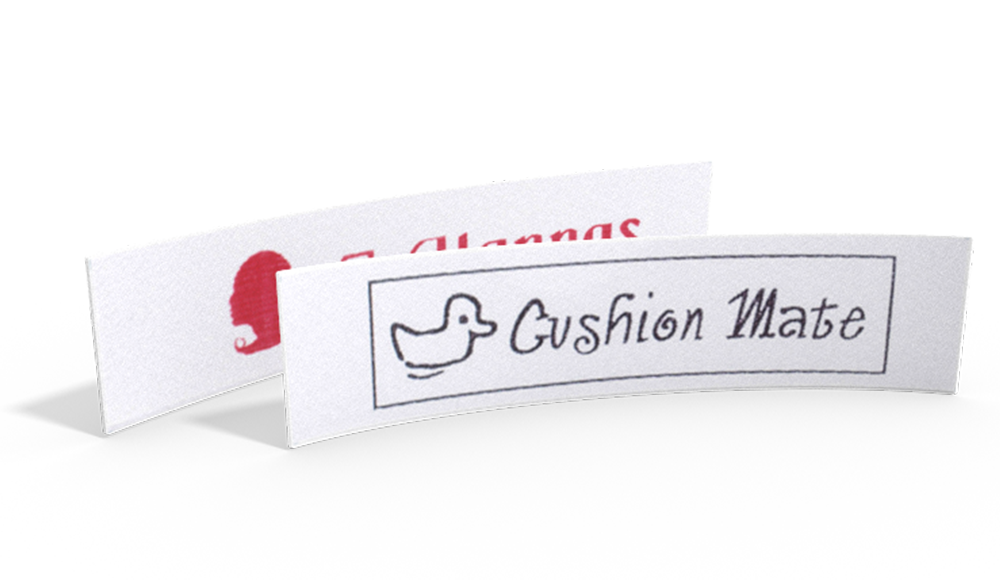
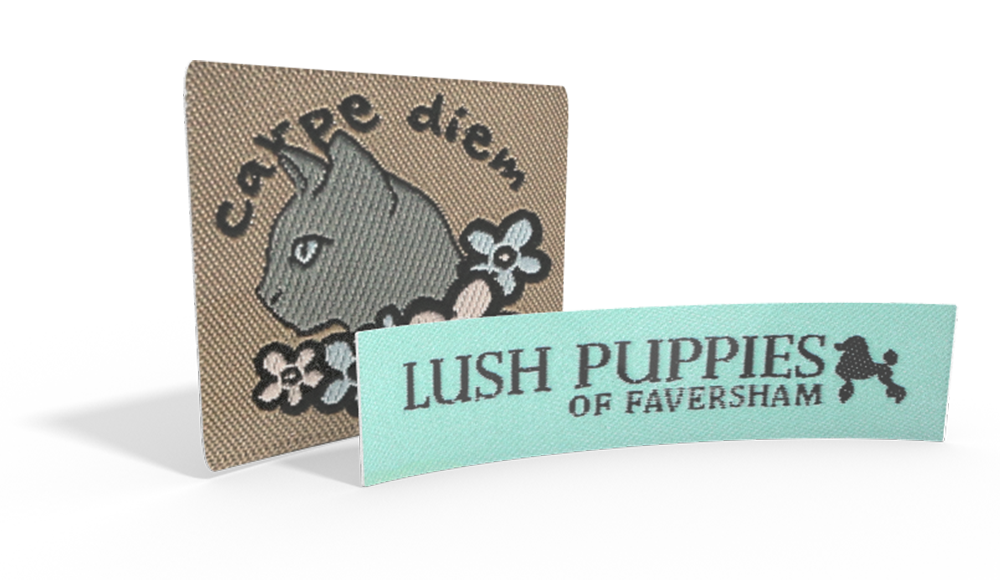
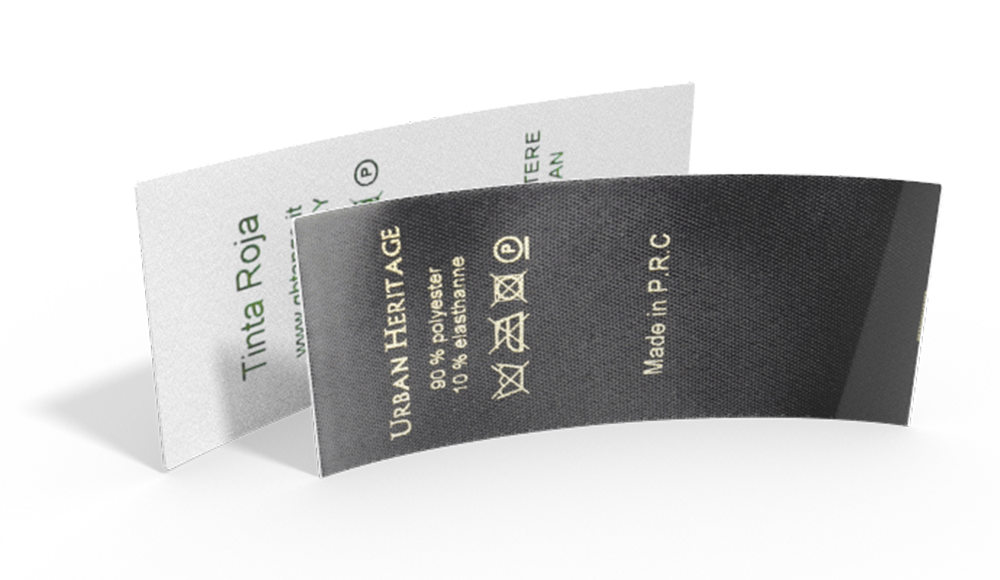
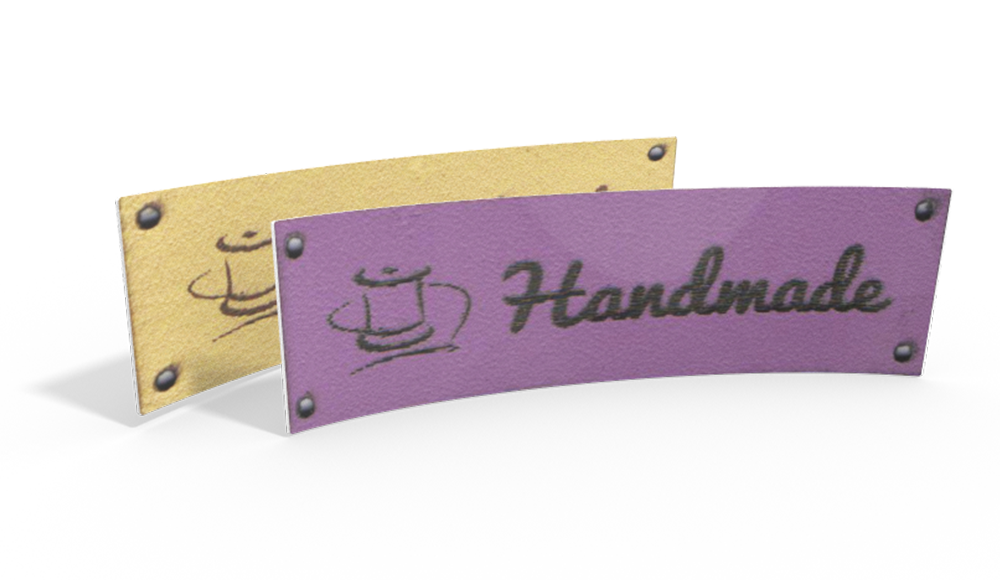
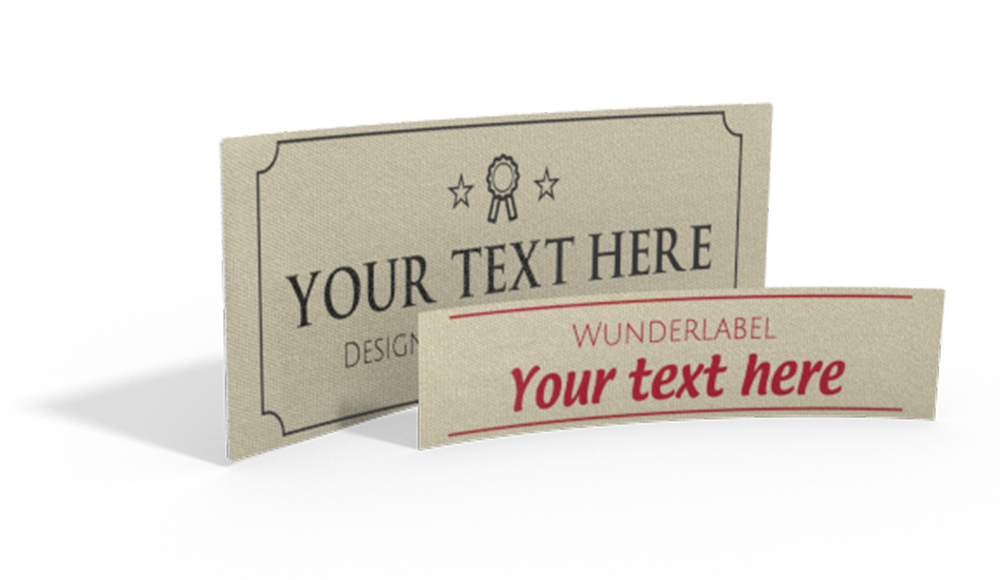
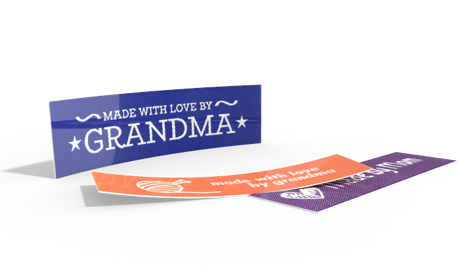
- Your own handmade label from Wunderlabel
First print the PDF file provided and cut out both pieces. Then stick them together along the shaded gray area with either adhesive tape or glue so that the two pieces form one half of the bone shape. The seam allowance is already included in the template for the dog bone neck pillow.
Use your neck support pillow pattern to cut out one piece from each fabric. Fold each fabric in two and place the straight edge of the pattern against the fold to get a complete bone shape. Mark the ends of the fold by snipping a small notch into the fabric – don’t cut more than 1cm (3/8 in) inwards or you’ll cut through the seam allowance.


Your woven handmade label should be sewn on before you complete the rest of the dog bone neck pillow, using a sewing machine or by hand.

Now we are ready to start sewing the pillow. First, place two pieces of fabric right sides together. Pin or clip one long edge together, working from notch to notch. Sew along this edge, backstitching at each notch and using a 1cm (3/8 in) seam allowance. Take the third piece of fabric and pin or clip it to one of the other pieces, again right sides together. Sew the third piece on, working from notch to notch in the same way.


Now pin or clip the final seam together. This time you’ll need to leave a turning hole in the middle of the long side, which should be around 5cm (2in) long. Backstitch before and after this hole to make sure your stitches don’t come unravelled when you turn the pillow. Clip the seams around the ends – you can either use pinking shears or simply cut notches into the seams if you don’t have pinking shears. This will help make sure that the curves are smooth when your pillow is finished.


Turn the pillow the right way out through the turning hole – use something pointy like a chopstick to push the seams all the way out if necessary. Use polyfill stuffing to fill your pillow – try to use small pieces, as this gives a more even end result. You’ll need more stuffing than you think! The support pillow should be firmly stuffed to provide adequate support for your neck when it’s complete.

Close the turning hole invisibly by hand, using a ladder stitch to pull the two edges of the hole together.

Add a ribbon with a gift tag and your cushion is ready to give to your favorite bookworm! But you might not want to part with the pillow once you have tried it! Why not simply share this neck pillow pattern with your nearest and dearest so that everyone can make their own?

Great tip: You can find more fun tutorials for booklovers on our blog, like the DIY Fabric Book Cover. This one is even easier than the Dog Bone Neck Pillow and is a great beginner’s project for children!
Have fun being creative!
Don't miss these blog posts from Wunderlabel:
How to Sew a Yoga Pillow - Free Sewing Tutorial
Sew Your Own Envelope Pillow Cover
Do You want to save this idea for later?
Simply bookmark the link to this blog post or add it to your "Favorites" so that you can quickly find it in your browser later.
Here is how to save the tutorial:
- On your computer: Click on the asterisk or the three dots in the top right hand corner or on the book icon in the top left hand corner (depending on the browser you use).
- On your Android smartphone: Click on the three dots in the top right hand corner and then on the asterisk.
- On your iPhone: Click the book icon at the bottom and add the link to your bookmarks or book list.
