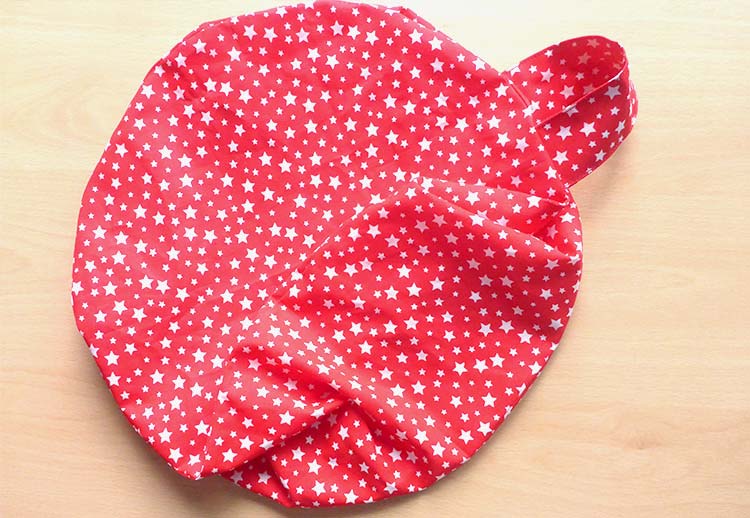
After the challenging last few months we could all do with unwinding and relaxing. And there’s nothing better than yoga or meditation to help combat stress. In this free tutorial we show how to sew your own yoga pillow in your favorite color and with a filling of your choice. The round DIY yoga pillow measures appr. 31 cm in diameter.
Pick a nice fabric and let’s get started!
How big should the yoga pillow be?
A round meditation cushion will usually have a diameter of appr. 30 - 32 cm.
What kind of fabric is best for a DIY yoga pillow?
Use a slighter thicker fabric for your cushion as a thinner material will tear over time.
What kind of filling should I use for my DIY yoga pillow?
You can fill the yoga pillow with spelt husks, fabric shreds, kapok fibers, EPS beads or filling granulate.
You will need the following for your DIY yoga pillow:
- Fabric, 60 x 100 cm – preferably a slightly thicker one for durability
- Spelt husks for the filling, about 1.5 kg
- Matching sewing thread
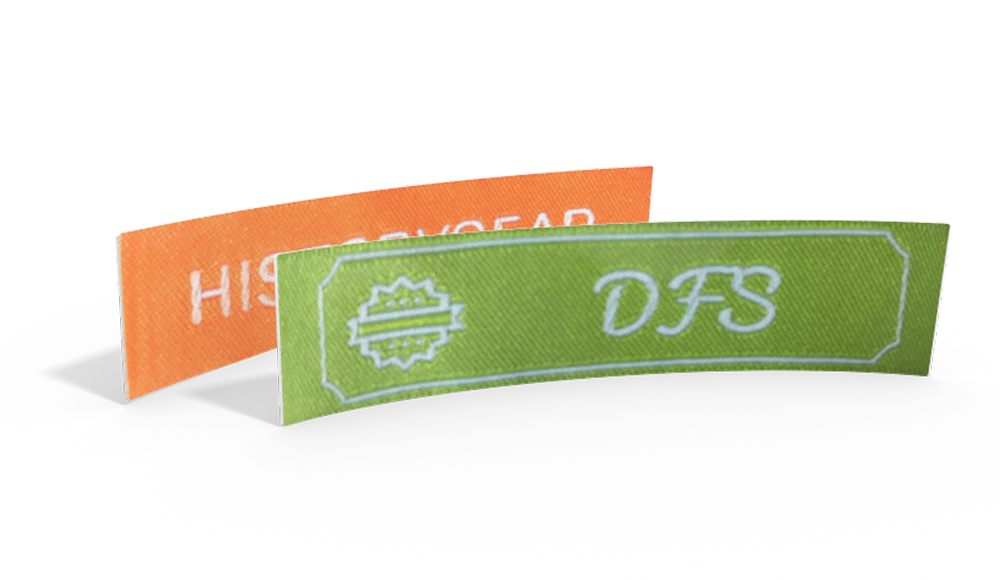
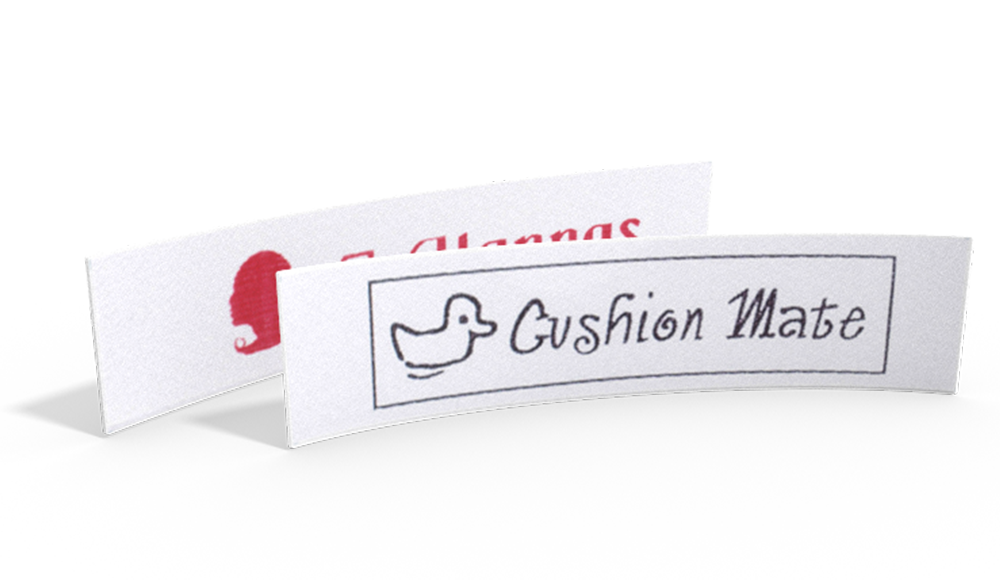
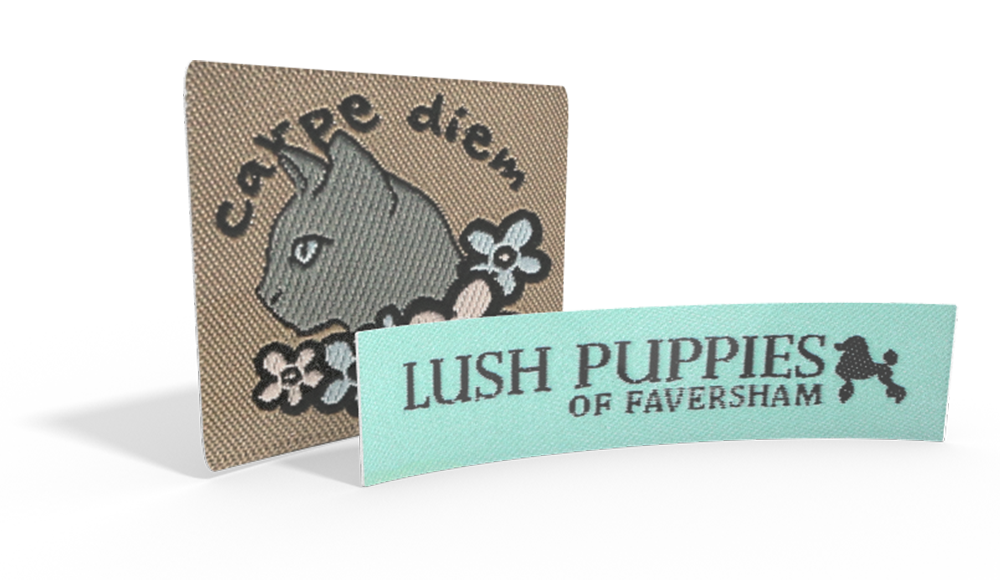
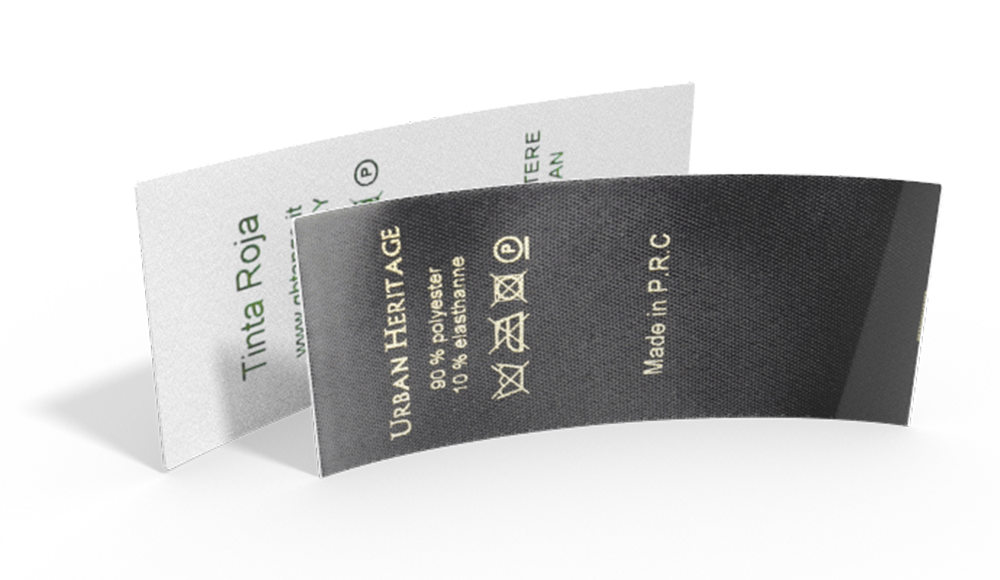
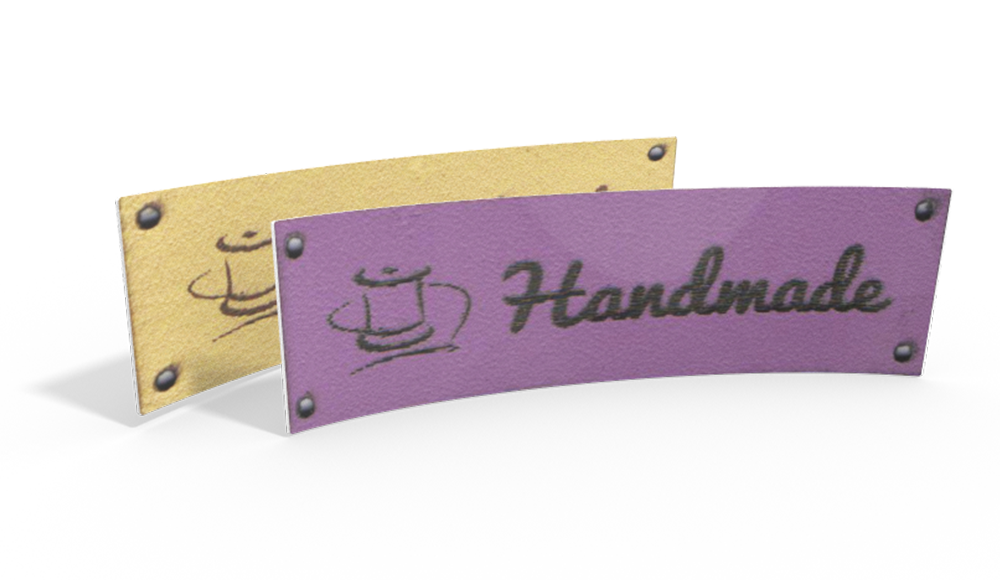
- Wunderlabel sew-on cotton label
How to sew a yoga pillow:
We will first make a pattern for the yoga pillow. Cut the fabric to size as follows:
You need two circles with a diameter of 33 cm each, a rectangle measuring 100 cm x 17 cm and a rectangle measuring 16 x 18 cm for the handle.

Start by making the handle. This strap on the side of the pillow makes it easy to carry. Fold the rectangle in half lengthwise wrong sides together and iron the fold. Unfold the handle and fold both raw edges towards the center line. Iron again. Now fold the handle in half again so that the raw edges are on the inside, iron it again and sew along the long edges. The handle should now measure 4 x 18 cm.

Place the handle in the center of the long piece of fabric - this will be the sides of your cushion. Sew both ends close to the edge (the handle is a little longer so that you have room for your fingers later!) Sew the short ends of the large rectangle right sides together, with a seam allowance of 1 cm and a turning opening in the middle of approx. 10 cm.

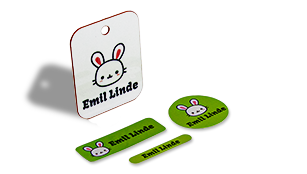
Finish by applying a personalized name tag to the side to make sure your DIY yoga pillow goes back to its rightful owner after class. :)

Next, sew the circles to the long piece of fabric. Secure the side piece evenly to one of the circles and pin it in place, either with clips or pins. This is easier if you mark four to eight evenly spaced spots with chalk on both the circle and the long piece. Then you just have to align the two pieces so that the marks line up. Sew the two pieces together with a 1 cm seam allowance. Then do the same with the other circle.

Turn the yoga cushion through the opening and fill it with spelt husk. If you like, you can use scraps of fabric or kapok fibres instead - the meditation cushion should end up relatively firm, rather than soft and fluffy. The turning opening is then closed with a ladder stitch.
Don't miss these blog posts from Wunderlabel:
How to Make a Quilted Throw Pillow: A 5 Post Series
Do You want to save this idea for later?
Simply bookmark the link to this blog post or add it to your "Favorites" so that you can quickly find it in your browser later.
Here is how to save the tutorial:
- On your computer: Click on the asterisk or the three dots in the top right hand corner or on the book icon in the top left hand corner (depending on the browser you use).
- On your Android smartphone: Click on the three dots in the top right hand corner and then on the asterisk.
- On your iPhone: Click the book icon at the bottom and add the link to your bookmarks or book list.

