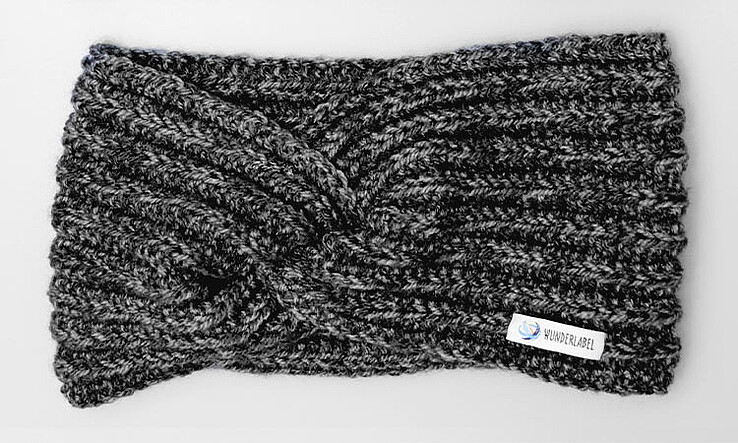
This knitted headband with a twist is a beautiful addition to your winter wardrobe. The advantage of knitting a headband yourself is that you get to choose the width. Today we will be showing you a wider band that fully covers the ears and still looks stylish. Choose yarn in your favourite colours and get started with our How to Knit a Headband with a Twist free tutorial.
What is a twist headband and how do you twist it correctly?
A twist headband is a knitted headband that is twisted at the front. This twist in a knitted headband is achieved by sewing the ends together in a certain way. You can find more details in the instructions below in the twisted headband tutorial.
How many stitches should I cast on for a twist headband with a head circumference of 58 - 59 cm?
To knit a DIY twisted headband for a head circumference of 58 - 59 cm, cast on 37 stitches if the yarn is not too thick (approx. 50 g / 150 cm).
You will need the following for this twisted headband knitting pattern:
- 100 g soft yarn (50 g / 150 m)
- Knitting needles no. 3
- Tapestry needle
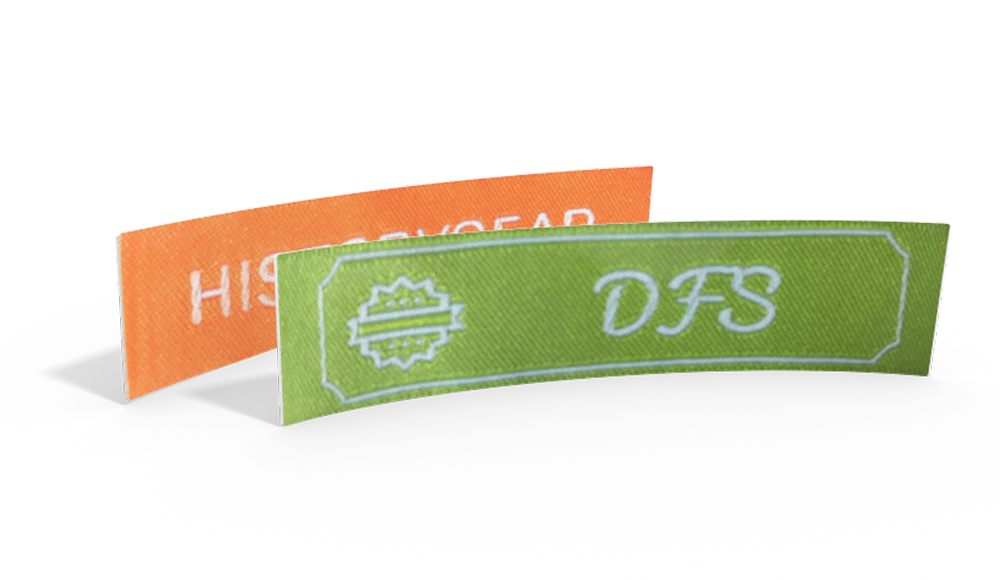
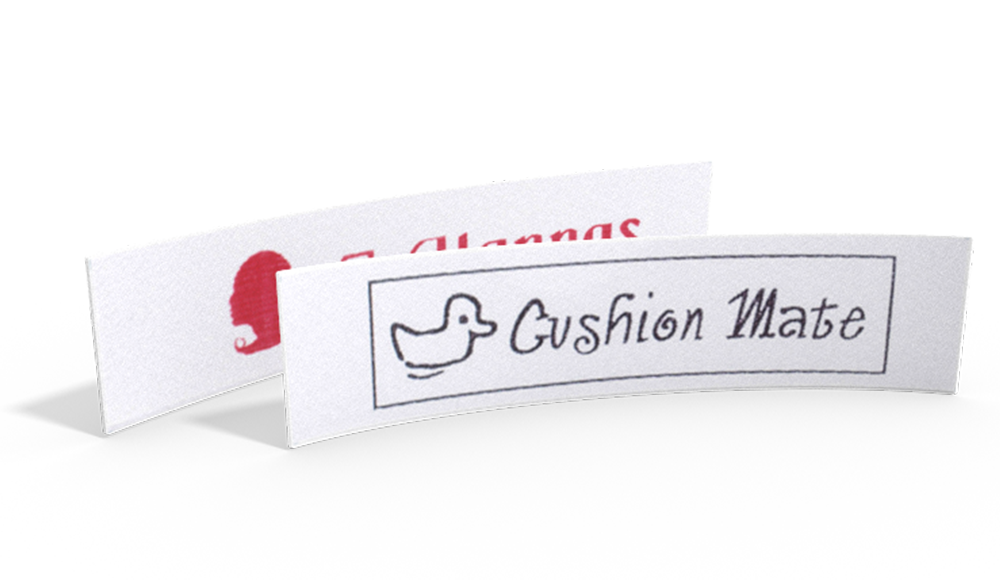
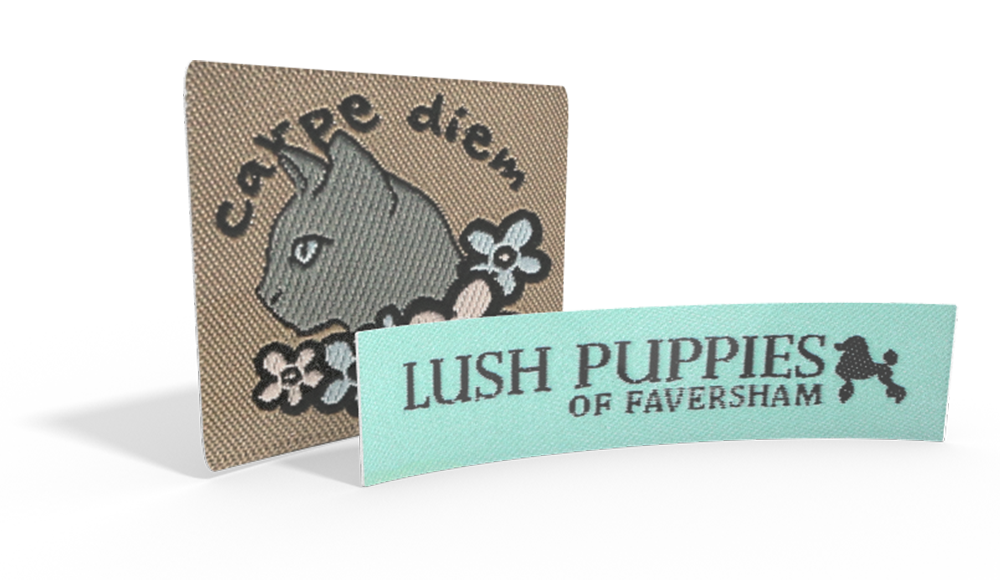
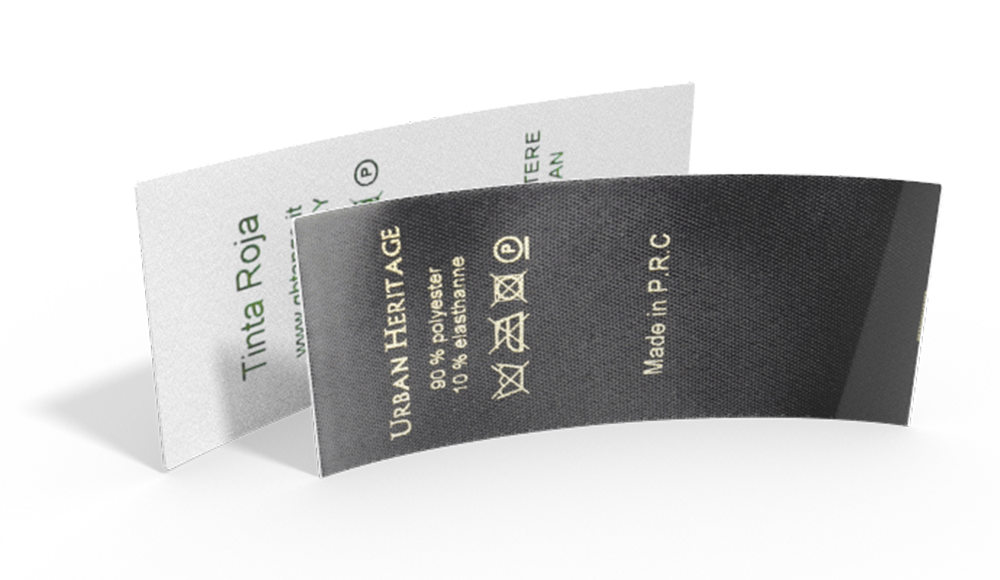
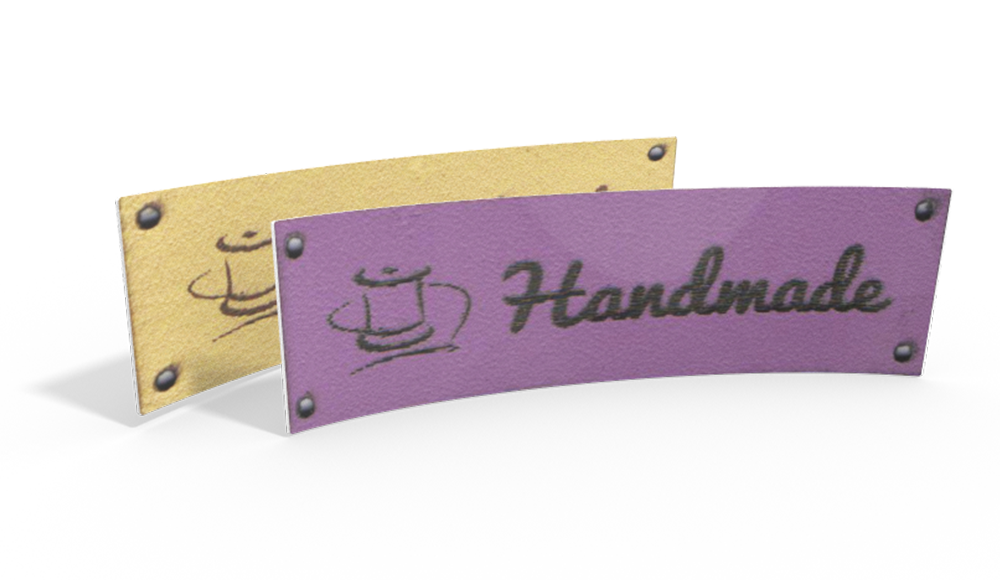
- Your own handmade label
Twisted Headband Tutorial
Beginners will find it easier to knit vertically. See the first picture.
Step 1. Cast on 37 stitches.
Step 2. Now you can simply knit the rows back and forth until your band reaches a length of 56 cm. The best thing about this design is that you can adapt the pattern to suit your taste and skill level. You can simply knit all the stitches in both rows or alternate knitting and purling to get a rib pattern. But we would like to suggest a more interesting variation. If you knit according to this pattern, the ribs (marked green in the picture) will be particularly pronounced.
Twisted Ear Warmer Knit Pattern

Knitting Chart Symbols:
knit
purl
Repeat the pattern until the headband reaches a width of 56 cm.

Tip: Regardless of which pattern you have chosen for your knitted headband with twist, it is best to slip the first stitch of each row instead of knitting it. And the last stitch of every row should be purled. This creates a perfect border that doesn’t curl in.
Step 3. Cast off the stitches.
Step 4. Fold both ends in the middle and bring the edges opposite each other together to form a sandwich. You should end up with four edges lying next to each other.

Step 5. Sew the edges together to form the twist.

Step 6. Embellish your headband with a Wunderlabel tag for that special finishing touch!
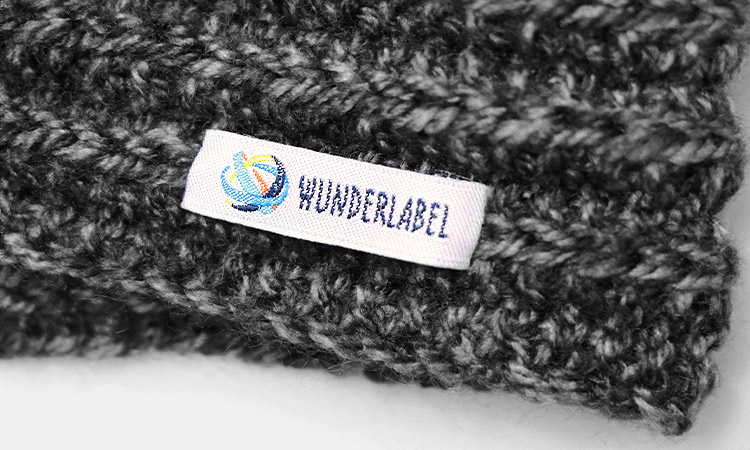
A knitted headband with a twist also makes a lovely present! Don’t forget to add some personalized stickers to the packaging.

Do You want to save this idea for later?
Simply bookmark the link to this blog post or add it to your "Favorites" so that you can quickly find it in your browser later.
Here is how to save the tutorial:
- On your computer: Click on the asterisk or the three dots in the top right hand corner or on the book icon in the top left hand corner (depending on the browser you use).
- On your Android smartphone: Click on the three dots in the top right hand corner and then on the asterisk.
- On your iPhone: Click the book icon at the bottom and add the link to your bookmarks or book list.

