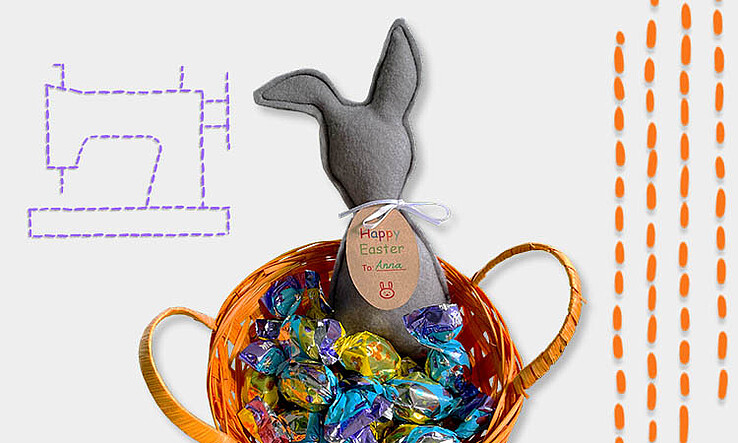
Easter without cute bunnies is just unimaginable in some places! The Easter bunny brings joy to young and old alike, and is an essential part of the seasonal decorations.
You can make your own Easter bunny decoration or simply buy one. We have made a DIY video for you, showing you how to quickly and easily make your own.
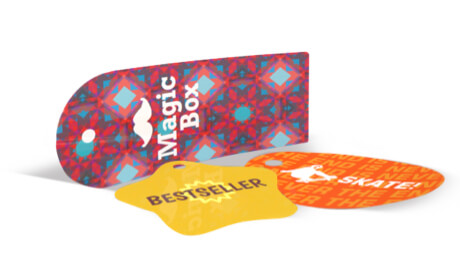
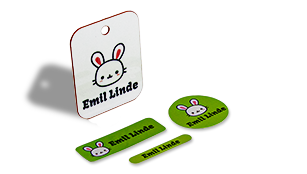
It’s perfect for adorning Easter gift baskets and you can add a hang tag with the recipient’s name.
You will need:
- Felt fabric (~3mm thickness), 400 x 300 mm
- Filling material (e.g. cotton wool)
- A pair of scissors
- Tailor's chalk
- A stick for stuffing
- The bunny template in A5 format, pdf download
- Your own custom hang tag
Instructions:
1. Print the template in A5 format and transfer it to the fabric using the chalk. Repeat the process to get two identical pieces.
 2. Use a straight stitch to sew the 2 pieces together. Remember to leave the bottom part open so you can stuff the bunny in the next step.
 3. Stuff the bunny with the filling of your choice with the help of a stick or a similar tool. Make sure to distribute the filling evenly.
 4. Next, sew the bottom of the bunny closed.
5. Add a finishing touch by hanging your custom tag around the bunny’s neck. Enjoy your handmade decorative Easter bunny!

Do You want to save this idea for later?
Simply bookmark the link to this blog post or add it to your "Favorites" so that you can quickly find it in your browser later.
Here is how to save the tutorial:
- On your computer: Click on the asterisk or the three dots in the top right hand corner or on the book icon in the top left hand corner (depending on the browser you use).
- On your Android smartphone: Click on the three dots in the top right hand corner and then on the asterisk.
- On your iPhone: Click the book icon at the bottom and add the link to your bookmarks or book list.

