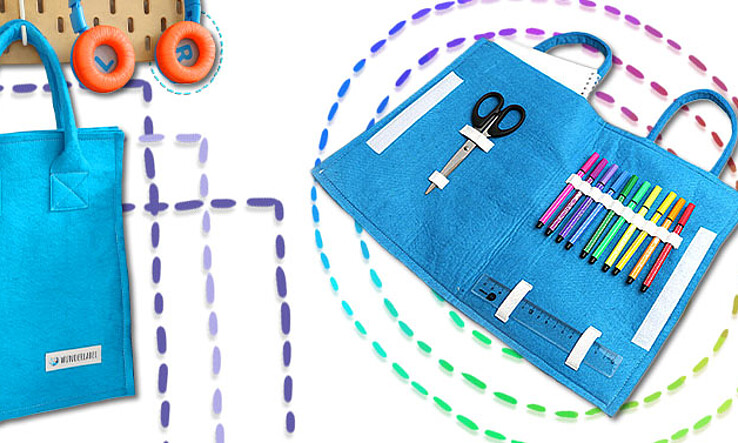
Looking for an easy sewing project? Why not sew an organizer folder? It makes a great present for children and can be used to store all essential art supplies like pencils, ruler, eraser, scissors and sketch pad. Best of all, this art supply bag can be taken anywhere. It folds and has practical handles for carrying.
The organizer folder measures 11.7” x 8.3” (29.7 x 21 cm) when folded.
What fabric should you choose for an art organizer folder?
To make a sturdy organizer folder, a 3 mm thick felt fabric is ideal. Felt is also easy to work with.
What size should the art supply bag be?
If you are sewing an organizer folder for on the go then it should be large enough to fit an A5 (5.5" X 8.5") sketchbook. The optimal size for your art supply bag should therefore be approx. 11.8” x 8.3” (30 x 21 cm).
To sew an organizer folder you will need the following:
- 2 sheets of felt (3 mm thick) in size A3 (11.7” x 16.5” / 29.7 x 42 cm)
- 2 strips of felt for the handles (0.8” x 16.5” / 4 x 42 cm)
- Elastic band and Velcro strips
- Clips, pins, ruler and a thread of your choice
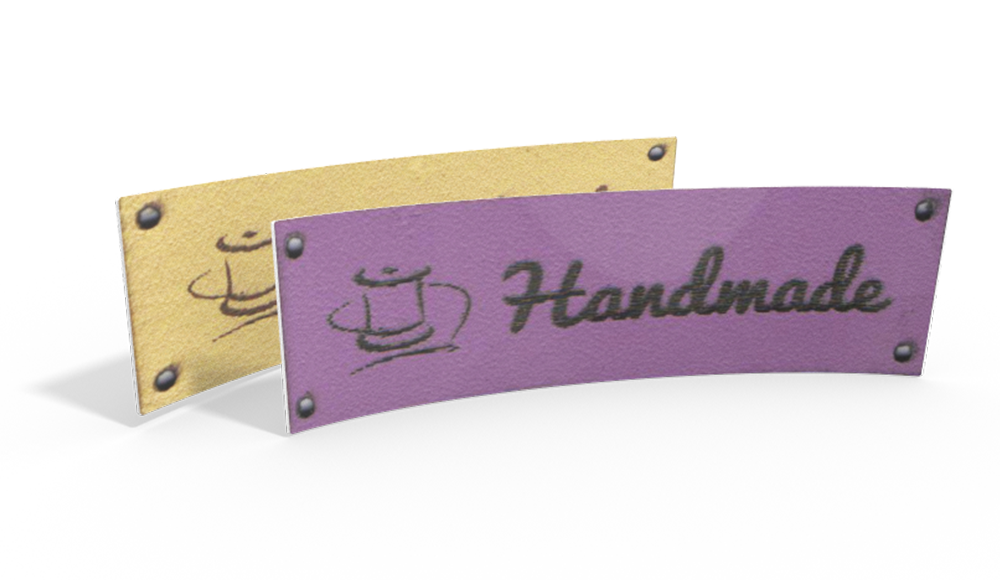
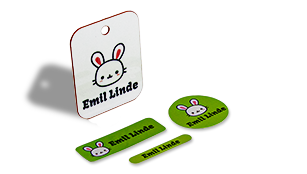
- Name label
Instructions: How to sew an organizer folder
1. There is no need for a pattern for this organizer folder as we will be sewing it from a standard size piece of felt. Start off by getting your materials ready. If you can, buy the felt pre-cut to the required size.
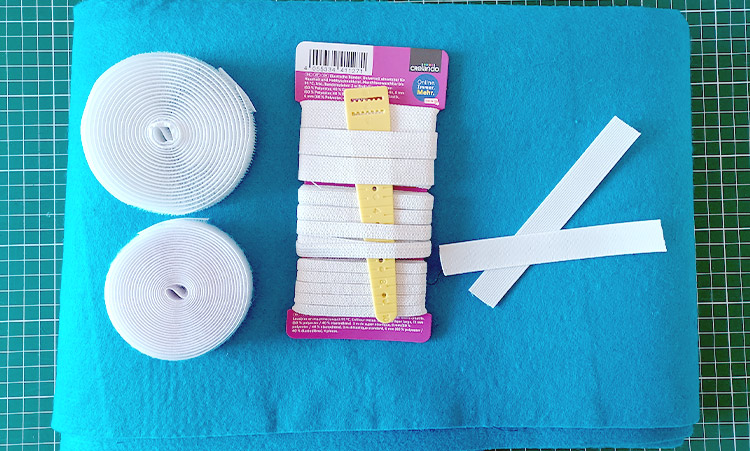
2. Cut the felt to size if it doesn’t already have the correct measurements (11.7” x 16.5” / 29.7 x 42 cm).
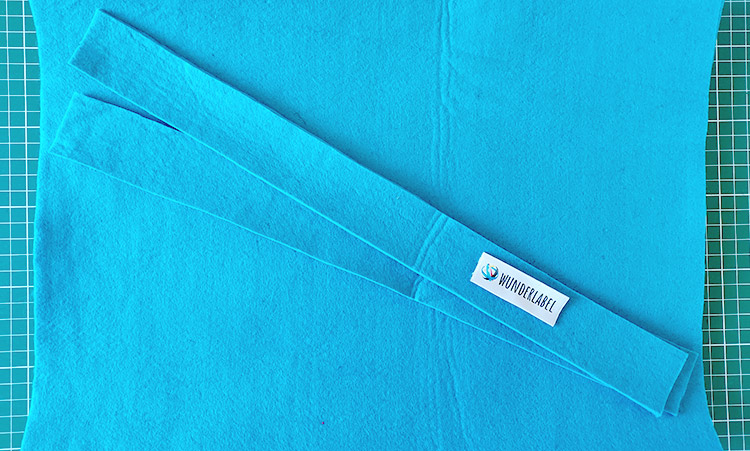
3. Place the label on the front in the lower right hand corner, pin it in place and then sew it on. Use a stitch length of between 2.5 and 3, depending on the size of your label.
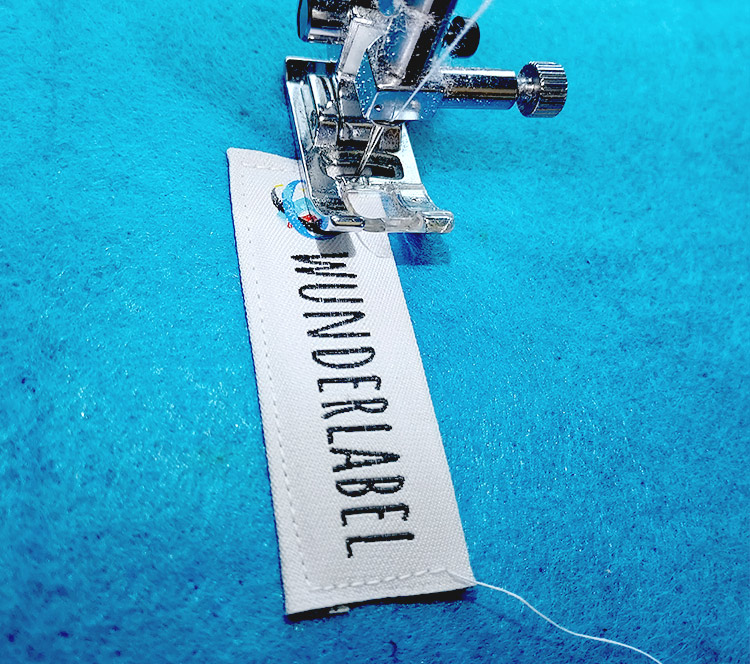
4. Clip the handles together lengthwise then sew all the way except for the last 2.8” (7 cm). Make sure that the stitches are locked properly at the beginning and end of the handles! Use a stitch length of 3.
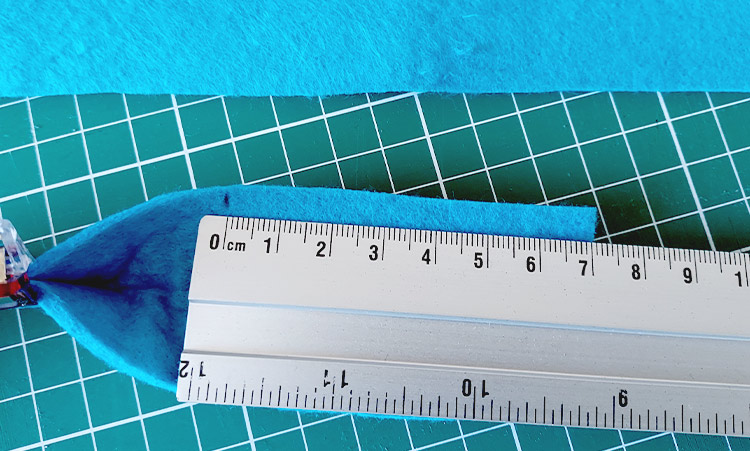
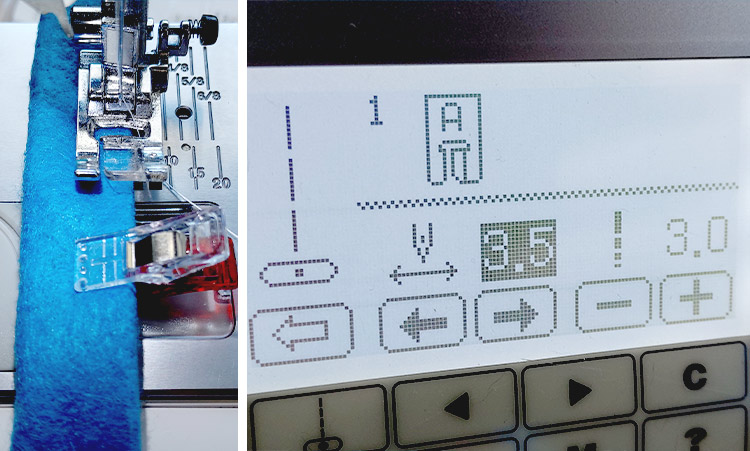
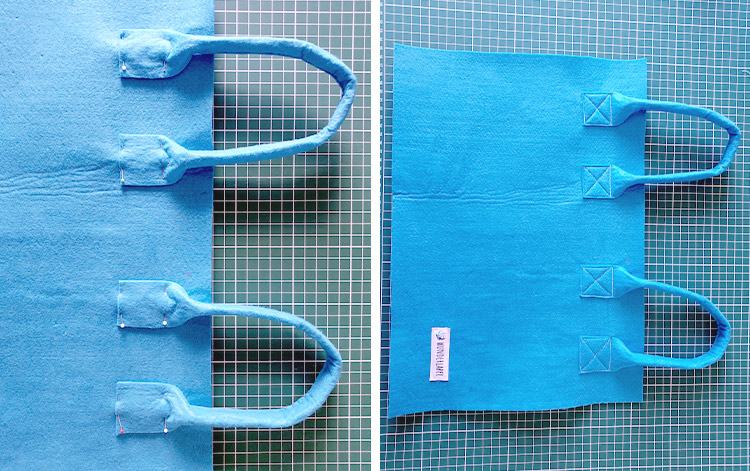
5. Attach the handles individually but symmetrically to the front and back. Be sure to measure the distances and correct them if necessary.
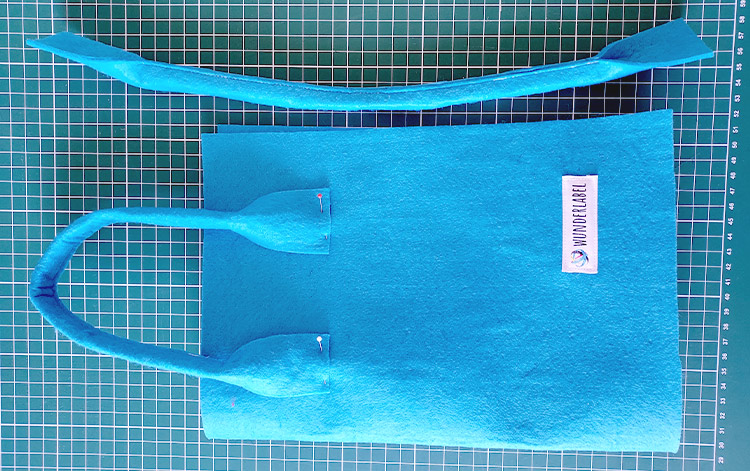
6. Stitch the handles in place by sewing a cross shape. It is a good idea to start the bottom seam first.
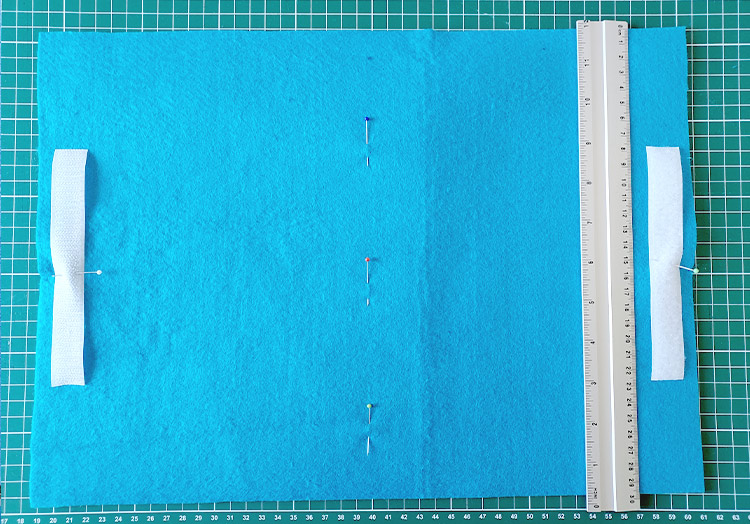
7. We will now start working on the inside of the organizer folder (2nd piece of felt). Section the sheet in half with pins as a reference point. Place the velcro strips on the far right and far left. The length of the velcro is entirely up to you. We used a length of 5.9” (15 cm) and pinned the strips in the middle. Proceed to sew the velcro strips on with a straight stitch.
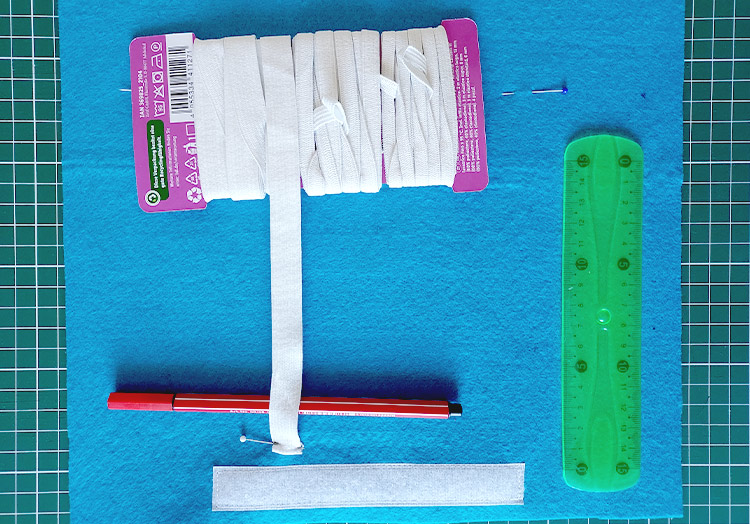
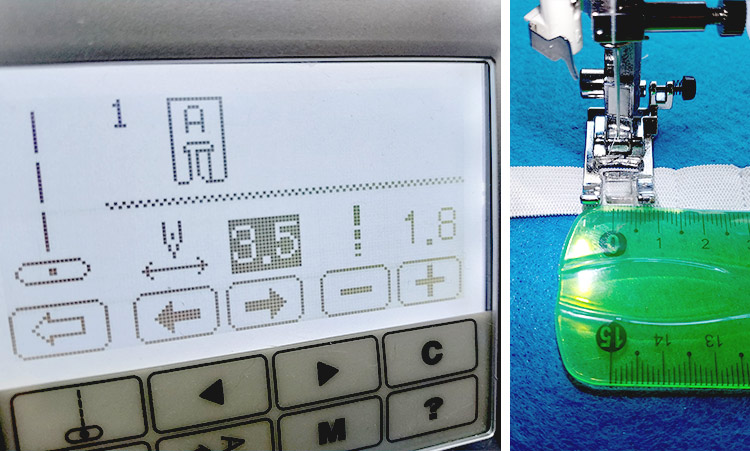
8. Next, place the pencils onto the felt fabric and pin the elastic band in place around them. Thinner pencils usually require about 0.6” (1.5 cm) of elastic, thicker ones about 0.8” (2 cm). You will need to measure the ruler, scissors and other items individually.
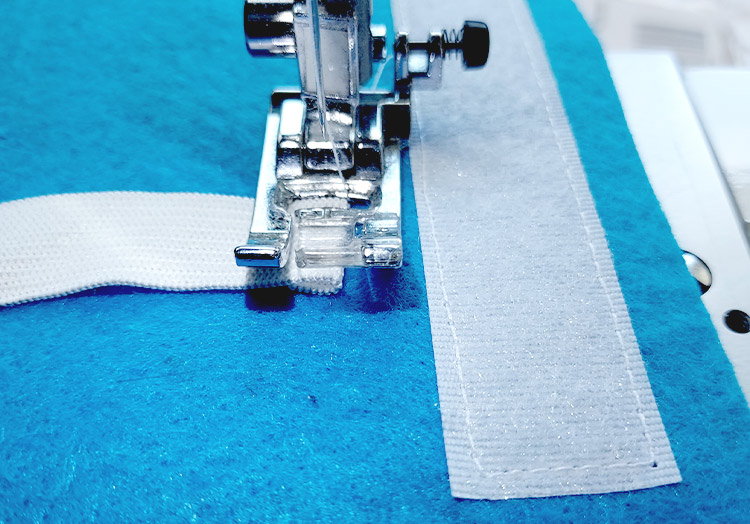
9. Sew the elastic band on with very small stitches. Keep double-checking your measurements as you go along.
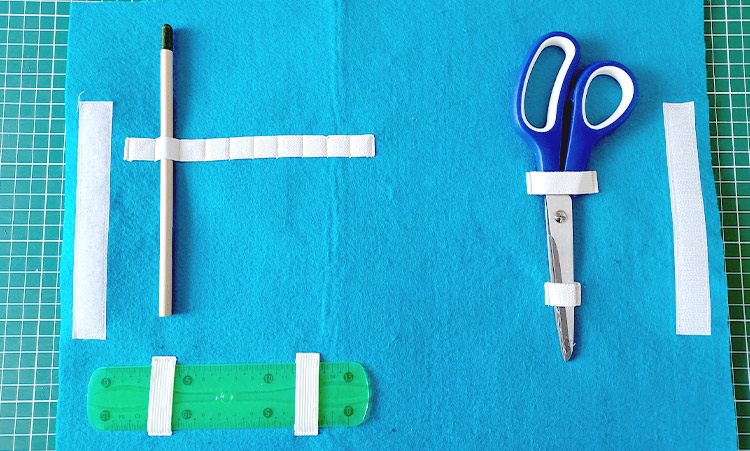
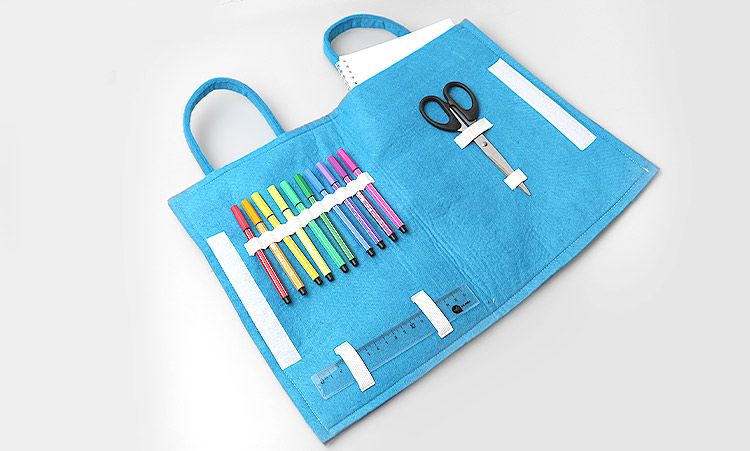
10. This is what the inside of our art supply bag looks like. You can arrange the elastic bands any way you like and add more for different items, for example a glue stick.
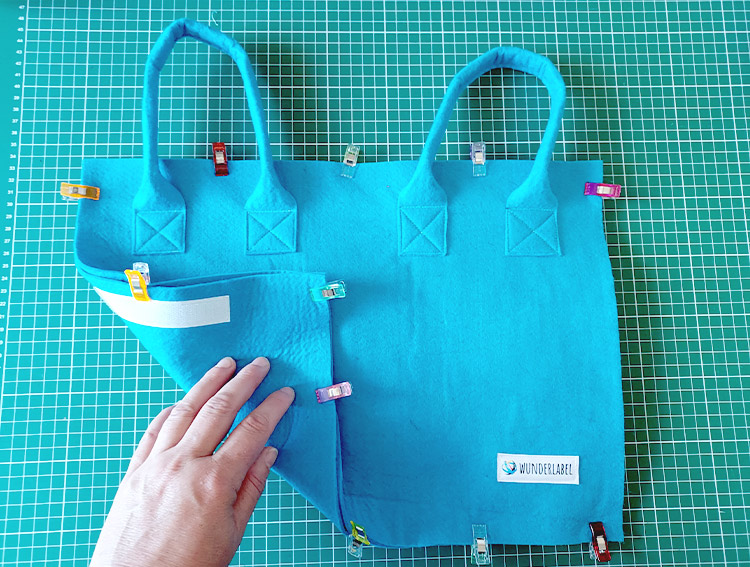
11. We have made it to the last step: Clip and then sew the two pieces of felt together. Important! If you need space to store a drawing pad then you need to leave the top open.
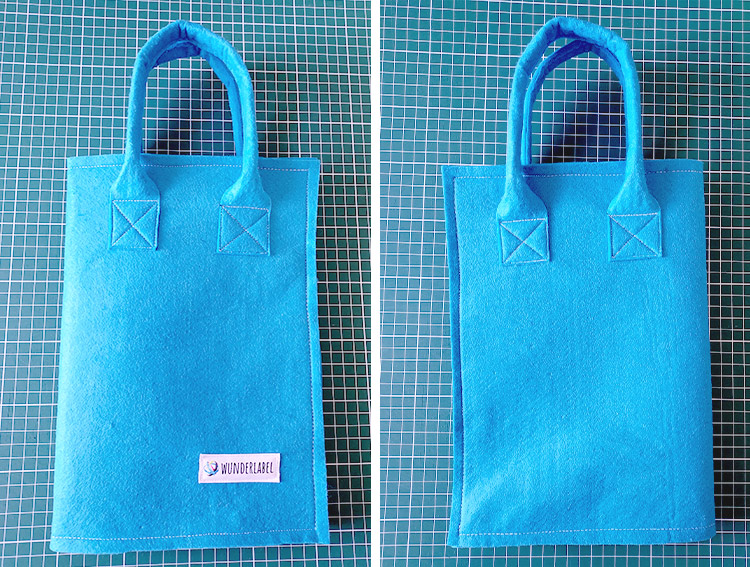
12. This is what our organizer folder for art supplies looks like:
Do You want to save this idea for later?
Simply bookmark the link to this blog post or add it to your "Favorites" so that you can quickly find it in your browser later.
Here is how to save the tutorial:
- On your computer: Click on the asterisk or the three dots in the top right hand corner or on the book icon in the top left hand corner (depending on the browser you use).
- On your Android smartphone: Click on the three dots in the top right hand corner and then on the asterisk.
- On your iPhone: Click the book icon at the bottom and add the link to your bookmarks or book list.
