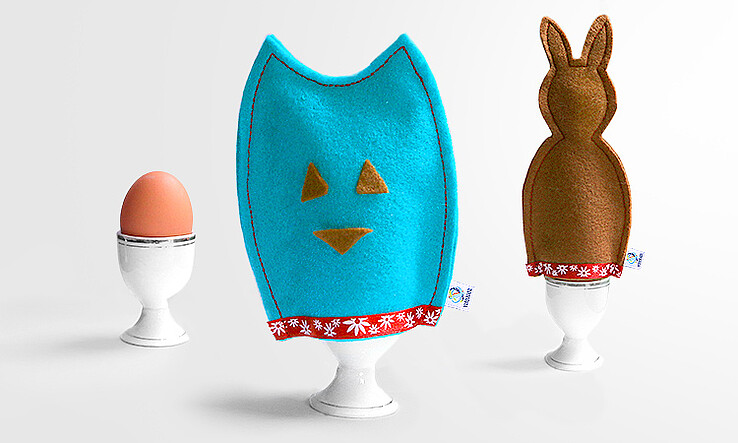
Easter is just around the corner so get ready with this egg warmer project for your festive table! Our free tutorial will show you how to quickly sew Easter egg hats from felt and even how to create unique designs.
Choose a shape or copy our Easter bunny and little monster.
This quick and easy project is sure to bring color to your table!
You will need the following to make two egg hats:
- Paper for the pattern
- 2 mm felt
- Sewing thread– either in matching or contrasting colors
- Ribbon or ric rac trim if you want to add some colourful detail to your Easter egg hats
- Craft glue
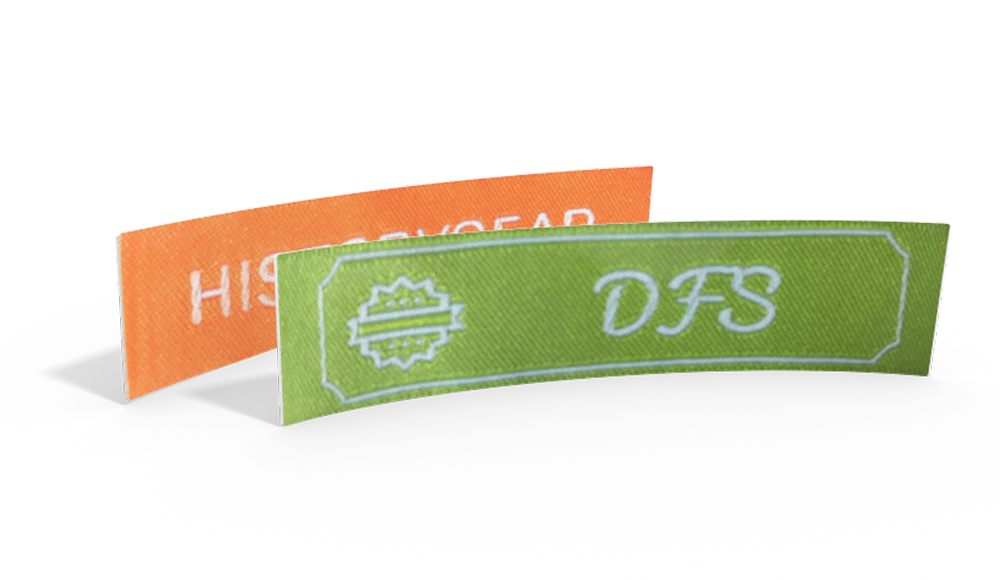
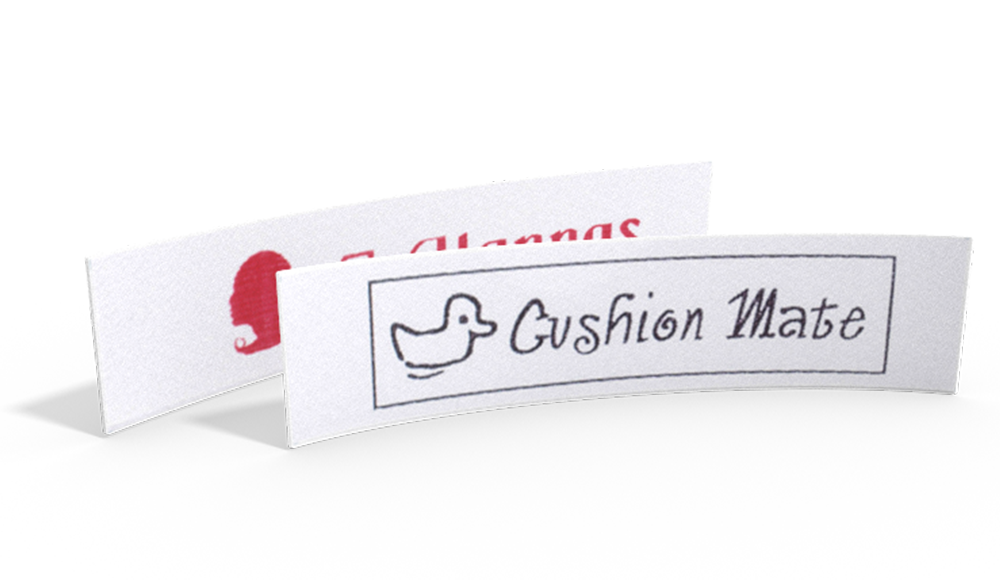
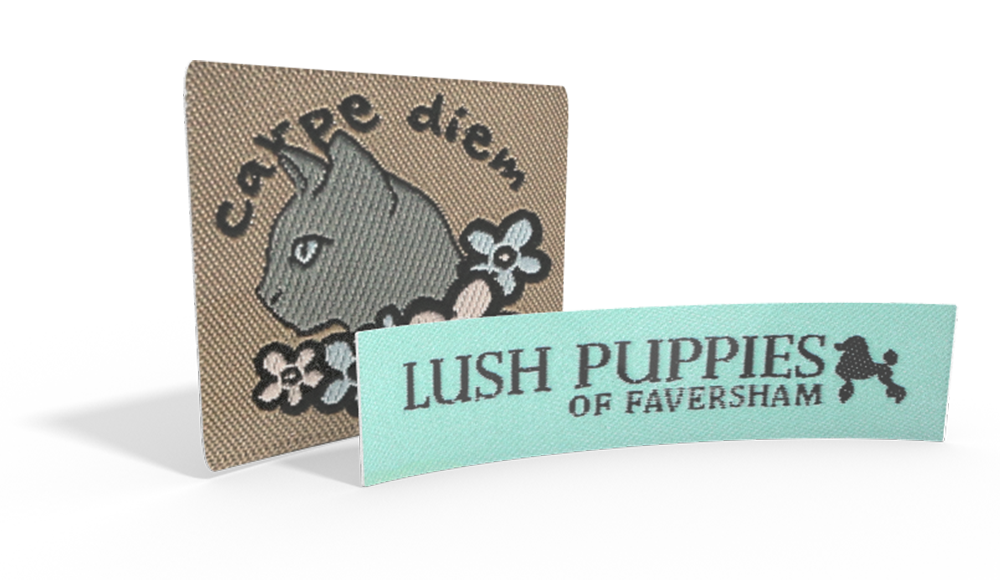
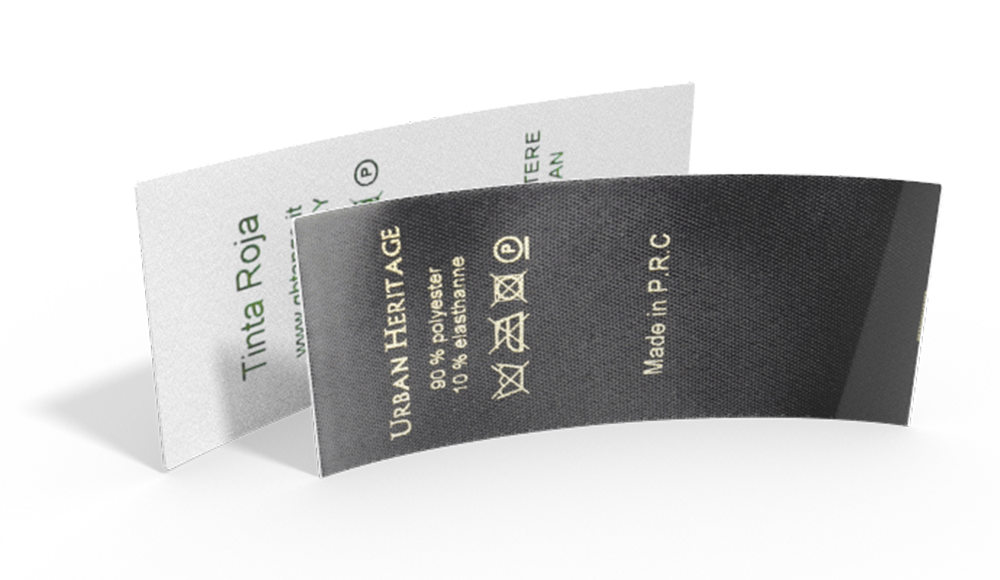
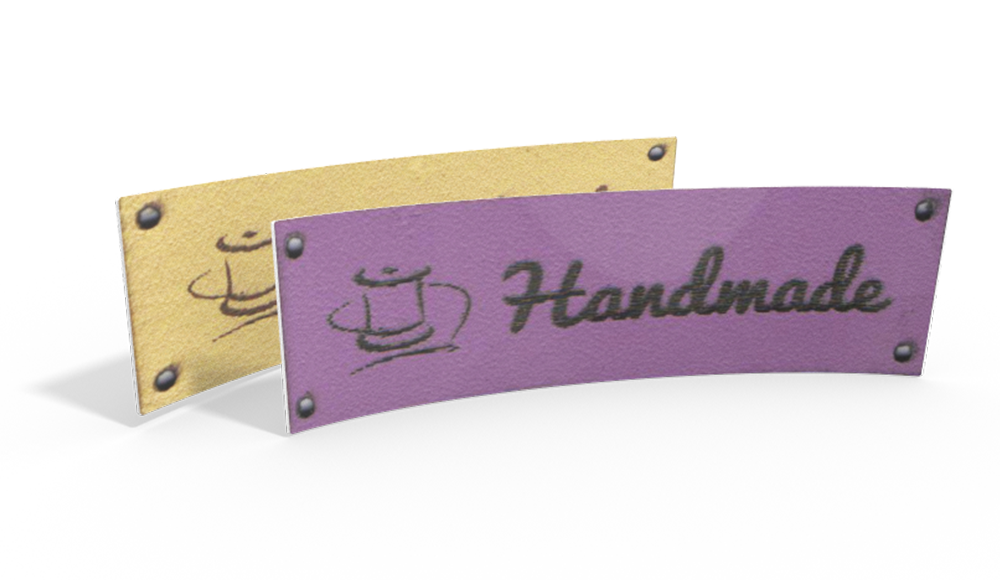
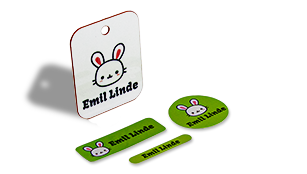
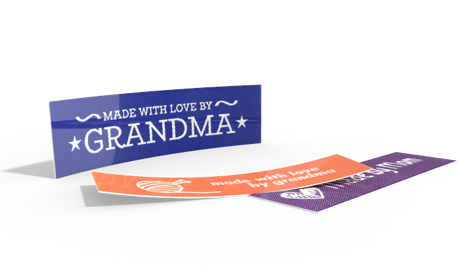
- Handmade label with your logo or name
First sketch the pattern on paper. Start with an egg shape measuring 9 x 10 cm (3.54” x 3.94”) – how you decorate the outside is completely up to you! We chose two different shapes: a bunny and a little monster. Remember that you’ll have to cut out your design so make sure not to draw anything too complicated.
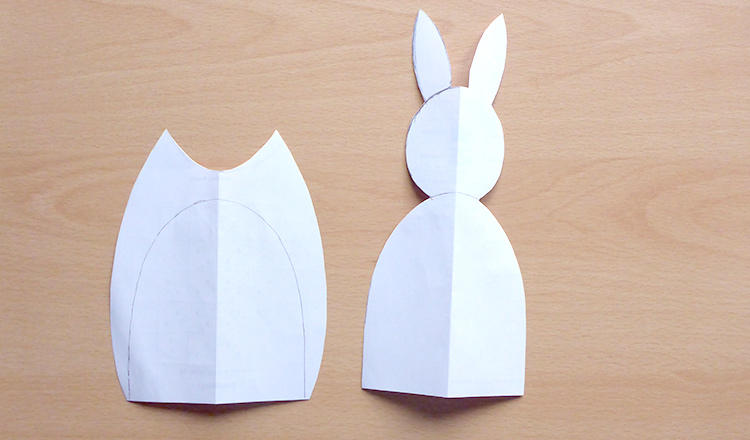
When you are happy with your designs, cut them out and use them as patterns. You will need two pieces of felt for each of your egg hats. Cut them both out, preferably at the same time to make sure that they are identical.
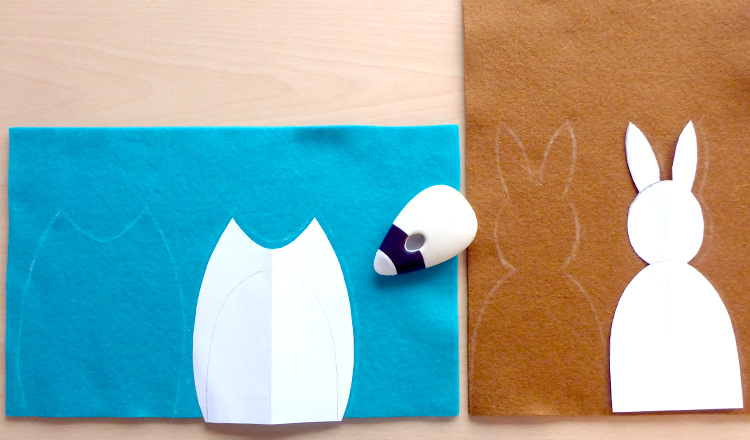
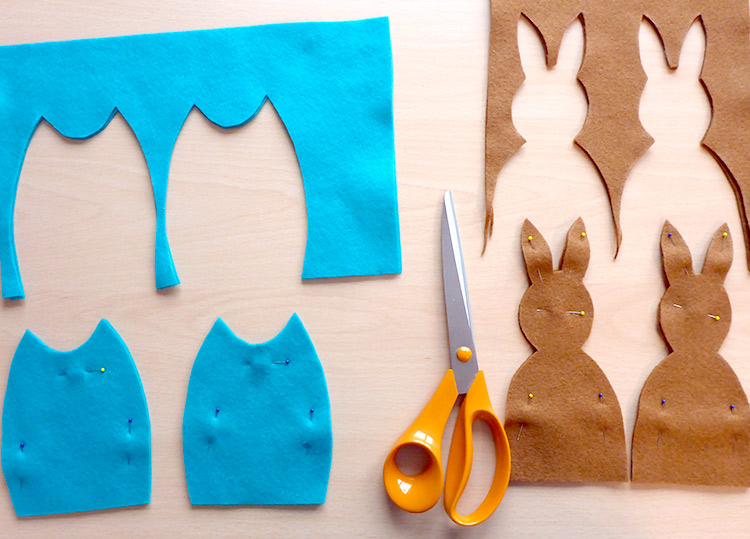
You can now decorate your Easter egg warmer, if you wish. We gave our little monster a face and attached some ribbon to add color.
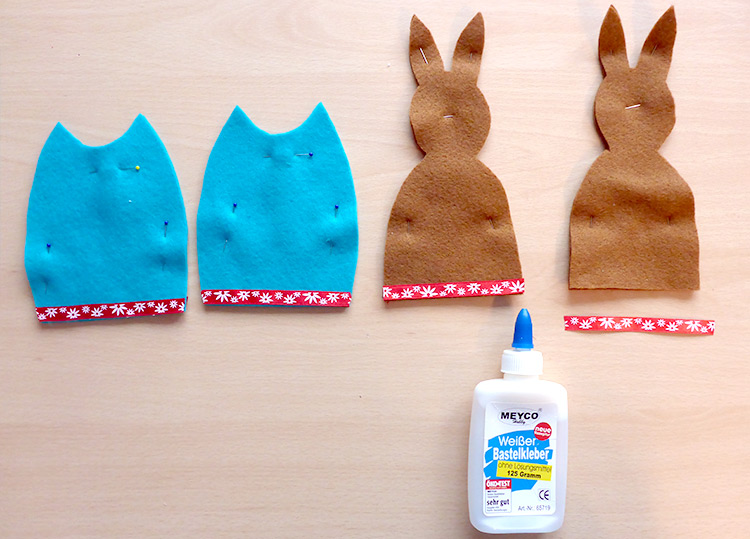
Place the two pieces of felt on top of each other with the wrong sides together and sew along the border with an edgestitch. Don’t forget to leave the bottom open! If your pattern has some tricky spots you can just sew past them.
The label with your design should be sewn in between two pieces of felt.
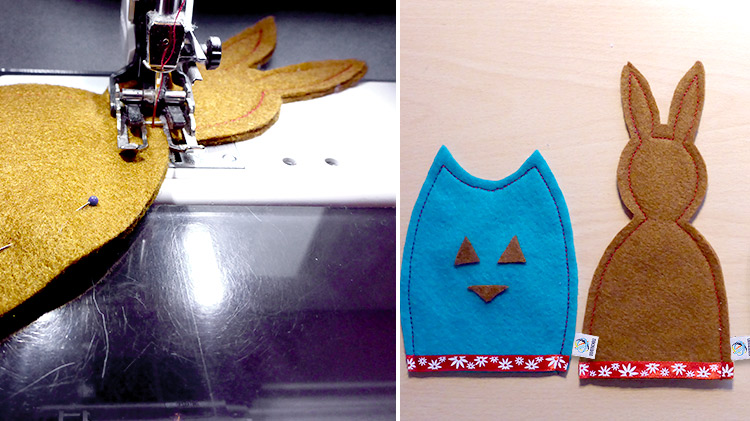
You can now add some more decorations. The beauty of felt is that it doesn’t fray.

No need to turn your project or tidy up the seams. Your Easter egg hat is ready to enjoy.
Such a fun craft to do with your kids during Easter break!
