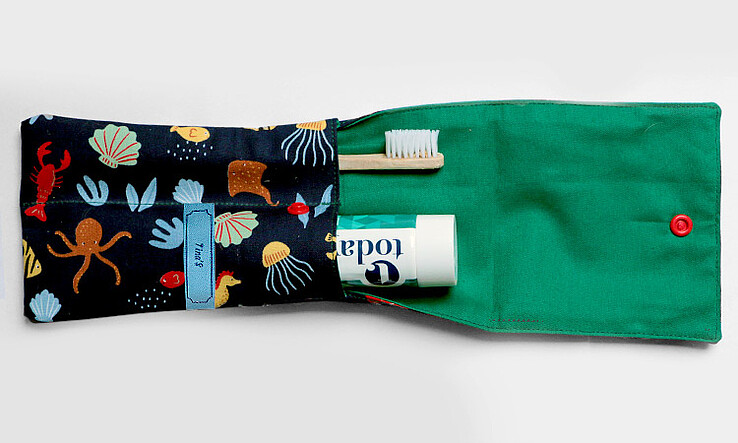
Are you planning your next trip? After not being allowed to travel for so long you might be out of practice when it comes to packing a suitcase! In this free tutorial we will show you how to sew a toothbrush pouch to keep your toothbrush and toothpaste handy, organized and clean. This DIY travel toothbrush case measures 23 x 11 cm and has two compartments for one or two toothbrushes and a tube of toothpaste. If you are traveling with the whole family then simply make a bigger pouch.
You will need the following for your DIY toothbrush case:
- Fabric – two squares measuring 13.5 x 52.5 cm
- Interfacing – we used Vlieseline G700 but you can use any interfacing
- Snap fastener – either metal or plastic in a matching colour
- Matching sewing thread
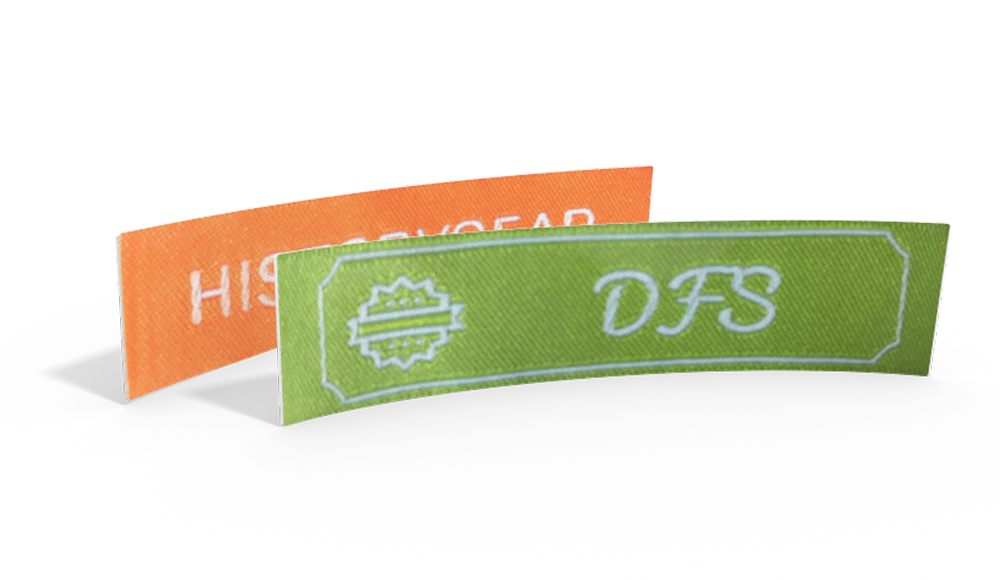
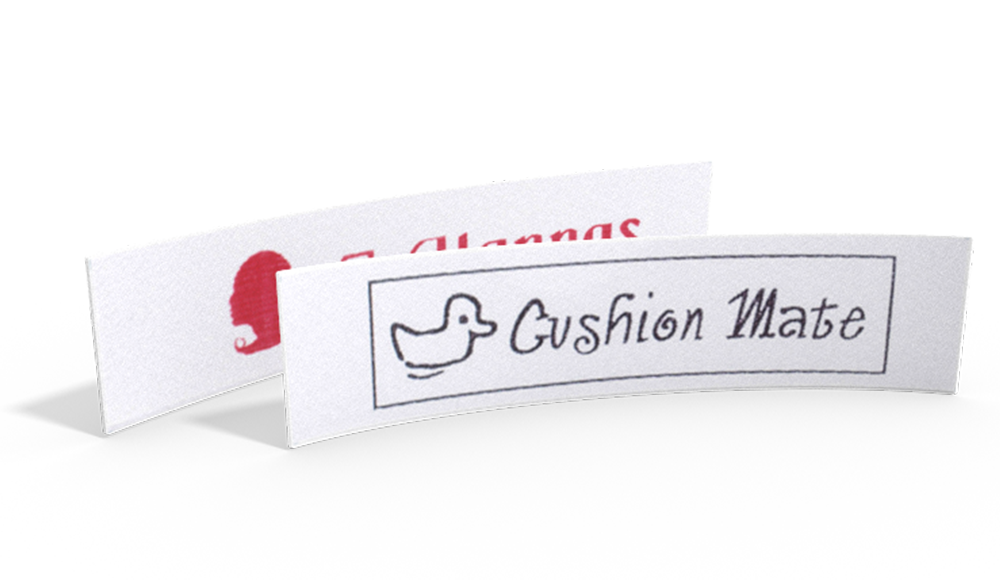
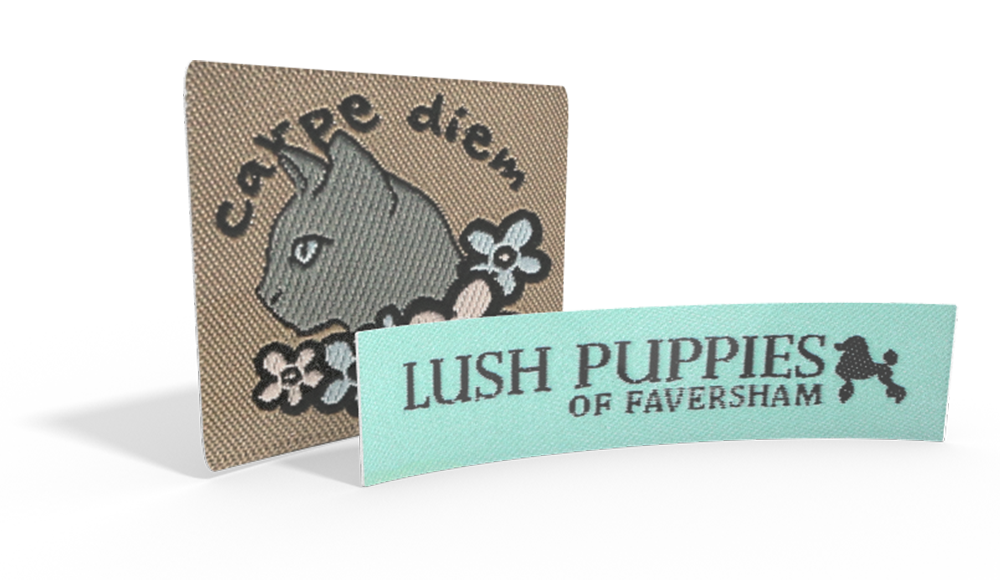
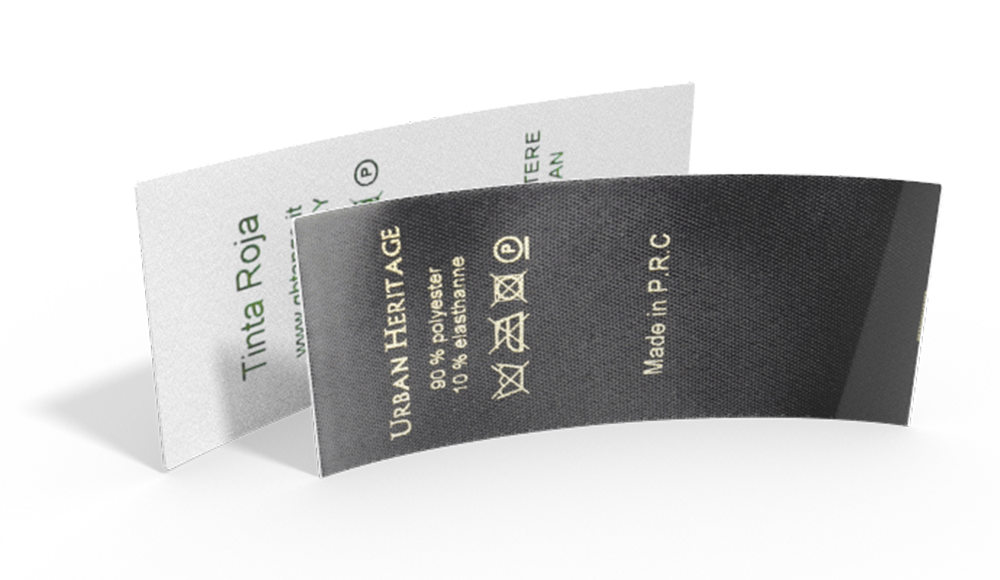
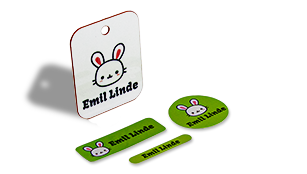
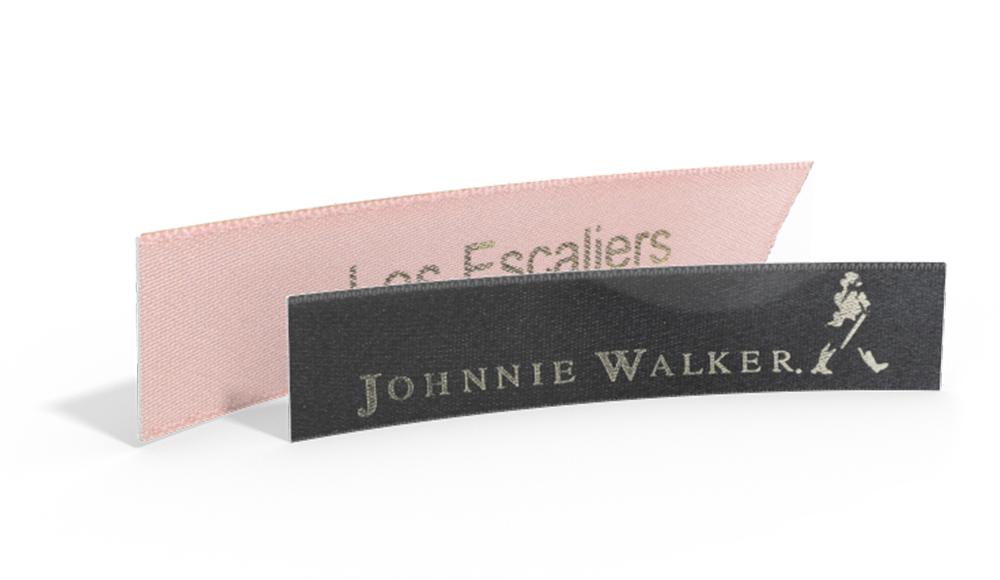
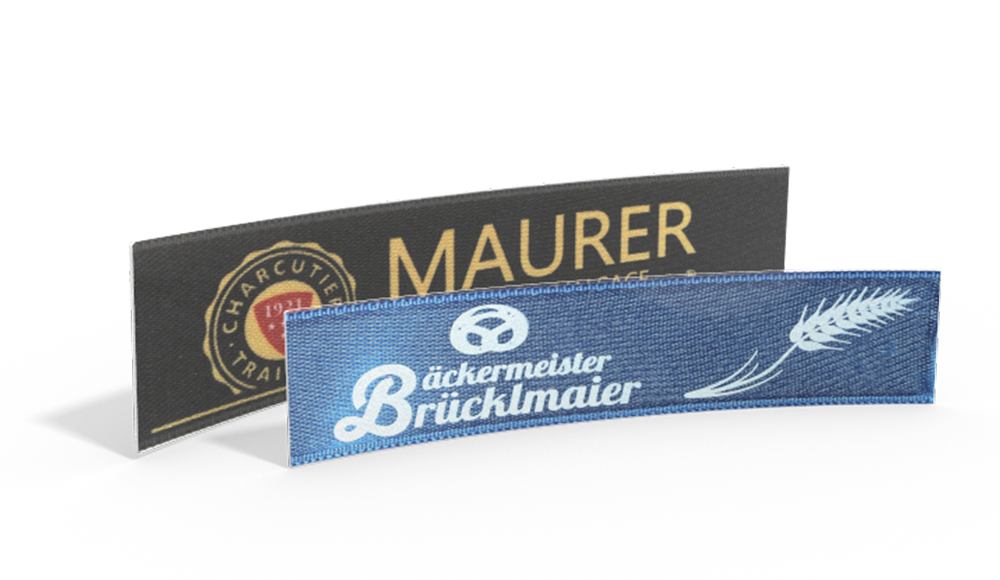
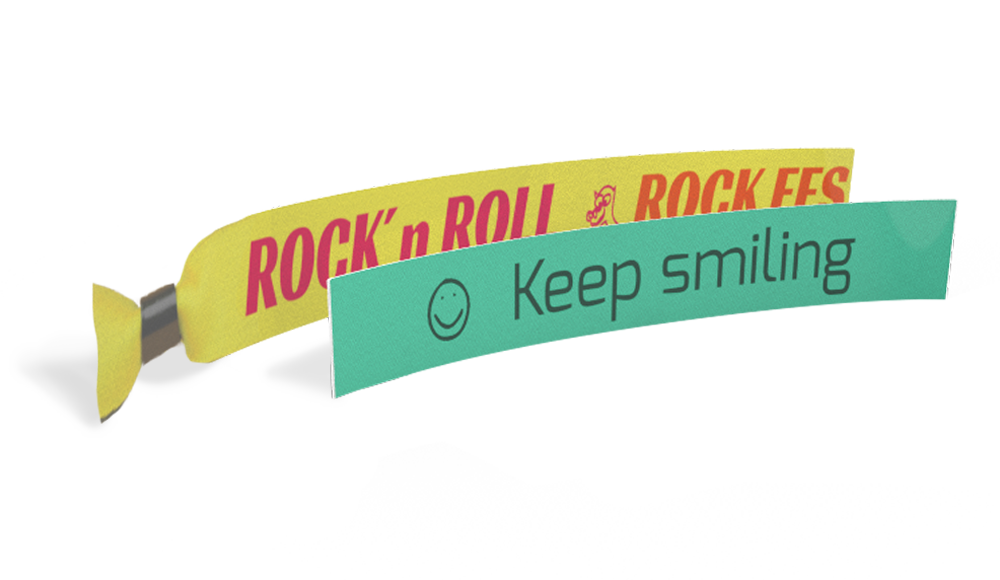
- Personalized name label
Iron the interfacing onto the wrong side of the outer fabric according to the manufacturer’s instructions.
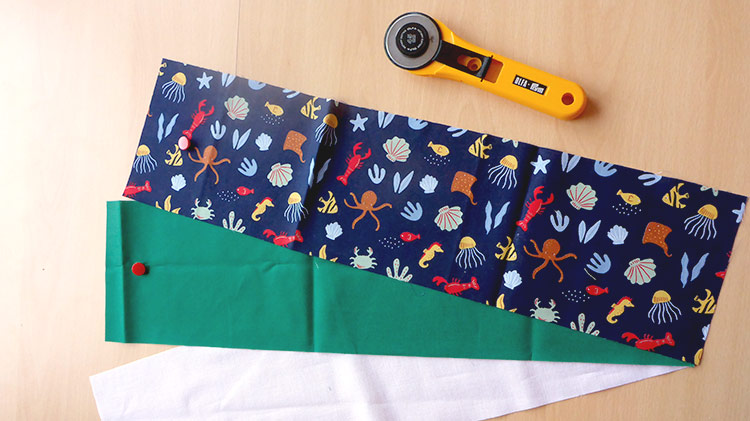
Place your fabrics right sides together and sew all around with a seam allowance of 0.75 cm. Leave a 5-10 cm opening on one of the long sides and lock your stitches before and after the opening so that it doesn't come undone. Then trim the seam allowance at the corners.
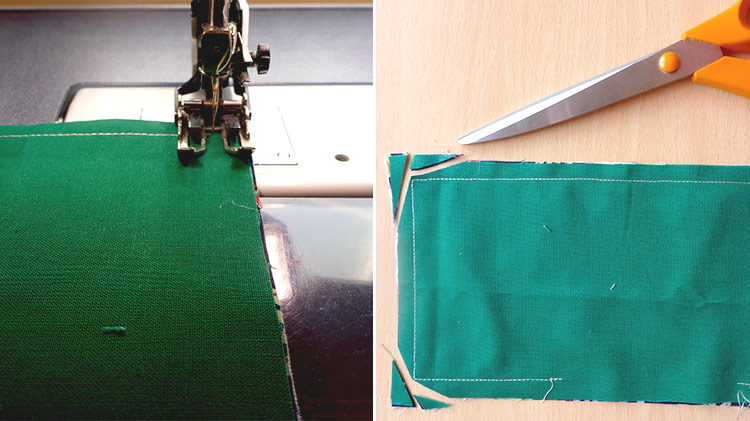
Turn the bag through the opening and shape the corners with a pointed object. Sew all around, closing the opening as well.

You will now need to decide which fabric you want for the outside of the pouch. We have chosen the fabric with the sea life pattern. Fold the bottom edge upwards by 15 cm with the outer fabric facing inwards - sounds strange, but it will make sense later! Sew together close to the edge (except at the top, of course).

Turn the bag so that the outer fabric is now on the outside again. If you want, you can also divide the bag with a vertical seam - just not exactly in the middle, otherwise you won't be able to attach the press stud later on.

All that' s left to do now is to place the snap fastener. Choose where you want to put it. If you have a toothbrush handy, you can check that the pouch closes properly before you continue. When you are happy with the positioning, simply attach both parts of the press stud according to the manufacturer's instructions.

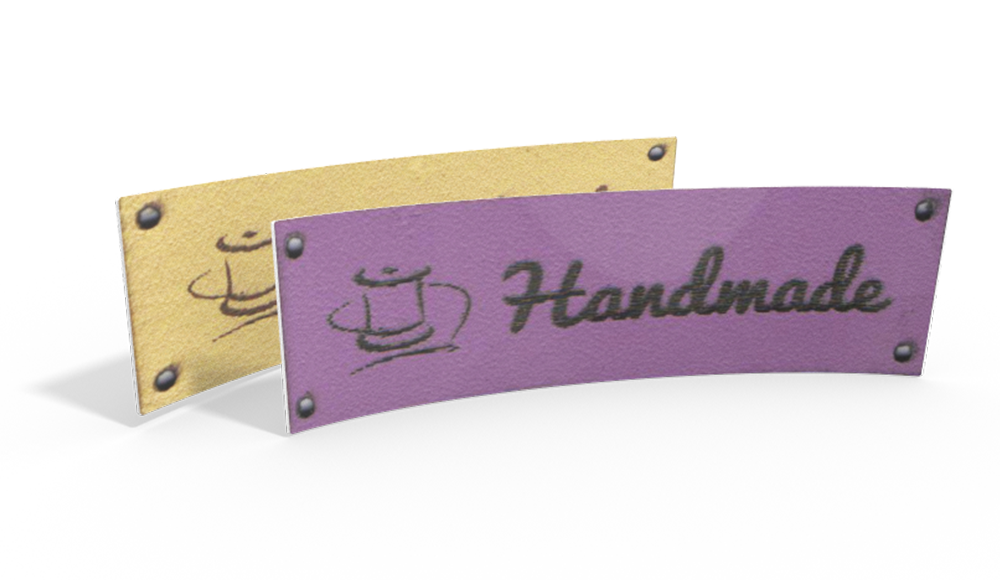
To finish off your DIY travel toothbrush holder, sew or iron on a custom name label with text and symbol to let everyone know who it belongs to.
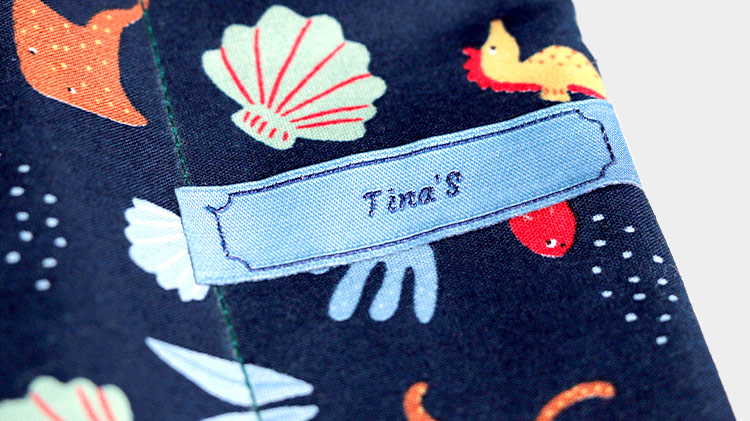
All set - with this toothbrush pouch travel will be just that much more organized! Enjoy!
Don't miss these blog posts from Wunderlabel:
Zipper Pouch Tutorial: How to Sew a Makeup Bag
Sewing Tutorial: DIY Car Organizer
Do You want to save this idea for later?
Simply bookmark the link to this blog post or add it to your "Favorites" so that you can quickly find it in your browser later.
Here is how to save the tutorial:
- On your computer: Click on the asterisk or the three dots in the top right hand corner or on the book icon in the top left hand corner (depending on the browser you use).
- On your Android smartphone: Click on the three dots in the top right hand corner and then on the asterisk.
- On your iPhone: Click the book icon at the bottom and add the link to your bookmarks or book list.

