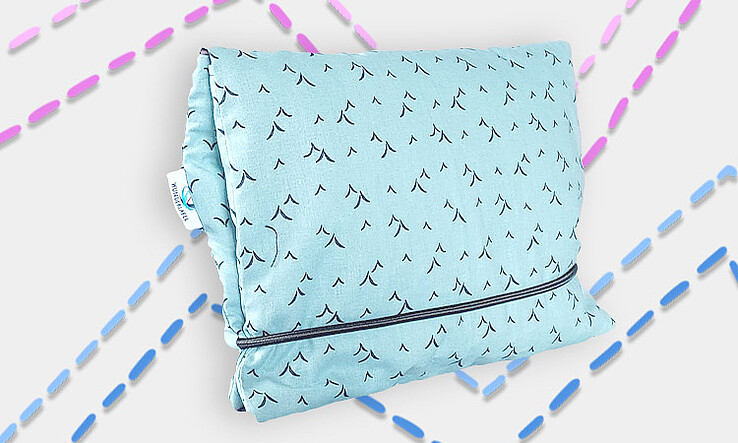
Anyone who has a baby knows that a changing pouch is indispensable. You can buy a diaper bag or just make one yourself. If you are in the mood for sewing then this is the perfect project for you! We will show you what materials you need and take you through every step of making a diaper bag in our free illustrated tutorial.
The changing pouch measures approx. 28 x 19 cm when folded.
What material is good for sewing a changing pouch?
The choice of material for your changing pouch / diaper bag depends on where you will be using it. If you plan on taking it with you then a waxed material would be best. Otherwise, you can use non-elastic fabrics like cotton, linen or denim.
How do you reinforce the nappy bag?
To reinforce and pad the changing pouch you will need volume fleece.
Materials needed:
- 4 x cotton fabric, 28 x 18 cm plus 1 cm seam allowance
- 2 x cotton fabric, 36 x 28 cm plus 1 cm seam allowance
- 1 x padding (volume fleece) 28 x 36 cm
- Elastic cord
- Matching sewing thread
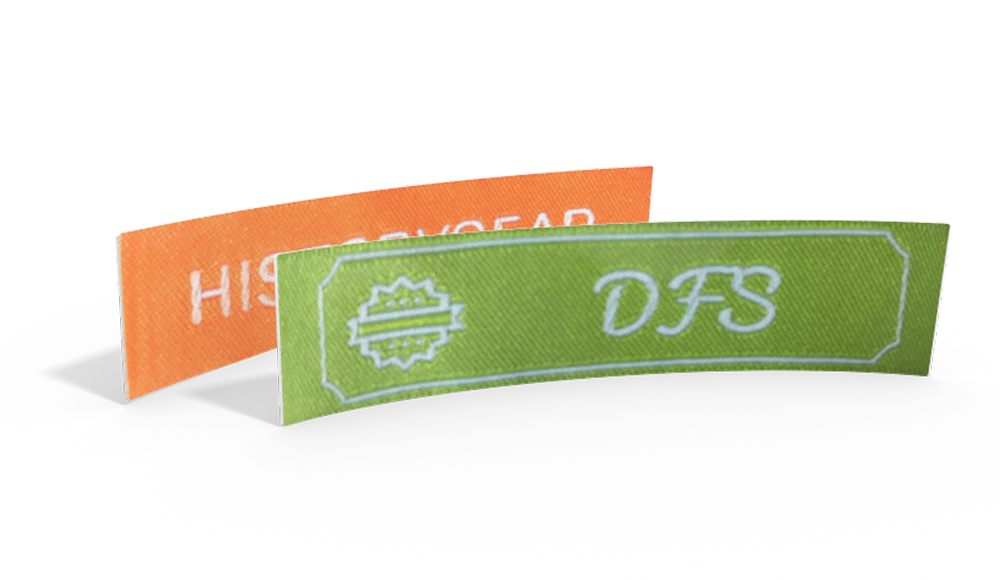
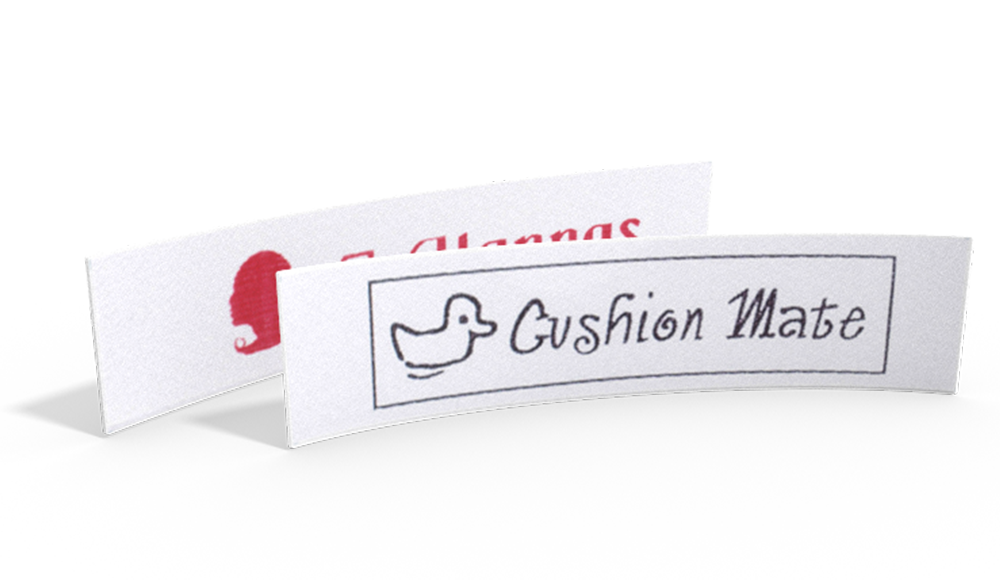
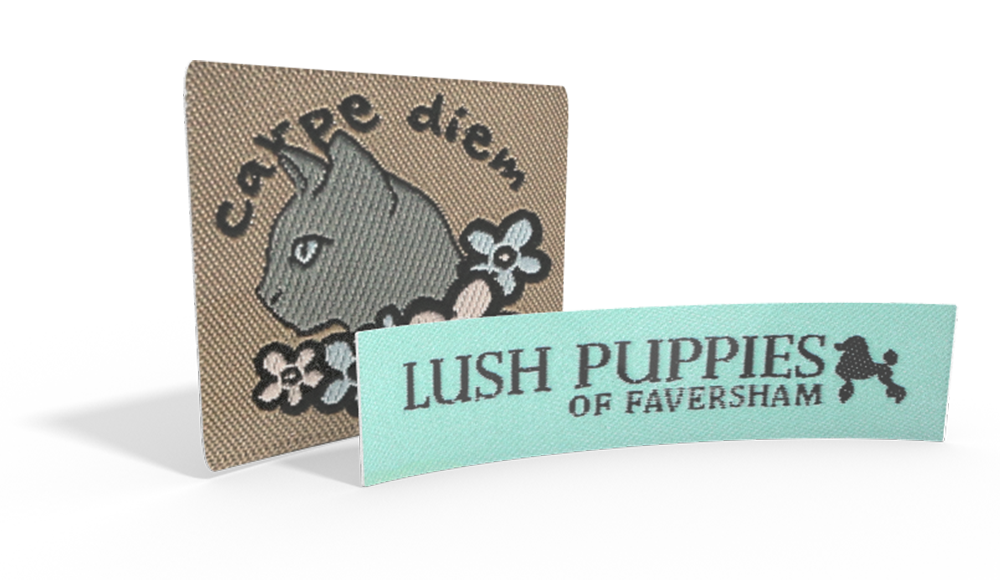
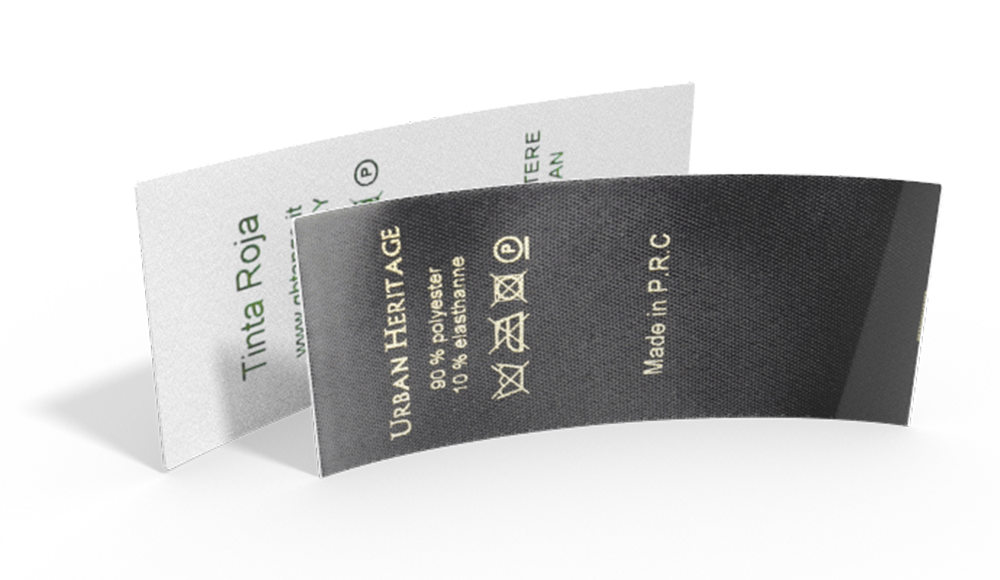
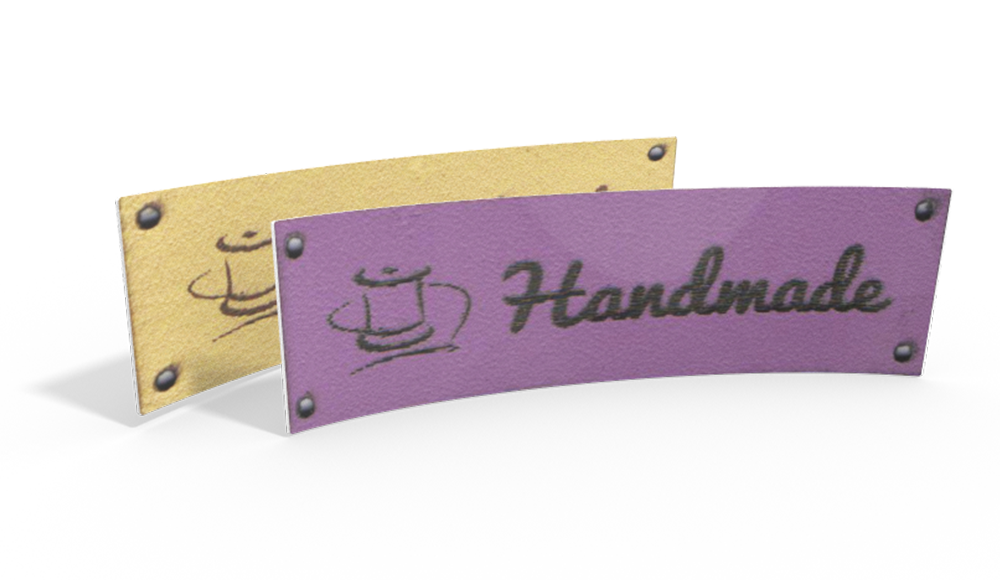
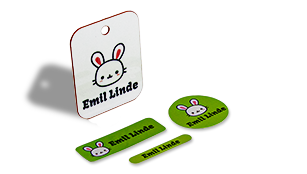
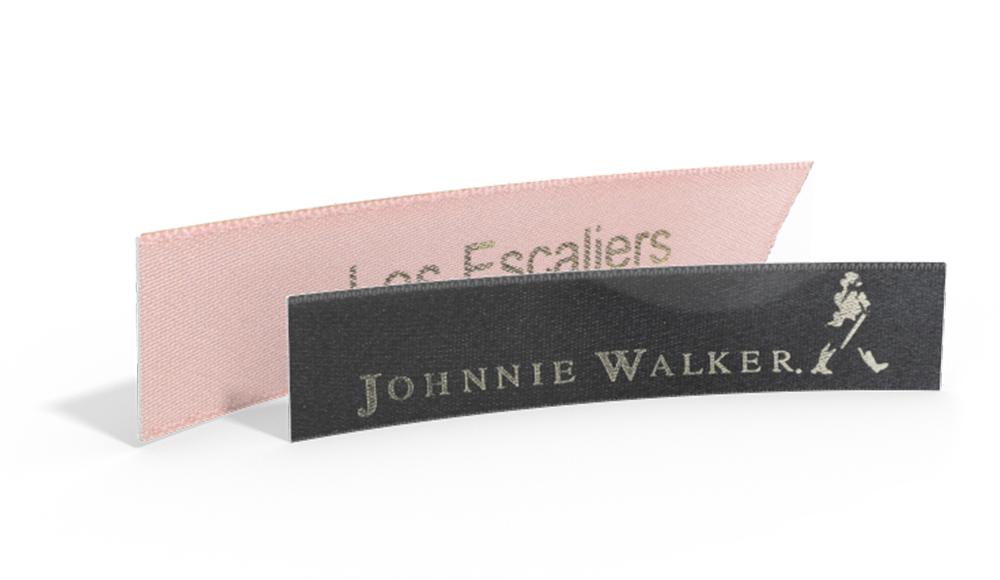
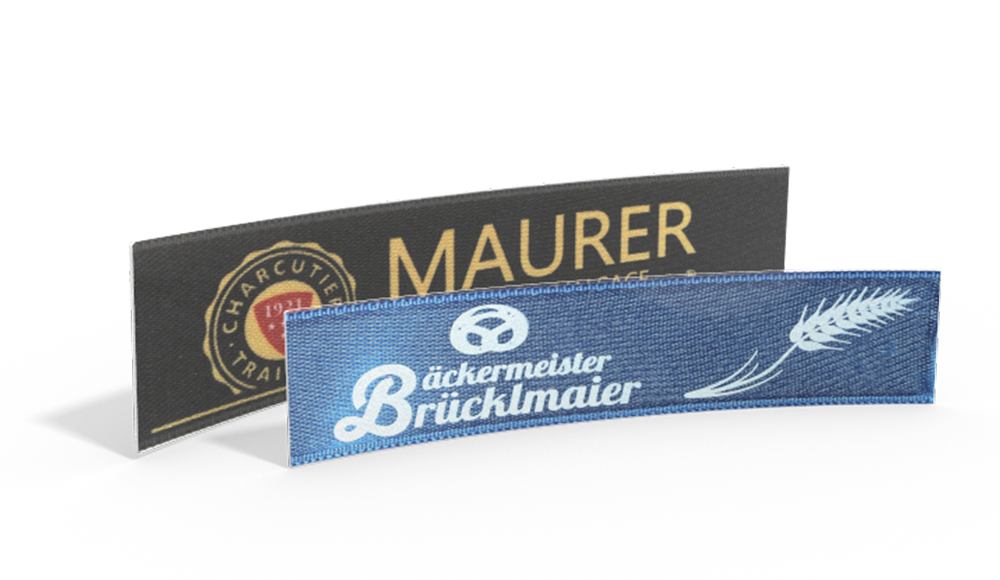
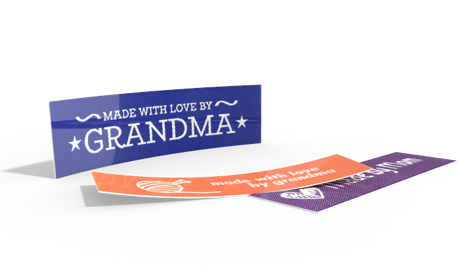
- Your own name labels
Instructions
1. You can sew this changing pouch without a pattern. You will need 2 pieces of 28 x 18 cm and 1 piece of 28 x 36 cm padding for the diaper bag. For the outer fabric/inner fabric you can use scraps or a total of 4 pieces of 28 x 18 cm with a 1 cm seam allowance and 2 pieces of 36 x 28 cm, again with a seam allowance. You will also need a matching cord with a length of 3 cm and, of course, your personalized label.

2. You are now ready to begin. You will need 2 of the 4 fabric pieces for the wet wipe bag. Place the fabric right sides together and mark the exact center (mark the diagonal lines).

3. Next, you will need a packet of the wet wipes that you want to sew a pouch for.

4. Open the lid and place it exactly in the center that you marked earlier. Use the center of the lid as a guide then trace around the lid with a pencil.

5. If needed, finish drawing the shape of the lid after you have removed it from the fabric.

6. Now widen the lid opening by 0.5 to 1 cm, depending on how loose you want the fabric to sit around the opening later.
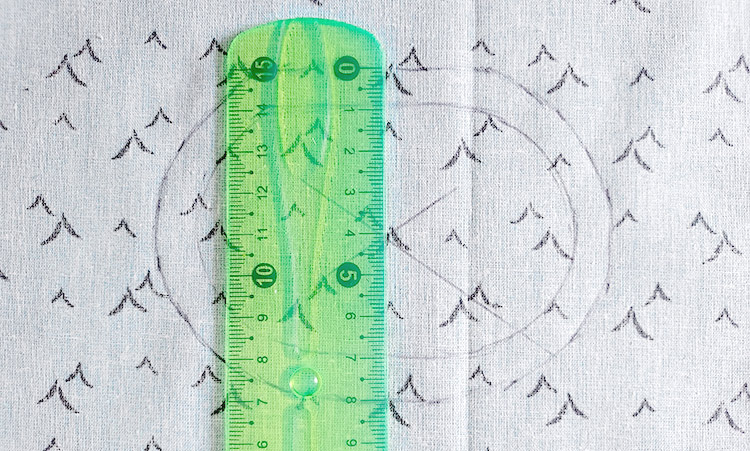
7. Now sew the rounding on the outer line with a 2.5 straight stitch.

8. Below you can see the setting used for all concealed seams.

9. Double-check your sewing: it is important that the rounded shape is closed.

10. Fold the fabric in half and cut out the inner oval shape.

11. Now cut lots of small triangles to help create a nice curve. Be careful not to cut the seam. If you do, you will need to sew it again.

12. Next, turn the fabric through the opening and iron the inside rim neatly.

13. Use a 3.5 straight stitch for all visible seams.

14. Sew close to the edge and make sure to lock the end seam securely.

15. Check if the lid of the wet wipe container can actually be opened through the opening you’ve just sewn.

16. You can now sew the two smaller fabric pieces together on one of the long sides. Place them flush together, right sides together.

17. Stitch the steam to the width of the presser foot.

18. Next you will need the fleece interfacing.

19. Smooth out the seam of the pocket you have just created, iron it briefly, then lay the fleece between the two layers of fabric. Secure the corners with pins to stop the lining from sliding out of place later on.

20. The upper side of the wet wipe opening must now be closed before all the pieces can be attached. To do this, press and fold the seam allowance on both sides (front and back fabric), then lay the fabrics neatly on top of each other and secure the edge with pins.

21. Sew the seam again close to the edge with a 3.5 straight stitch.

22. You are now ready to pin all the pieces together. Start by laying the inner fabric on top.

23. Place the pouch with the opening on the right hand side.

24. Place the padded pocket on the left side. Fix all parts with pins or staples. Now pin the elastic onto the padded side.

25. Attach your personalized logo label to whichever side you prefer and sew it on. Then sew left and right with straight stitch, as close as you can to the edge. This seam is merely meant to hold all the pieces together. If needed, lift the foot up slightly when sewing over the elastic band.

26. Now place the outer fabric right sides together on top of the previously sewn fabric, staple or pin everything in place, leaving a turning opening of approx. 10 cm on one short side. Proceed to sew the pouch together as neatly and tidily as possible.

27. Trim the corners so that they will have a nice shape.

28. Turn the bag through the opening and shape the corners.

29. The remaining padding can now be inserted into the pouch and smoothed out. If you wish, you can add a decorative seam to the diaper bag that will also help keep the fleece in place.

30. Lastly, close the opening with a mattress stitch. You have sewn your very first changing pouch! Use it yourself or make it a thoughtful present for someone else.


Do You want to save this idea for later?
Simply bookmark the link to this blog post or add it to your "Favorites" so that you can quickly find it in your browser later.
Here is how to save the tutorial:
- On your computer: Click on the asterisk or the three dots in the top right hand corner or on the book icon in the top left hand corner (depending on the browser you use).
- On your Android smartphone: Click on the three dots in the top right hand corner and then on the asterisk.
- On your iPhone: Click the book icon at the bottom and add the link to your bookmarks or book list.

