We think everyone can agree that zipper pouches are pretty useful! This pouch combines form and function which is perfect in our look. What we love about this tutorial is that the dimensions can be adjusted to suit your needs. Need a bigger pouch to use for traveling or a smaller pouch to corral loose change? No problem – adjust as needed.
These handy little bags have a variety of applications. They are great on the go to hold makeup, toiletries, a travel first aid kit, sewing essentials, cables and other odds and ends. You can just pop them in your handbag or luggage. Or use them at home to keep your bathroom cabinet and drawers tidy. Once you’ve got the hang of how to sew a makeup bag you will be making them for friends and family too!
Many of us are daunted by the prospect of sewing in a zipper and tend to settle for buttons, velcro or a draw-string. But don’t worry, we will show you step by step how to sew a makeup bag with a zipper: it is surprisingly easy once you know how and gives a really professional-looking and practical finish to any item.
You will find countless free makeup bag patterns online to sew but we like to think that our talented Wunderlabel seamstress offers the best one yet!
We used a piece of pre-dyed, 100% cotton fabric with some weight to it for our pouch, but the sky is really the limit with this project, almost any thicker fabric will do. We love the tie-dye look so much! We just might have a tie-dye tutorial in our future.
Now let’s get started on our How to Sew a Makeup Bag tutorial!
Our finished pouch measures 7.5” by 5.5” (19.5 cm by 14 cm)
Supplies you Will Need to Sew a Makeup Bag
- ¼ yard fabric of your choice for the outside of the pouch
- ¼ yard fabric of your choice for the lining of the pouch
- Thread in a coordinating color
- 7” zipper (you can use a longer one and cut it down)
- ¼ yard interfacing to give your pouch more stability – we used Vlieseline S320
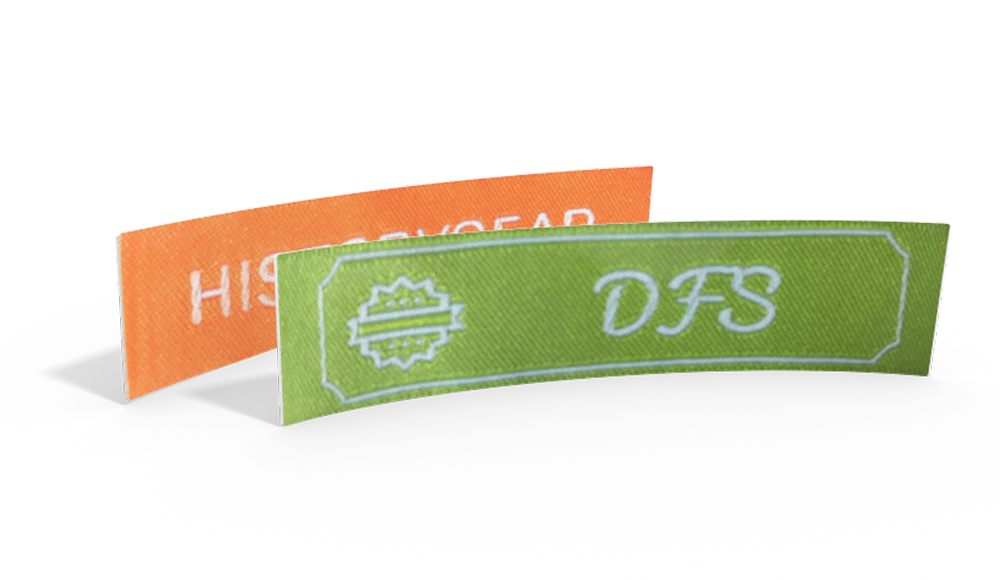
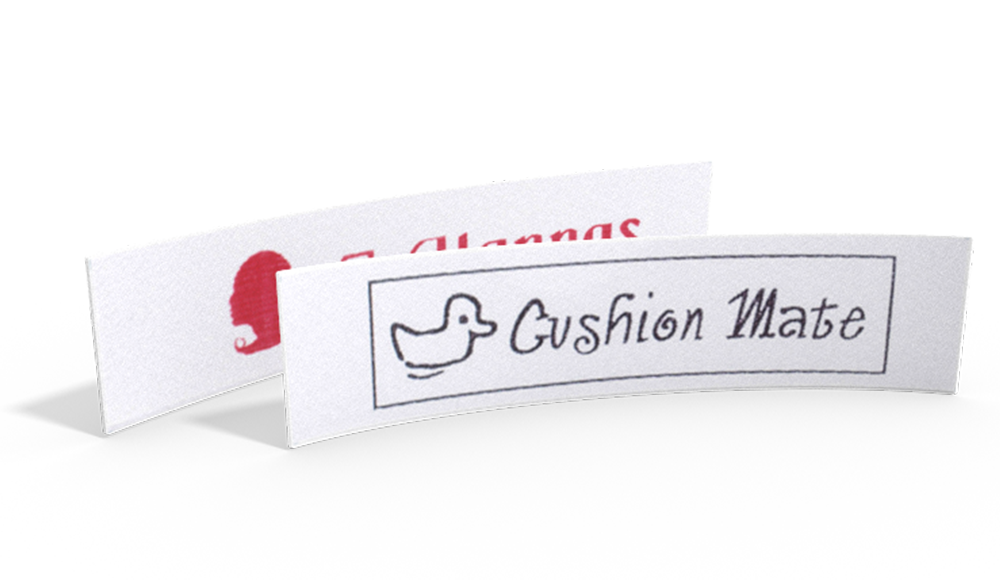
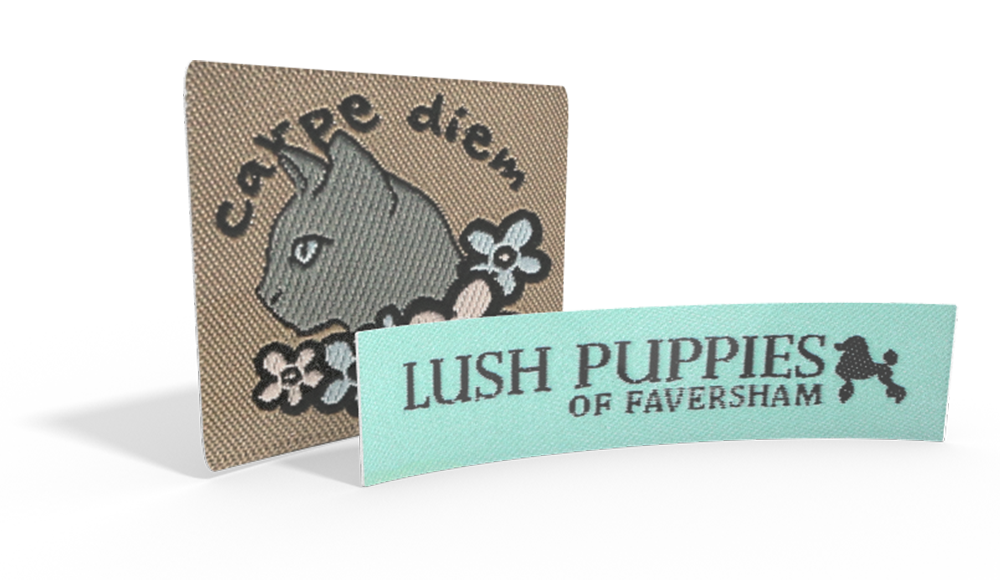
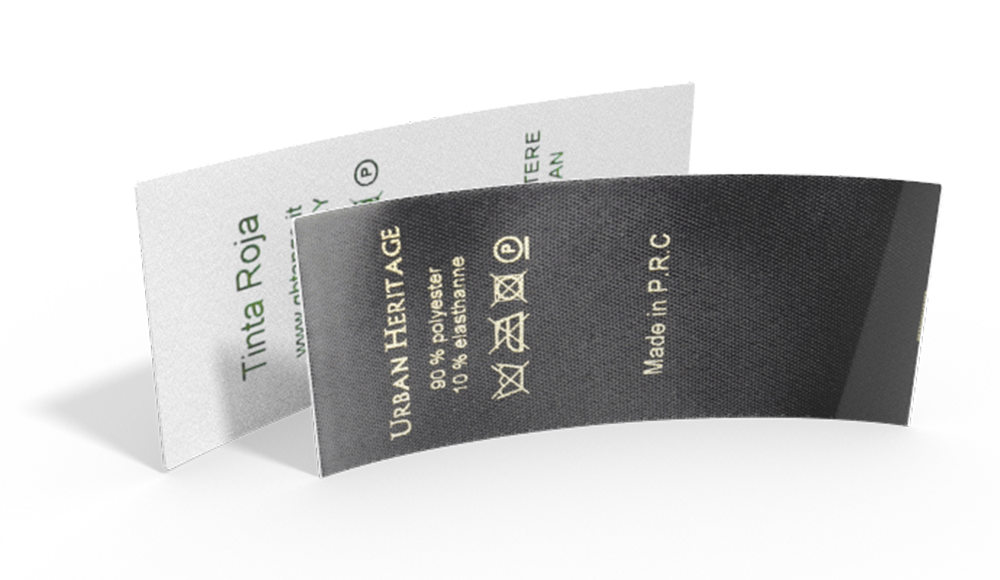
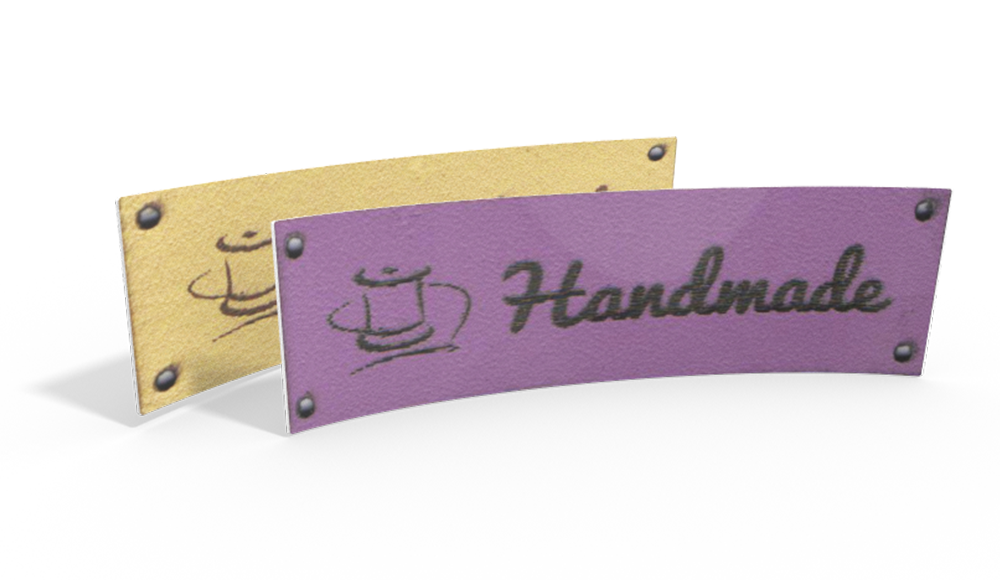
- Your Clothing Label from Wunderlabel
Cutting the fabric for your cosmetic bag
To sew your cosmetic bag you need to have the following pieces of fabric ready:
Cut two pieces of the outer fabric measuring 8.5” by 6.5” (22 cm by 16.5 cm).
Cut two pieces of the interfacing measuring 8.5” by 6.5” (22 cm by 16.5 cm) and fuse them to the wrong side of the outer fabric pieces, following the manufacturer’s instructions regarding iron temperature and timing.
Cut two pieces of the lining fabric measuring 8.5” by 6.5” (22 cm by 16.5 cm).
Step by step: How to sew a makeup bag
Just follow the steps below: the pictures will help you to understand just how to sew the makeup bag.
Sew across the open end of the zipper a couple of times – this makes it easier to maneuver later.
Now we need to attach the outer and lining to the zipper. Place one piece of your outer
fabric right side up, then your zipper right side down and centered along the top.
Position one piece of the lining fabric right side down and lined up neatly with the outer fabric and pin or clip to keep in place.
Sew the zipper on slowly using a zipper foot, as close to the zipper as you can manage. You will need to stop part way with the needle in the fabric, lift your presser foot and maneuver the zipper pull past the foot. Fold the fabric back away from the zipper and press.
Repeat the process with the other side of the zipper.
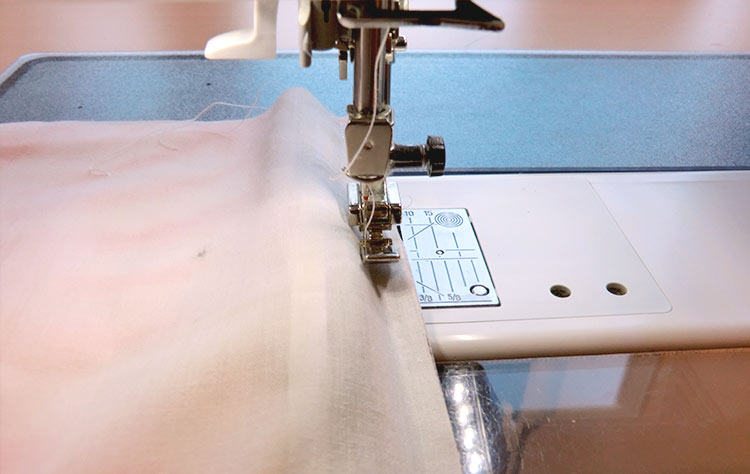
Top stitch close to the edge of the zipper on both sides – this gives a finished look and also stops the fabric from catching in the zipper when the pouch is complete.
Baste your label to the short side of one of the outside fabric pieces pointing inwards, about 1” (2.5 cm) down from the top edge and a little under ½” (1.25 cm) in from the side.
OPEN THE ZIPPER PART WAY. If you forget to do this you will need to do some unpicking later.
Put the two pieces of outer fabric right sides together and line up the edges – repeat with the lining fabric. Pin or clip together and sew around the outside with a ½” (1.25 cm) seam allowance, leaving a 2” (5 cm) hole in the bottom of the lining to turn the pouch through. Back stitch at either side of the turning hole and pivot with the needle in the fabric at the corners. When you reach the zipper, make sure that the outer and lining fabrics are aligned neatly, with the seam allowances facing towards the lining.
Trim the corners of the outer fabric and the lining to reduce bulk.
Turn the pouch through the hole in the lining. Close the turning hole by stitching close to the edge, or sew it closed by hand.
Push the lining into the pouch and zip it up!
We hope that you enjoyed this How to Sew a Makeup Bag with a Zipper Tutorial. Feel free to get in touch with feedback, ideas and suggestions.
Seamstress: Emma Lorenz
Tutorial Photo Credit: Emma Lorenz
13 DIY Projects You Can Make with a Zipper
"Check out this lineup of fun zipper projects, from the conventional to the quirky!"
One of the greatest things about being a sewist is getting to play with all kinds of materials and learning how to use them in unexpected ways. Take the humble zipper, for instance. Sure, you can use them to make it easy to get in and out of a dress, or to finish off a stylish new coat. But what about using them to embellish that dress, or as a cute bracelet or headband? Having ways to upcycle zippers is always a great idea, especially if you do alterations or overhaul garments into something fun and new. Check out this lineup of fun zipper projects, from the conventional to the quirky!
Discover all the possibilities with our clothing labels!
Basic Zipper Pouch
This is one of the best projects out there for anyone who's just getting into using zippers for their generally intended purpose—as an easy-open, easy-close fastener. These zip pouches are perfect for practicing how to set different kinds of zippers and how different materials can change how you work. Need some basic tips on how to prepare for and set in a zipper? Check out this handy resource! It's got everything you need to know about choosing and using zippers.
Ultimate Zipper Pouch
One zipper's nice, but how about three? Or four? Or an entire pouch made of zippers? The ultimate zipper pouch consists of zippers sewn in parallel to one another to create the front and back panels for the pouch. The best part? They're all functional! Mix and match colors for a striped appearance, or go monochrome with natural fiber zipper tapes with metallic teeth.
Dopp Kit
Made from sturdy canvas or soft leather and tough metal zippers, a handmade Dopp kit is a great gift for the men in your life, or as an addition to your usual craft show lineup. The tough material can pose a bit of a challenge, so make sure you're using heavy duty needles and thread, and work slowly. When working with leather, it's especially important to make sure every seam is lined up and ready to go before you start sewing, because every wayward needle mark will show.
Zipper Tee
One of the most popular DIY clothing upcycles is making over t-shirts into fun and trendy new looks. For this bold upcycle, use a tee that's a little large for a soft and slouchy look. Cut across the top of the shirt, removing the collar and slitting the sleeves and shoulders open along the top. Even out these cuts so you have two roughly straight edges along the top of the t-shirt. Install a two-pull zipper along the top of the shirt, and pull the zippers into place to leave an opening for the neckline. If desired, whip stitch around the zipper teeth to keep the zipper pulls from drifting too far and distorting the neckline while you're wearing it.
Easy Zipper Bracelets
This is a great quick and easy project for kids. You can use colorful zippers bought specifically for the purpose, or upcycle those you've removed from old garments. Measure your wrist and cut the zipper to length, making sure not to discard the zipper pull. Ribbon end clips, designed for jewelry made with velvet ribbons or other wide material, make the perfect closure because they clamp onto the zipper tape and keep it from coming apart at the ends. Add a lobster-claw clasp for a classic look, or magnetic clasps for an easy-on, easy-off bracelet, and your new accessory is ready to go! You can add additional embellishment, like lace trim, beading, rhinestones, and more to suit your personal style.
Zipper Embellishments
More and more we're seeing zippers used to create fun and interesting shapes, and not just in garments! Zippers can be used to form rosettes and leaves, geometric patterns, ruffles, and more. The teeth provide an interesting texture, and help maintain the embellishment's shape in ways you can't match with simple strips of fabric or woven tapes. Most zipper embellishments are built by stitching or gluing the zipper tapes to themselves to form the desired pattern, but you can also stitch them onto a substrate (like felt or another sturdy backing fabric) to create your patterns. Feel free to get creative! Flowers and ruffles are common shapes, but there are also crafters using zippers to create dragonflies, shells, and more!
Magic Zipper Coin Purses
This is one of those projects you almost have to see to believe. With the help of a zipper, a flat piece of ribbon turns into a 3-D, tetrahedral coin purse. It's like a magic trick, but you won't have to practice for hours in front of a mirror to get it right. Check out this tutorial to learn how to make your own!
Busy Board for Toddlers
Kids love learning about the things around them, and sometimes, that gets them into trouble, with fingers shut in cupboard doors or near misses with electrical sockets. Spare your sanity and give those curious kiddos a safer way to explore with a busy board! These boards include fun sensory and motor skill activities like oversized buttons, Velcro strips, hinges and latches, and, of course, zippers! Make sure that everything is securely attached to the board and that there are no sharp edges or loose fasteners that could pose a hazard.
Zipper-Toothed Monster
Monsters aren't so scary when they're handmade stuffed friends! Cute and cuddly, these stuffed toys make great stash busters for all the bits of interesting material you've got lying around, plus those odds and ends fun trims and embellishments that aren't quite enough for larger projects. Use zippers to create toothy smiles for your cuddly monsters; for bonus points, add a hidden pocket inside the monster's mouth so they can protect your kids' favorite treasures while they're away. As always when sewing projects for children, make sure the materials you use are age appropriate. Buttons or facial features that can detach pose a choking hazard for young children.
Headbands
A quick and easy project with trendy flair. All you need is a zipper and a length of soft elastic the same width as your zipper tapes. Simply measure for your headband's size, then stitch the zipper ends to the elastic for a comfortable fit. Wear zipped or unzipped! You can even add multiple zipper tapes together for a wider band; vary the direction the zippers open for a fun zig-zag effect.
Zipped Pillow Covers
This might be a more conventional use for zippers, but boy is it a convenient one! Pillows and cushions are one of the easiest ways to change the look of a room, so if your house feels in need of a bit of sprucing up, but you're not ready to commit to new paint or new furniture, whip up some pillow covers for a facelift that's as permanent or temporary as you want. Zippered cases can be made to fit close to your cushions for a professional finish, and, maybe best of all, they're easy to remove and toss in the wash when it's time for a quick freshening up.
Sweatshirt with Exposed Zippers
Zippers don't need to be functional to be fashionable. They're popping up in all kinds of places, like the bottom hems of sweatshirts and the cuffs of athletic pants. When working with materials like these—typically stretchy knit materials—use a walking foot on your sewing machine to help minimize warping and curling once the zipper is installed. You can also use fusible interfacing to stabilize the area where you plan to add your zippers before cutting. Keep in mind that when you're adding decorative exposed zippers that it's easiest to install them in seams, or, barring that, in straight segments rather than following curves. You'll lose a bit of fabric to seam allowance when installing zippers outside of seams, so be prepared for the fit to change slightly.
Hidden Zipper Infinity Scarf
This is another craft show favorite, and, like most infinity scarves, it's quite easy to make. It works best with heavier materials, as lightweight fabrics are too flimsy to handle the stress of regular zipper use. While you can certainly use an exposed zipper for contrast and visual interest, if you want the pocket in your scarf to be truly hidden, use an invisible zipper. Cut two rectangles to the desired length and width, keeping in mind that they'll be stitched together along the narrow edge to form a loop. Install your zipper along a short section of one of the long edges, then complete the seam so the rectangles are joined at the long edge except for the zippered opening, leaving you with a larger rectangle. Lay the narrow ends together (right sides in), and stitch to form a loop, then bring the remaining edges together and sew. You can now use the zippered opening to turn the project right side out. To keep items in your secret pocket from drifting, stitch the layers together to seal off the portion of the scarf below the zipper.
Plan on making a few of these fun zipper projects? You'll need a label to emblish you design!
Zipper Pouch Tutorial
You can never have too many cosmetic bags! Whether you use them for make up, hair ties, cables or other small items, fabric pouches are incredibly practical and pretty. Not only will we show you how to sew a pouch, we will also show you how to sew a zipper on this homemade bag with a lining. Simply choose your fabrics and adjust the size to fit your needs.
Our bag measures approx. 16 x 23 cm. It has a lining and is reinforced with interfacing so that it can stand upright and securely hold your items.
Here is what you will need for your DIY makeup bag:
- Outer fabric and lining
- A zipper measuring 27 cm
- Interfacing – we used Decovil Light which has a leather like feel to it, but you can use any interfacing of your choice
- Matching sewing thread
- A personalised leather label from Wunderlabel
Zipper Pouch Tutorial: Step by Step
Start by cutting your fabrics and interfacing to size. You will need 2 rectangles measuring 20 x 25 cm of each fabric, as well as 2 rectangles of the same size for the interfacing. The finished pouch will measure 16 x 23 cm – you can change the measurements to make a bigger or smaller bag.
Iron the interfacing onto the outer fabric by following the manufacturer’s instructions.
Now you can sew on one side of the zipper. Lay out one piece of outer fabric right side up and place the zipper on top of it, right side down. Close the zipper and make sure that the zip pull lies in front of the edge of the fabric so that you won’t have to sew past it. Next, put a piece of lining fabric flush on top of it, right side down. Fix everything with pins, clips or double-sided tape before sewing all the layers together, using the zip foot on your sewing machine.
Proceed to sew on the other side of the zipper. Use the remaining fabric and repeat the steps above, making sure that the two sides match up.
Iron the fabric away from the zipper and topstitch on both sides. Then extend your stitch length a little and mark two points on each side of the zipper, approx. 1 cm from the edge of the fabric, so that you end up with 4 markings in total. This is where the seam will start and end. Don’t forget to lock your stitches! Now open the zipper halfway.
Fold the material over so that the 2 pieces of outer fabric are right sides together and the 2 pieces of lining fabric are right sides together too. Fasten each side together using pins or clips, making sure that the zipper is facing towards the lining (see picture).
Sew each side together with a seam allowance of 0.75 cm, leaving an opening of approx. 7 cm for turning on the long side of the lining fabric - lock your stitches at the beginning and end of the seam. If you like, you can increase the seam allowance in the lining fabric so that it will sit inside the pouch more loosely.
For the bottom of the bag you will need to sew each corner individually. Fold each corner so that the side seam is on top of the bottom seam and pin them together. Sew right across the corner, at a right angle to the side and bottom seam, about 3 cm from the corner. If you like, you can sew a second seam to reinforce the corners. Just shorten the seam allowance slightly and repeat on all four corners (lining and outer fabric).
Turn the bag inside out through the opening and shape the corners. Iron the seam allowance inwards at the turning opening and then close it, either by hand with a ladder stitch or close to the edge with the sewing machine. Fold the lining inwards and iron over it again.
Lastly, attach your personalised leather label from Wunderlabel for a special finishing touch.
We hope that you enjoyed our Zipper Pouch Tutorial and would love to see your self-made bag on Facebook or Instagram #wunderlabel!
Find more sewing tutorials like this on our blog and be inspired by Customer Spotligt.
Tip: Do you need more inspiration? Our tip for your: "Sewing Cosplay Costumes » More than just a Hobby"