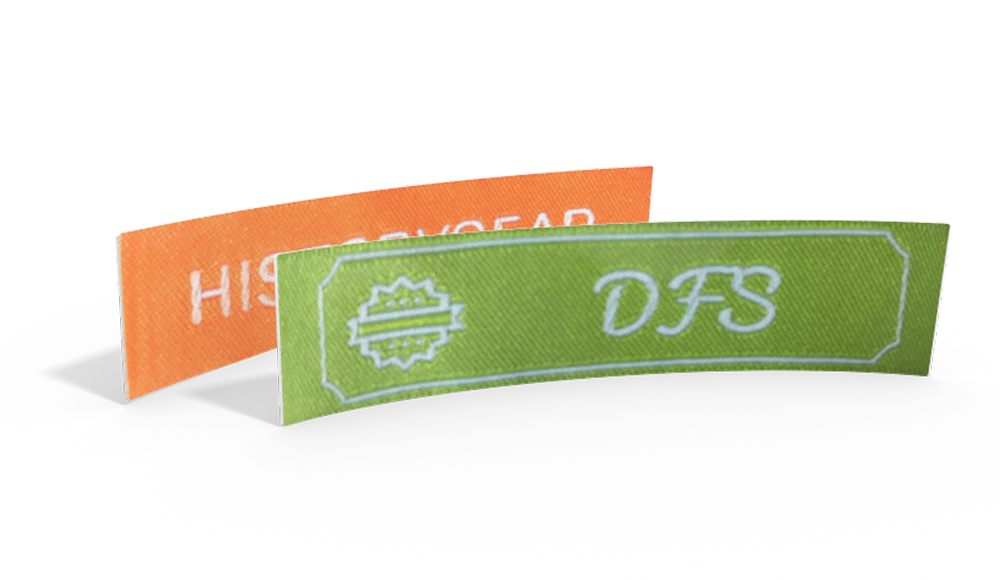
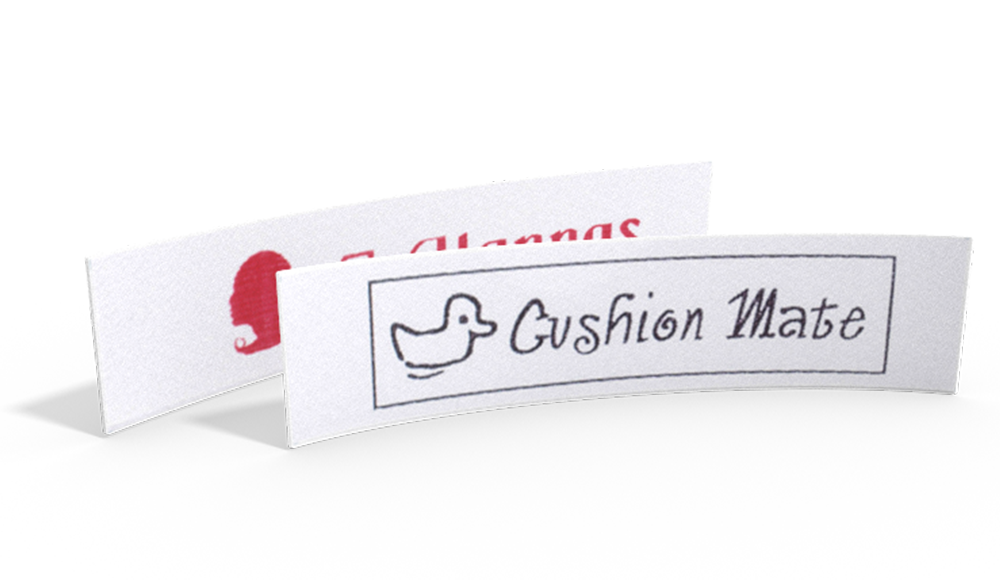
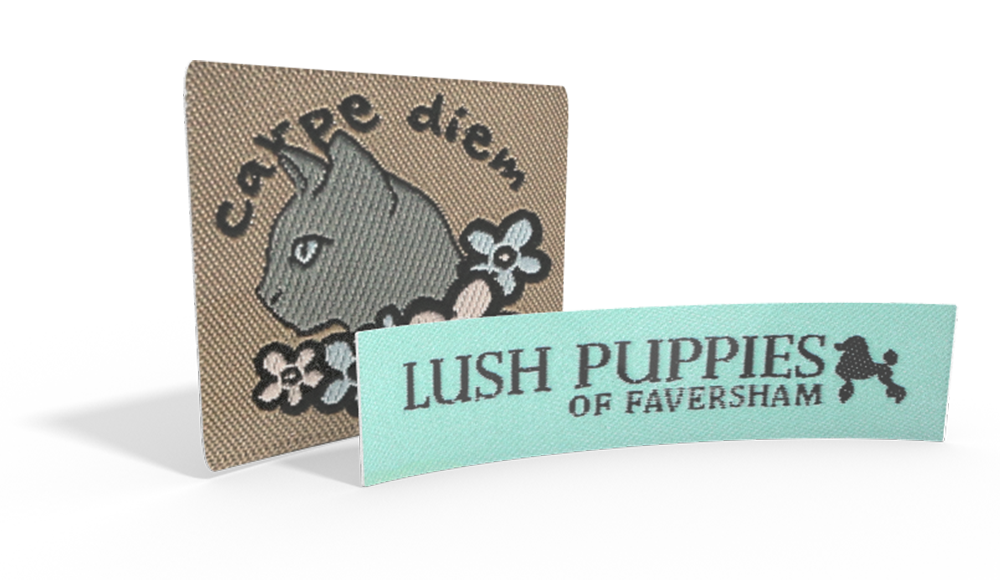
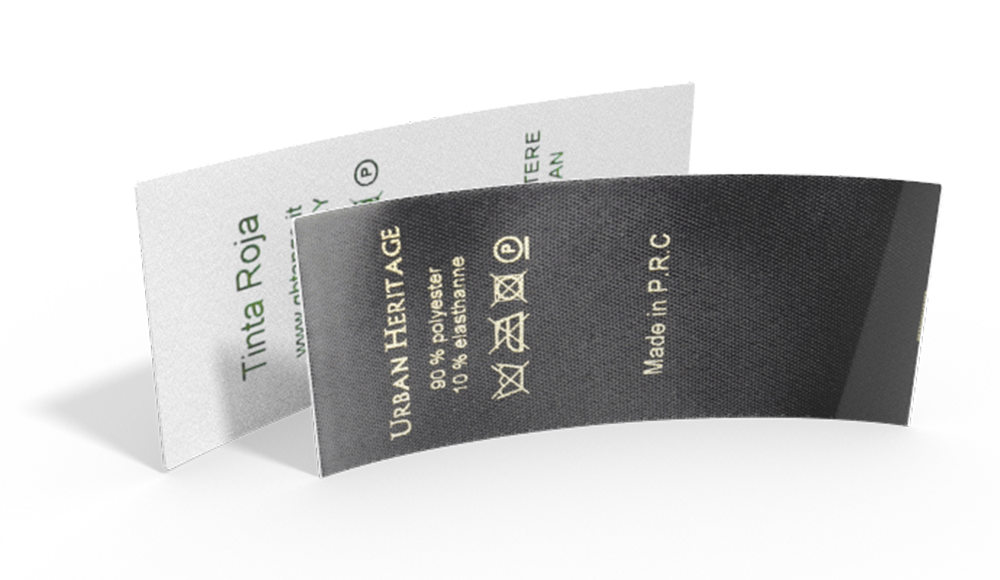
If you were heading out on a road trip, you would definitely want to have a map handy—or at least your GPS on standby. The same is true when you start a sewing project. You want to have a good idea of where you're going and how you're going to get there before you break out the scissors, needle, thread and your uniqe personalized labels. So if you're about to dive into your next sewing project, hold on just a minute and check out this step-by-step guide to planning the whole thing, from picking a pattern to getting done on schedule.
- What are you making?
Don't laugh, but this is one of the most frequently overlooked steps of planning a sewing project. It's one thing to decide, "I think I'll make new drapes for the kitchen," and quite another to decide that you're doing four panels with tab hangers and a valance to match. Whatever you decide to make, be specific about what you're looking for. It sets the foundation for the rest of the planning process.
- Choose a pattern
The next few steps typically need to occur simultaneously, but we'll start with this one since it's often how most of us define what we're making anyway (I'm making the dress in that pattern, for example). Once you know what you're looking for, or at least have a good idea, start looking at patterns. This isn't a final selection process, so you won't need to know measurements just yet. This is just to get an idea of how a project is put together and what the roadmap of that process might look like.
- Check your skills
One reason to consult a pattern at this point is so you can read through some of the information about the project and decide whether your skills are up to the challenge. While it's always good to give yourself room to grow with a project, there is such a thing as biting off more than you can chew. If there is more than one unfamiliar technique used in creating a particular project, you might want to hold off until you've had a chance to practice.
- Check your equipment
Another crucial point in selecting your pattern is your equipment. If a garment requires a serger or overlock machine, your standard domestic machine might not cut it. Sure, most of them these days come with approximations of serger stitches, but it's not quite the same. The same goes for sewing machine attachments, like an invisible zipper foot or piping foot. If you don't have the right equipment, or aren't comfortable using it, you may want to look at an alternate pattern for the time being.
- Take measurements
Once you've had a chance to think over your options and found the right general pattern, it's time to see specifically what size you'll need. Take careful measurements of the space or person who will be sporting your finished project. Write these down as you go, or call them aloud to an assistant to write down for you so you're sure there's a precise record. Double check them for consistency before packing up for the day. For example, the length of the arm from shoulder to wrist should be greater than the width of the shoulders; if it's not, measure again to make sure.
- Plan your material
Once you know your pattern and your measurements, you'll be able to select your material. Pay close attention to the recommendations on the pattern. Different types of patterns call for different material, and your pattern will give you guidance on what might be best. It will also provide the layouts you'll need for fabrics with or without nap, and may even provide help with matching prints. Pay close attention to the amount of material you'll need for your pattern; it may vary based on the width of the fabric you choose. Get extra if you plan to make adjustments to your pattern, or if you're going to match prints.
For garment making, it's a good idea to make a practice version, often called a muslin or toile, made out of inexpensive fabric before you cut into your pricey fashion fabric. Traditionally, these were made from unbleached muslin (hence the name), since it comes in different weights and could approximate the drape and hang of material made from other natural fibers like linen and silk. Today, with so many different materials available, muslin isn't always the best option. If you're practice a garment made from knit fabric, choose a knit of similar weight and stretch to practice on. The same is true of woven fabrics.
- Don't forget the notions!
When you're picking up your fabric, don't forget to grab the other materials you need to complete your project. Whether it's something unique to this particular project (like extra long pins for quilting) or something more basic, like matching threads and buttons, it's always a good idea to make sure you've got everything you need before sitting down to sew. Double check the specifications in your pattern. Zipper length and style, button size, and hook-and-loop type will all be listed, and though you can always modify the pattern to suit your personal style (or your client's request), you'll want to know what you'll need to modify beforehand.
- Break up the work
Unless your project is very quick, it's best to plan to accomplish it over several work sessions. Maybe you can plan to cut your pattern pieces out one day, do the bulk of the sewing the next, and add all the finishing touches on a third. For major projects, like a full-sized quilt or bridal wear, it's particularly important to plan out the work, especially if it's been commissioned. Be realistic with your timeframes, and be sure to build in breaks so you don't burn out—the longer you work, the more likely you are to make a mistake, so take the time to get up and stretch.
- Prepare your material
Before you start cutting and sewing, make sure your material has been appropriately prepped. Most fabric is soaked in stabilizers and sizing before being folded onto bolts or rolls. This helps it hold its shape and allows for accurate measurements when the fabric is purchased, but can cause problems with fit if you cut out your pattern pieces before removing those stabilizers. Follow the care instructions to wash or rinse your fabric, and dry it appropriately (some recommend drip-drying, while others can be tossed in the dryer). If necessary, iron it smooth. If you're not transferring it straight to your cutting table, store your fabric rolled instead of folded to avoid crease lines.
- Prepare your space
In addition to getting your material ready, you'll also want to take some time to prepare your equipment and space. Clear off your cutting table and put a fresh blade in your rotary cutter. Wind extra bobbins the the thread colors you'll need and set them aside for later. Switch out your sewing machine needle for a new one, making sure it's the right type for the project at hand. Perform any regular maintenance tasks your machine is due for, and test your stitch settings on some scraps of your fabric to make sure everything's ready to go. Just before you sit down to start sewing, plug in the iron and make sure it's set correctly, including filling the water reservoir if you plan to be using steam. Have a press cloth handy to protect your work, and make sure your ironing board is set up and ready to go.
- Keep your work contained
As you're working on a project, it's helpful to keep all your pieces, notions, and embellishments together in one place. For larger garments, or those undergoing alterations, this might mean hanging them in garment bags and tucking any extra materials in the bag along with them. For smaller projects, or for projects that have lots of small pieces, use stackable storage containers to corral all your pieces. Be sure to label the box with its contents— a strip of masking tape works great for this. Keeping project pieces together and organized is especially important if you're balancing multiple projects at once, especially if they've all got different deadlines.
- Take stock
Once you've completed a project, take some time to assess what went right and what didn't quite go as you had originally envisioned. This includes not only the sewing itself, but also your plan. Did you leave enough time for cutting, or did it take an extra day? Did you have to order special materials that took longer to arrive than expected? Does the pattern build in too much extra fabric, so you can order less next time? Taking a few minutes to break down your plan and figure out how you can improve will make your next project that much easier, giving you more time to focus on the part you actually love: the sewing!

