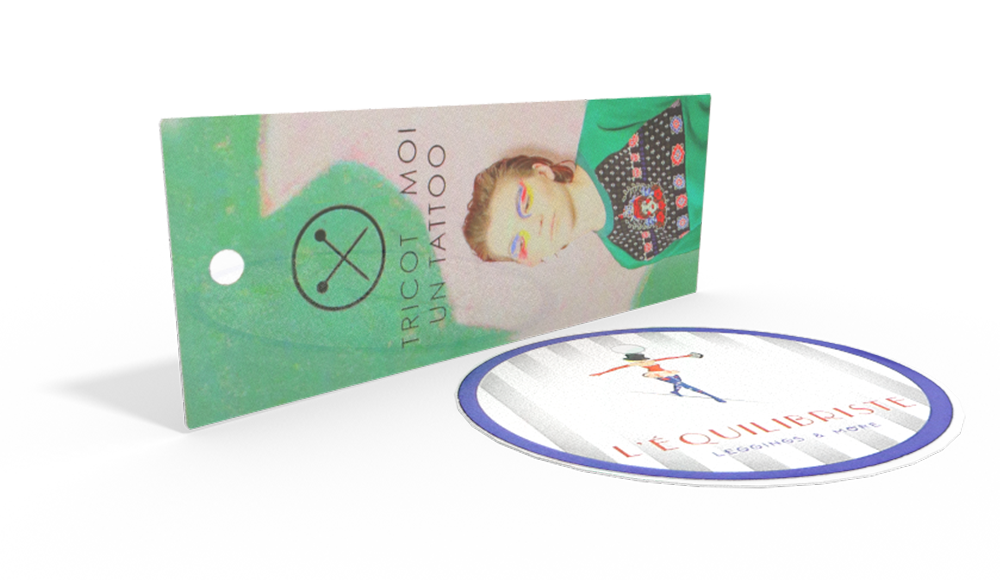
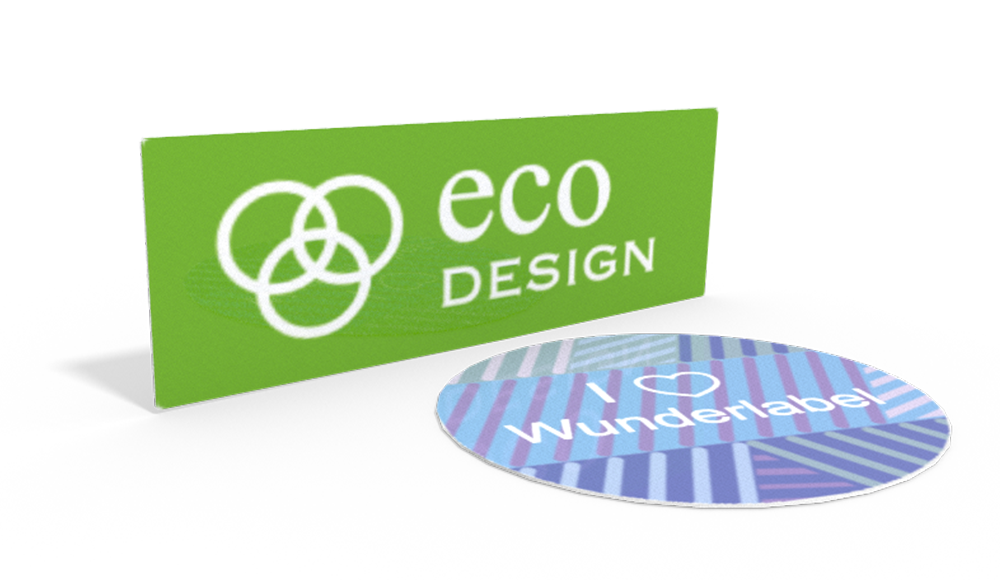
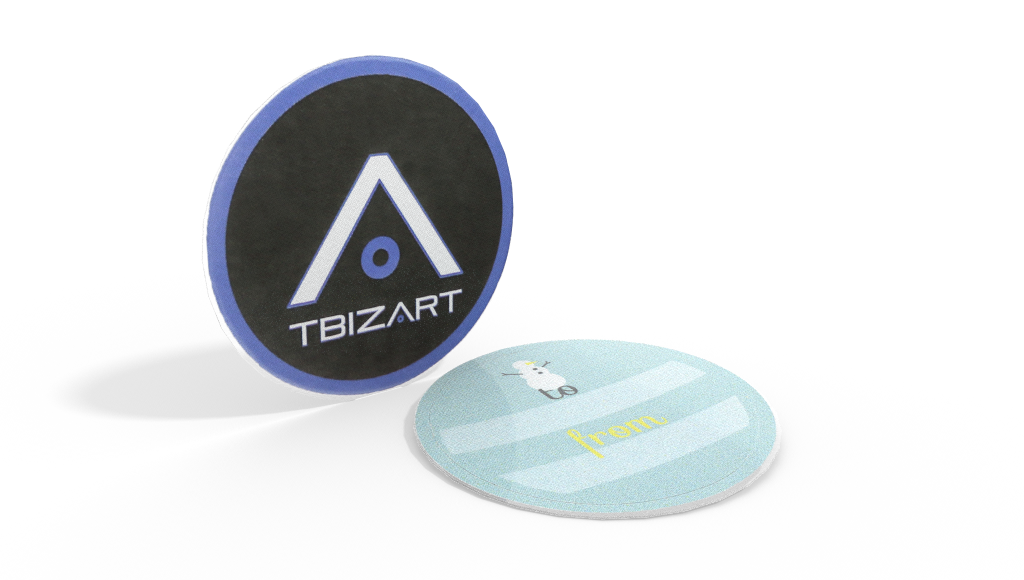
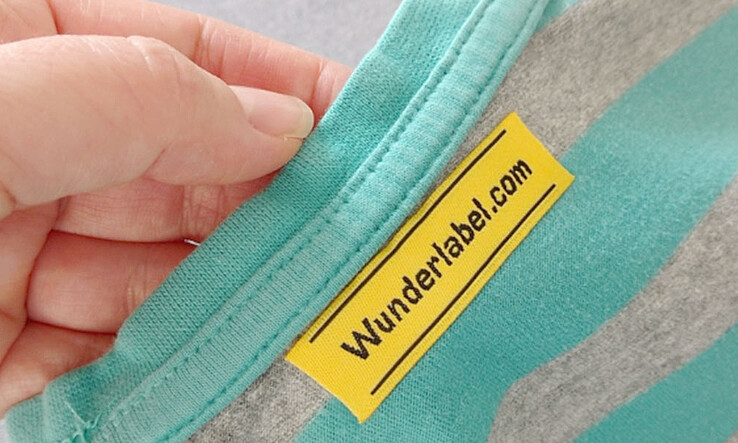
Iron on labels are great alternative to sew on labels and are one of our most popular items here at Wunderlabel. To ensure your iron on labels look great and last a long time, proper adhesion is key. This is easily done by following a few simple steps.
Let’s get started!
Iron-on Labels from Wunderlabel
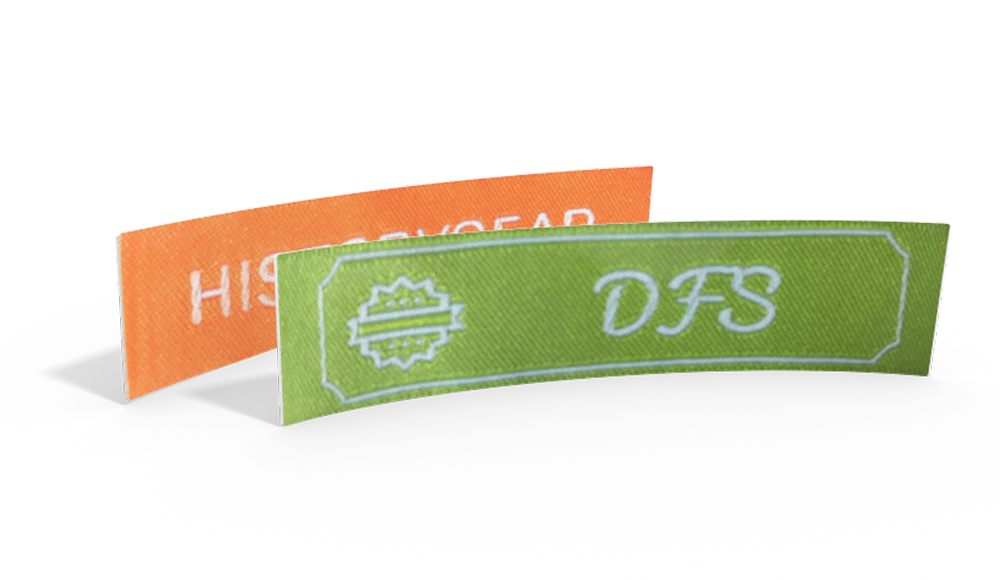
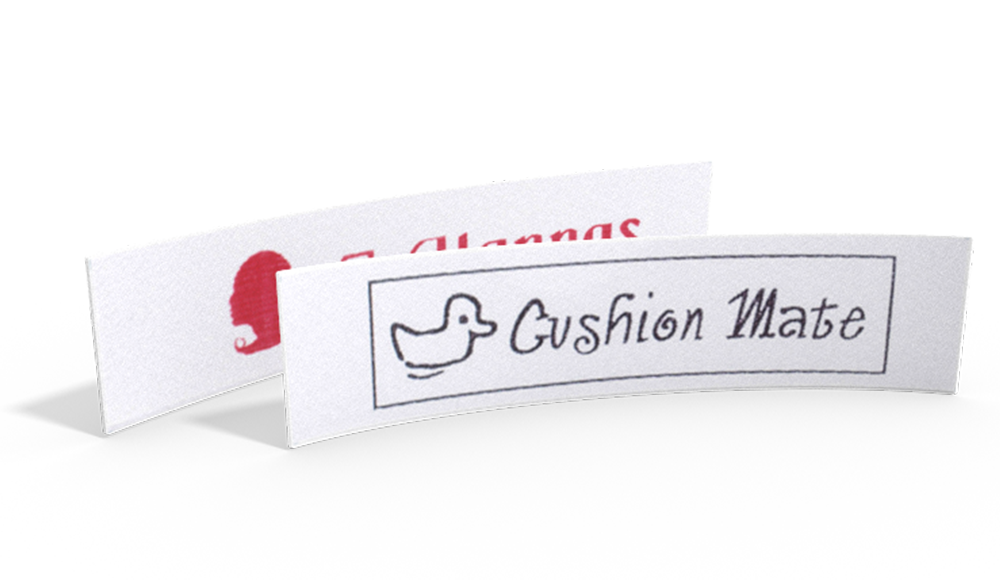
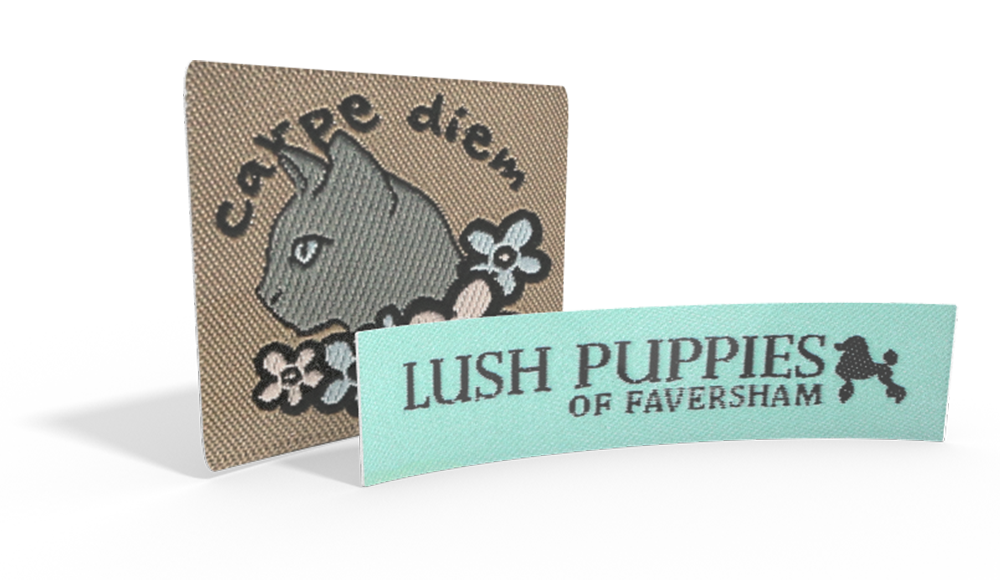
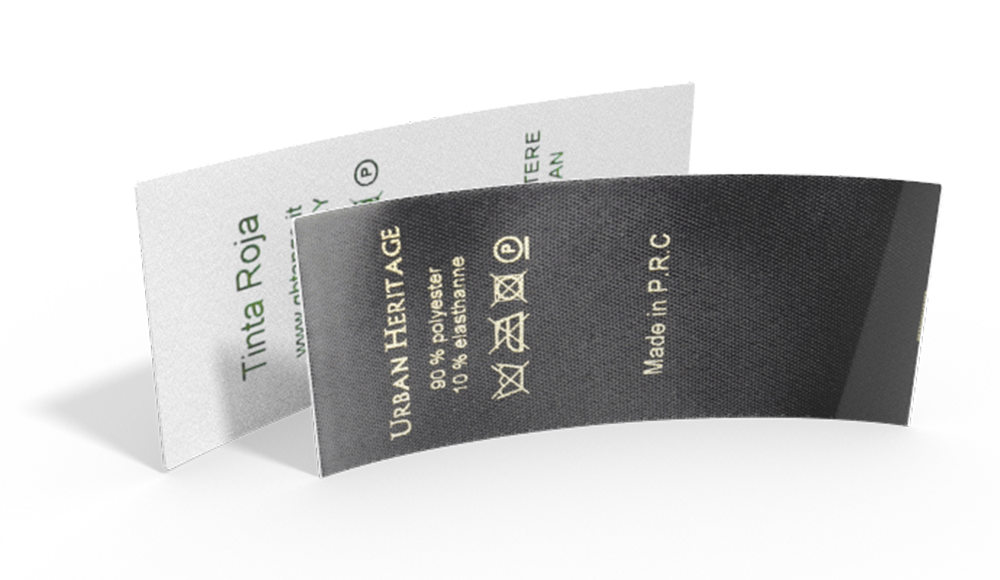
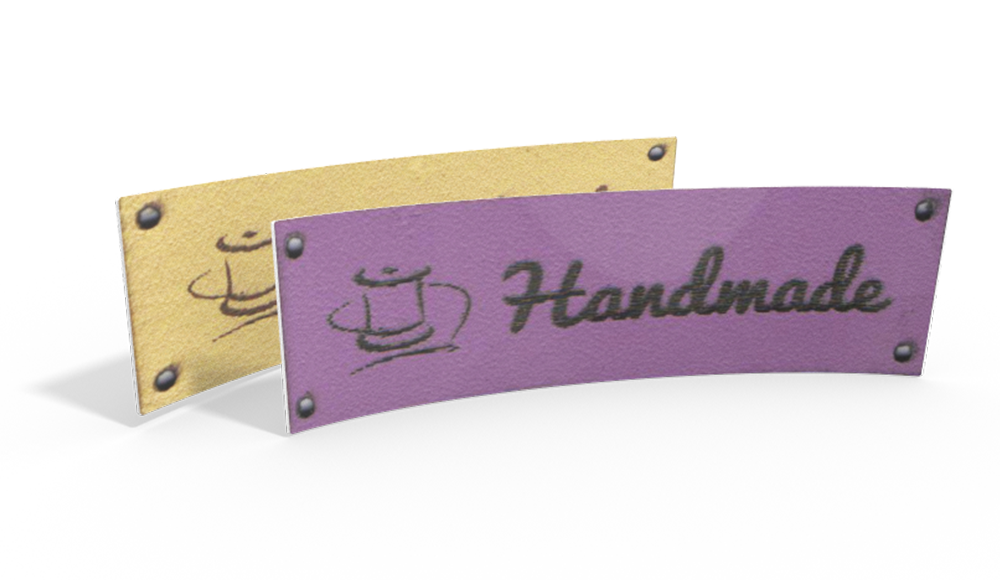
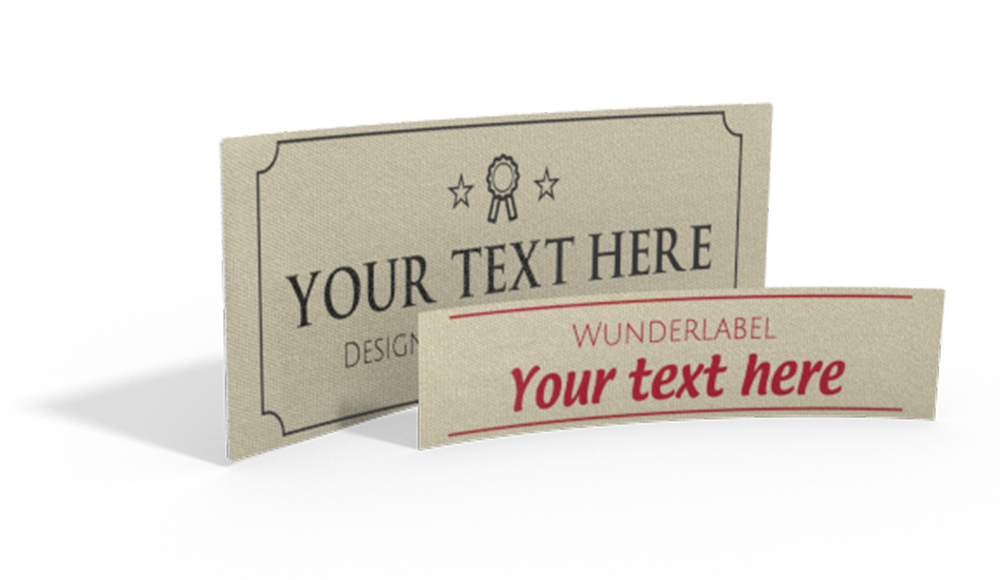
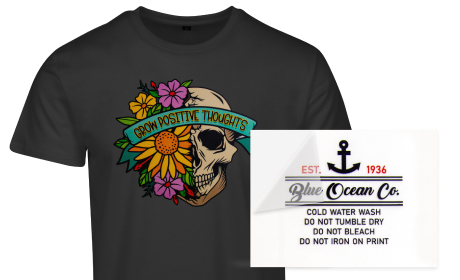
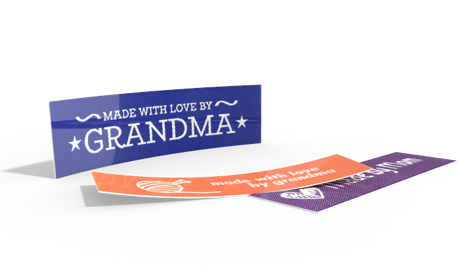
Wunderlabel offers a variety of iron-on labels. Choose between printed (46 x 12 or 50 x 20 mm) or woven iron-on labels (60 x 15 mm or 60 x 20 mm). Our iron-on labels can be designed with a name, (sparkling) text & symbol, your own logo or laundry symbols. These labels are quick an easy to iron on, no sewing required.
Remove the label backing
Hold the label so that the front of the label is facing down (the paper backing should be facing upwards.) Fold up one corner of the label and pinch to create a crease.

This helps the paper backing separate from the adhesive. Hold the label and the adhesive coating together and carefully peel off the paper backing. The label is now ready for application.

Label Application
Set iron to medium/high heat and turn off the steam setting. Let the iron heat up fully.
Place the garment flat on the an ironing board with the area you wish to add the label easily accessible. Turning the garment inside-out may help.

Position the iron on label, adhesive side down, onto the garment and cover with a sheet of parchment paper.

Using a circular motion and steady pressure, iron on top of the parchment paper for 10-15 seconds. Check that the edges are secure. If the edges are not secure, reposition the parchment paper and iron for another 5 seconds.

Finished!

Start customising your own labels! >>
If, after many washings, the iron on labels start to lift, simply cover with a sheet of parchment paper and iron to reactivate the adhesive.
Please note:
The special adhesive used on our iron on labels continues to cure after it has been applied. Please do not wash garments with newly applied labels for 24 hours. Have fun!


