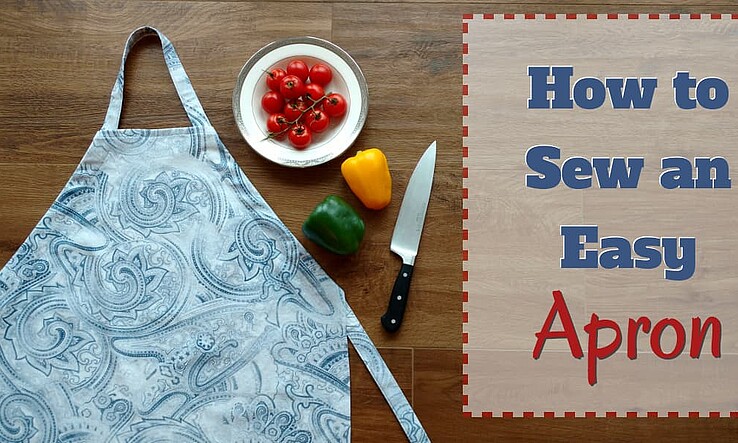
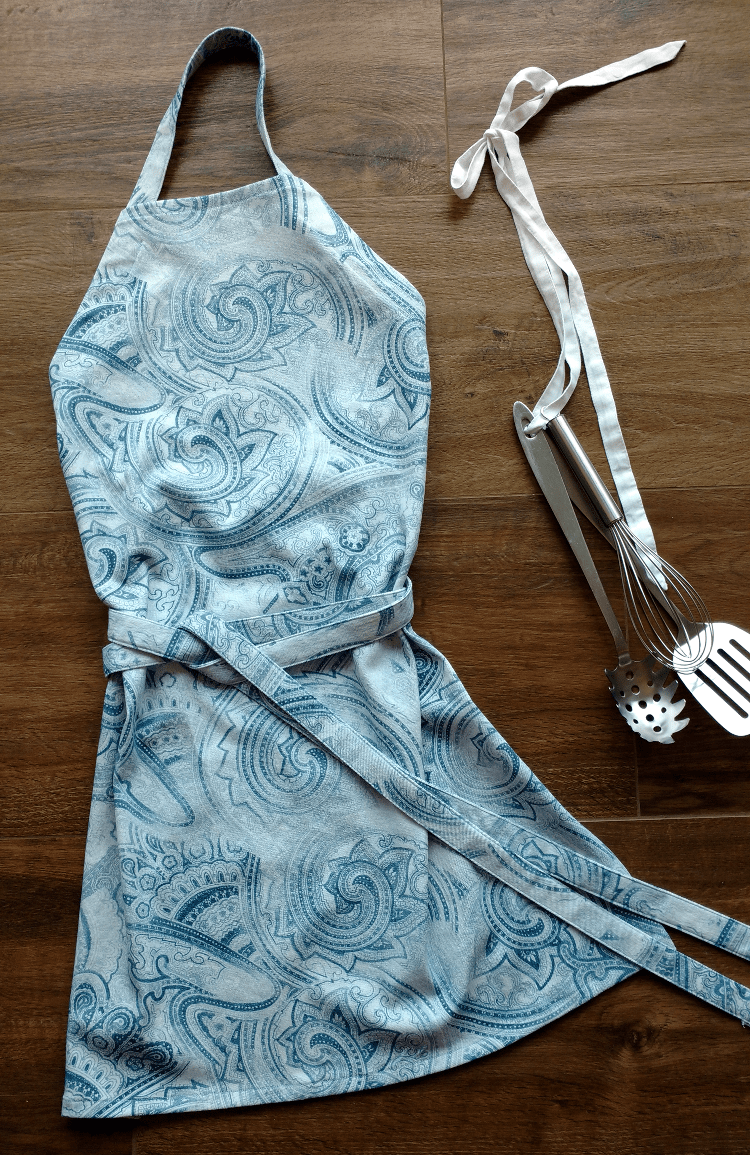
If you cook, or do the washing up, wearing an apron is a good idea. It will keep your clothes clean and dry and if you follow this tutorial to make your own, you’ll also look like a million bucks in the kitchen. What’s great about this tutorial is that basically any sturdy fabric can be used. We suggesting avoiding lightweight material. Jazz up your design by using contrasting thread or maybe an appliqué - the possibilities are endless. You could also make it longer, or shorter and a sweet border ribbon would definitely kick it up a notch in the style department. Use your imagination and have fun!
Our finished apron dimensions are 91.5 cm x 25.5 cm (top), 63.5 cm (bottom), and the armholes start 24 cm down.
You will need
- 91.5 cm by 66 cm fabric of your choice
- Fabric for straps – you need to be able to piece together a 365cm strip
- Thread in a coordinating color
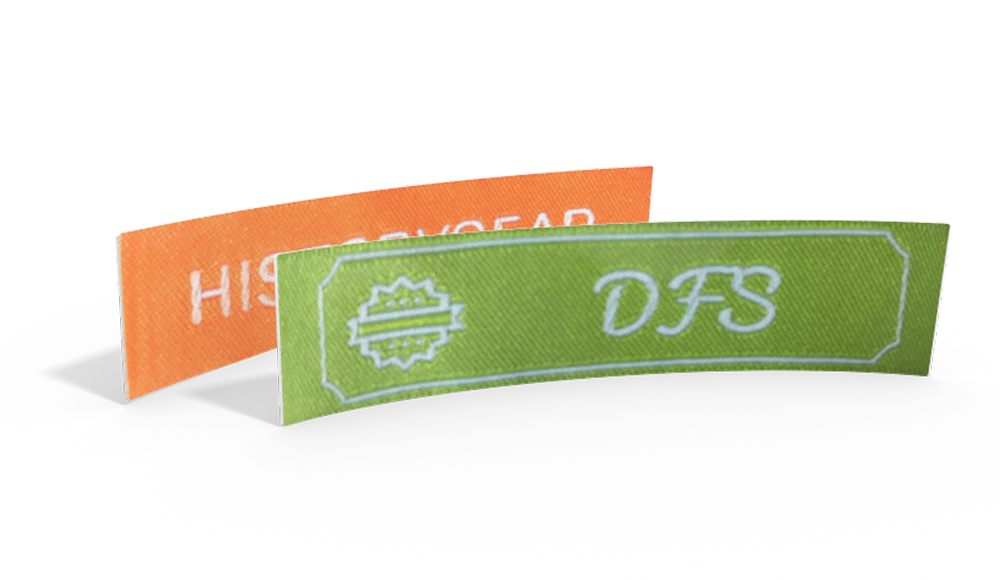
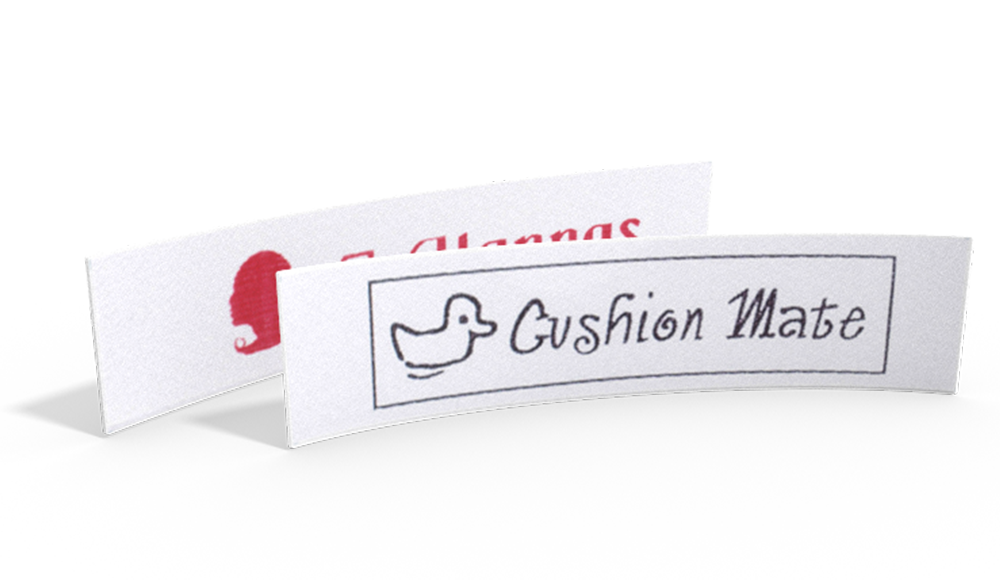
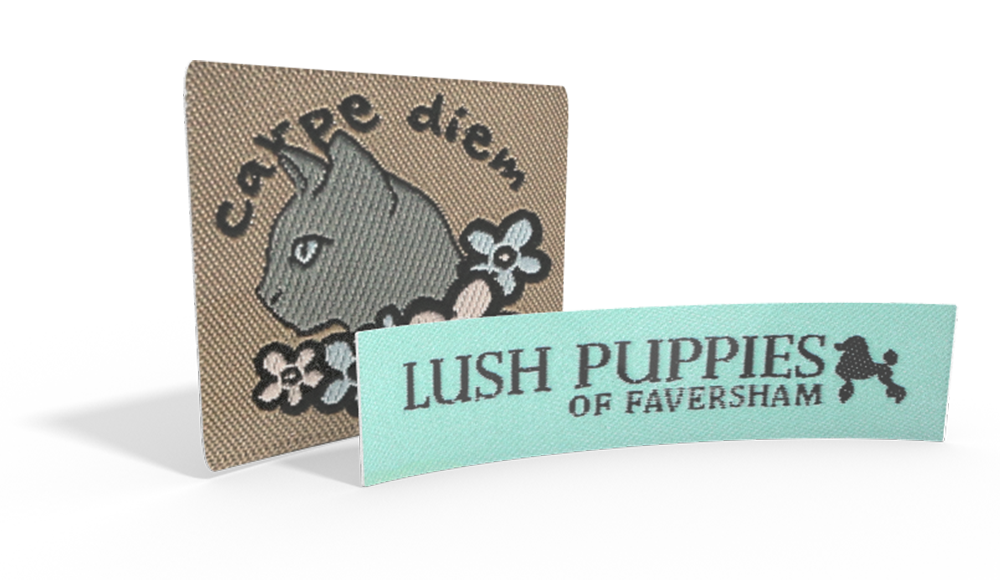
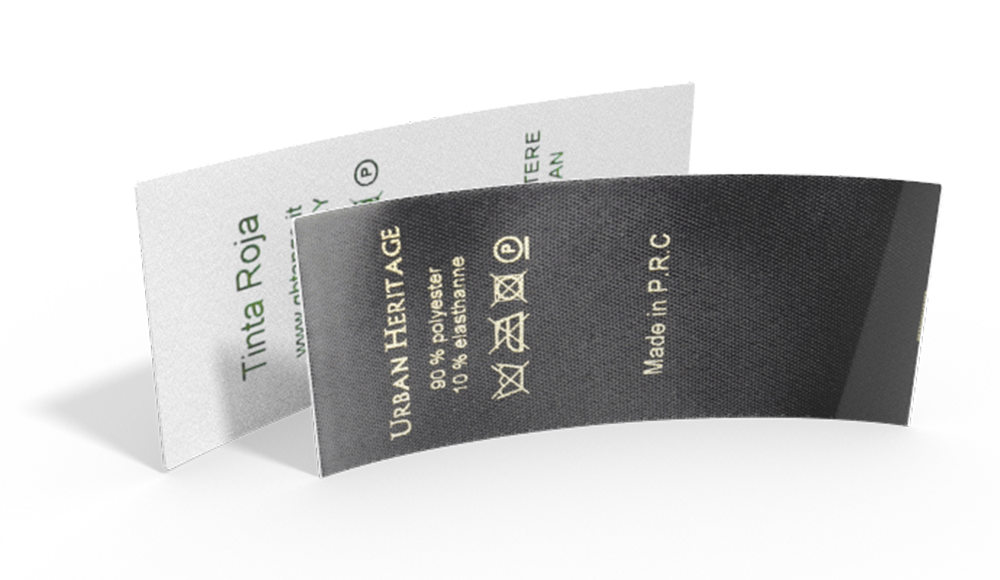
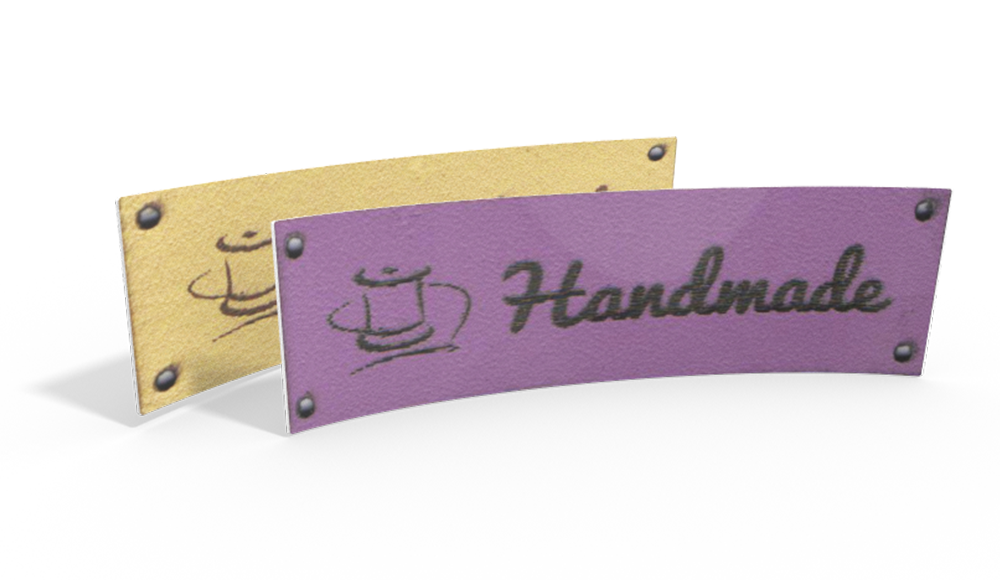
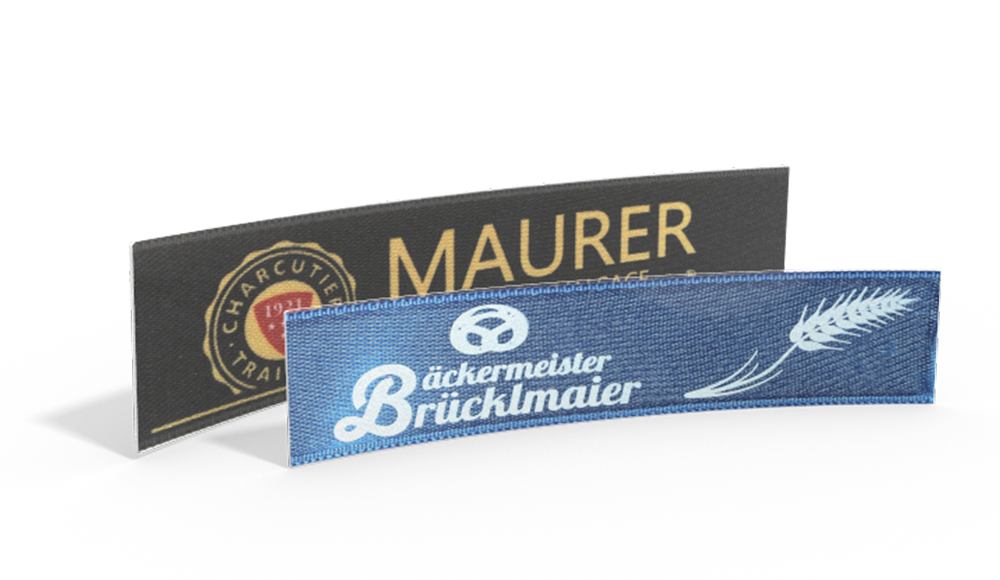
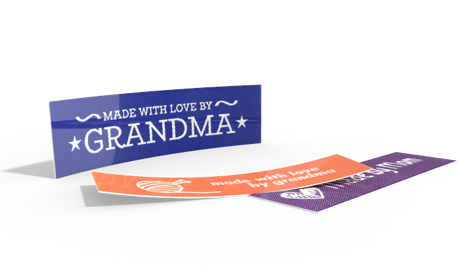
- Personalised woven label
Make the Straps
Cut the straps – cut 2 strips each measuring 10cm x 190cm and sew the short ends right-sides together using a 1.5 cm seam allowance to make one long strip. Press the seam open to reduce bulk.
**You can also use 4 strips each measuring 10 cm x 91.25 cm if your fabric isn’t long enough for the 190 cm strips. Other alternatives would be 365 cm of bias tape sewn closed, or sturdy ribbon to match your apron fabric.
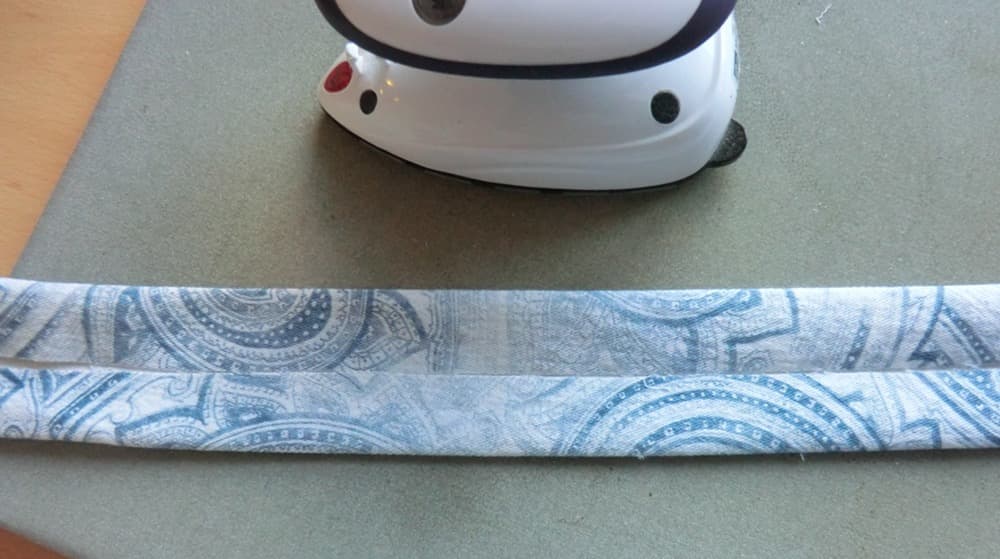
Fold in half lengthwise and press. Unfold the strip and fold the raw edges to the fold line before pressing again.
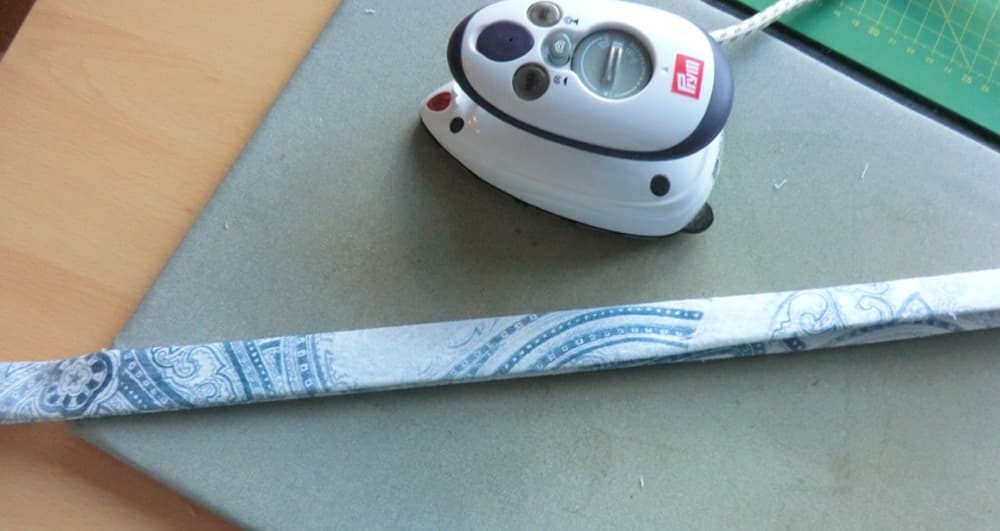
Fold in half lengthwise (hiding the raw edges in the center of the strip) and press one final time.
Fold each end in by 1.5 cm, hiding the raw edges inside the strap.
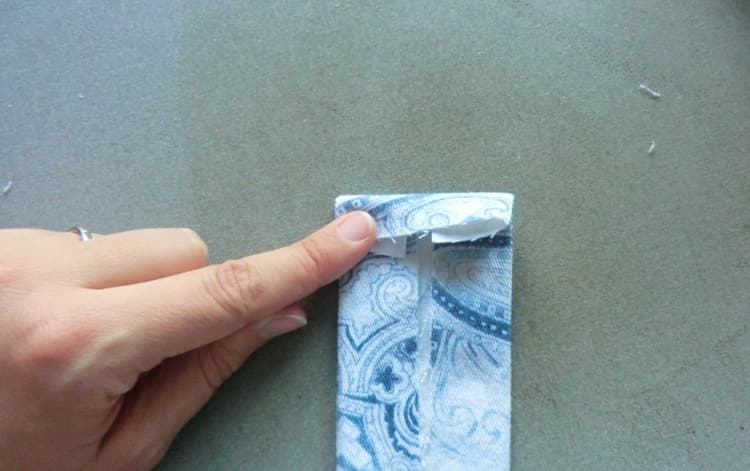
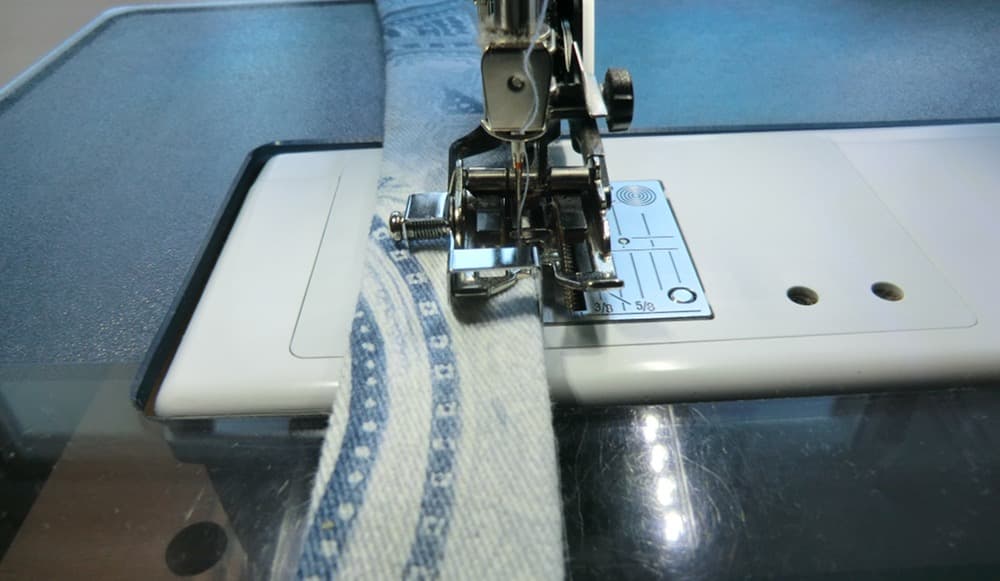
Top stitch along both edges of the strap, making sure to sew in the same direction for each side – this will help to ensure that the strap does not get twisted.
Make the Apron Body
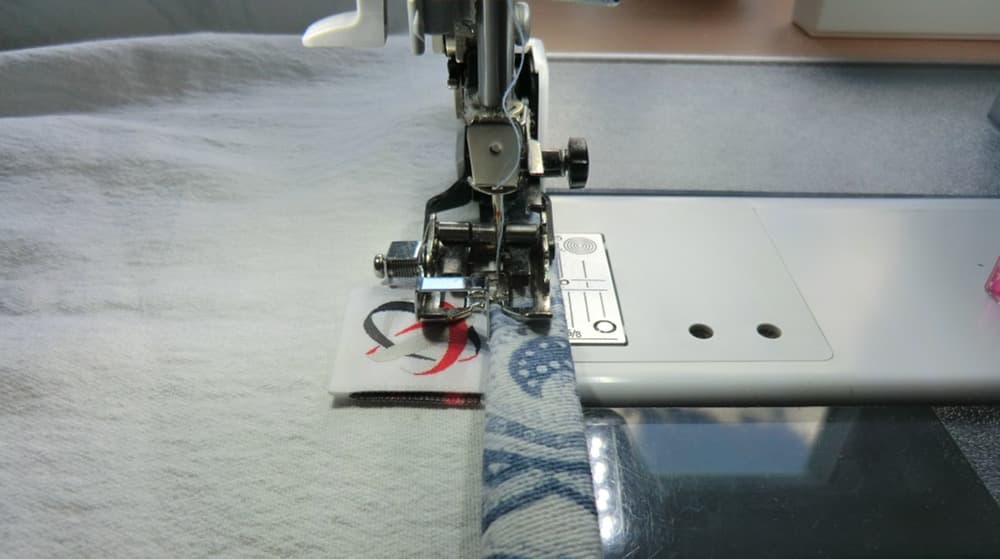
Fold each short side of your fabric in 1.5cm, press and fold in by 1.5cm once more to make a hem (if your hem works out a little wider because your fabric is thicker, that’s OK). Sew close to the edge of the hem – if you’re adding a woven label, tuck it under the hem in the middle of the top edge before sewing. Repeat the process for the long sides.
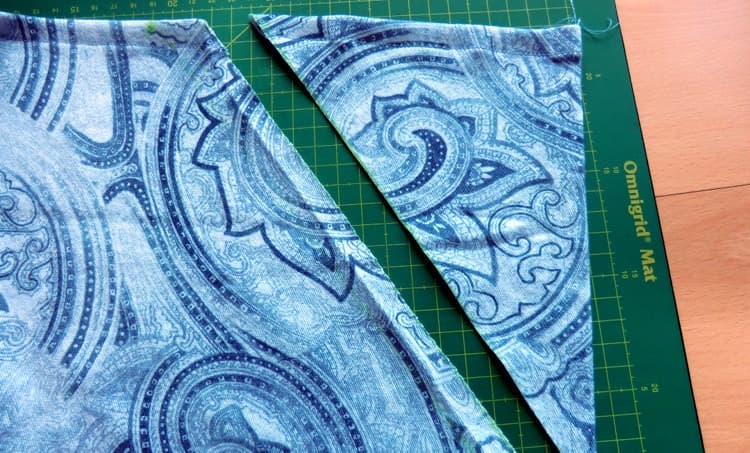
Make marks along one of the short edges, 16.5cm in from the corners. This will be the top of your apron. Make a mark 21.5 cm down from the top corner on each long side.

Draw a line between each pair of marks and cut along these lines.
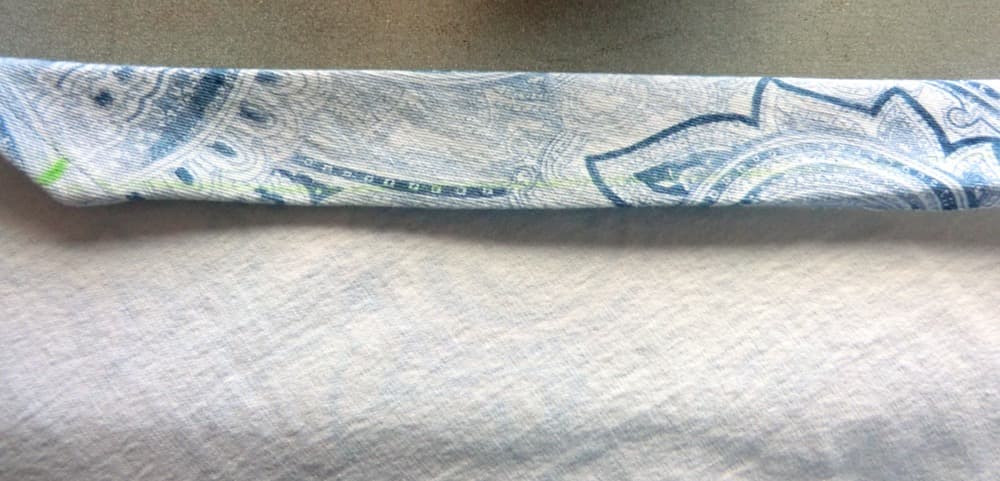
Fold the cut corners in 1.5 cm and press. Now fold them in 4 cm and sew along the previously pressed edge. This will make casings for your straps to pass through.
Thread one end of the strap through the casing on one side and then the other (make sure it’s not twisted at the top).
Now it’s time to enjoy your new apron!
Do You want to save this idea for later?
Simply bookmark the link to this blog post or add it to your "Favourites" so that you can quickly find it in your browser later.
Here is how to save the tutorial:
- On your computer: Click on the asterisk or the three dots in the top right hand corner or on the book icon in the top left hand corner (depending on the browser you use).
- On your Android smartphone: Click on the three dots in the top right hand corner and then on the asterisk.
- On your iPhone: Click the book icon at the bottom and add the link to your bookmarks or book list.


