We think everyone can agree that zipper pouches are pretty useful! This DIY makeup bag combines form and function which is perfect in our look. What we love about this tutorial is that the dimensions can be adjusted to suit your needs. Need a bigger pouch to use for traveling or a smaller pouch to corral loose change? No problem – adjust as needed.
These handy little bags have a variety of applications. They are great on the go to hold makeup, toiletries, a travel first aid kit, sewing essentials, cables and other odds and ends. You can just pop them in your handbag or luggage. Or use them at home to keep your bathroom cabinet and drawers tidy. Once you’ve got the hang of how to sew a makeup bag you will be making them for friends and family too!
Many of us are daunted by the prospect of sewing in a zipper and tend to settle for buttons, velcro or a draw-string. But don’t worry, we will show you step by step how to sew a makeup bag with a zipper: it is surprisingly easy once you know how and gives a really professional-looking and practical finish to any item.
We used a piece of pre-dyed, 100% cotton fabric with some weight to it for our pouch, but the sky is really the limit with this project, almost any thicker fabric will do. We love the tie-dye look so much! We just might have a tie-dye tutorial in our future.
Now let’s get started on our How to Sew a Makeup Bag tutorial!
Our finished pouch measures 19.5 cm by 14 cm
Supplies you Will Need to Sew a Makeup Bag
- ¼ yard fabric of your choice for the outside of the pouch
- ¼ yard fabric of your choice for the lining of the pouch
- Thread in a coordinating color
- 7” zipper (you can use a longer one and cut it down)
- ¼ yard interfacing to give your DIY makeup bag more stability – we used Vlieseline S320
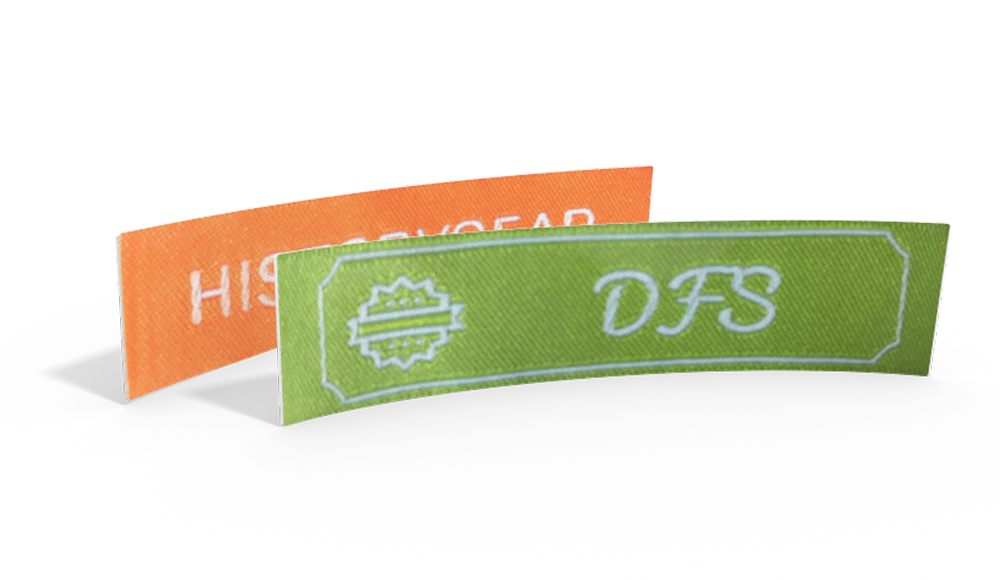
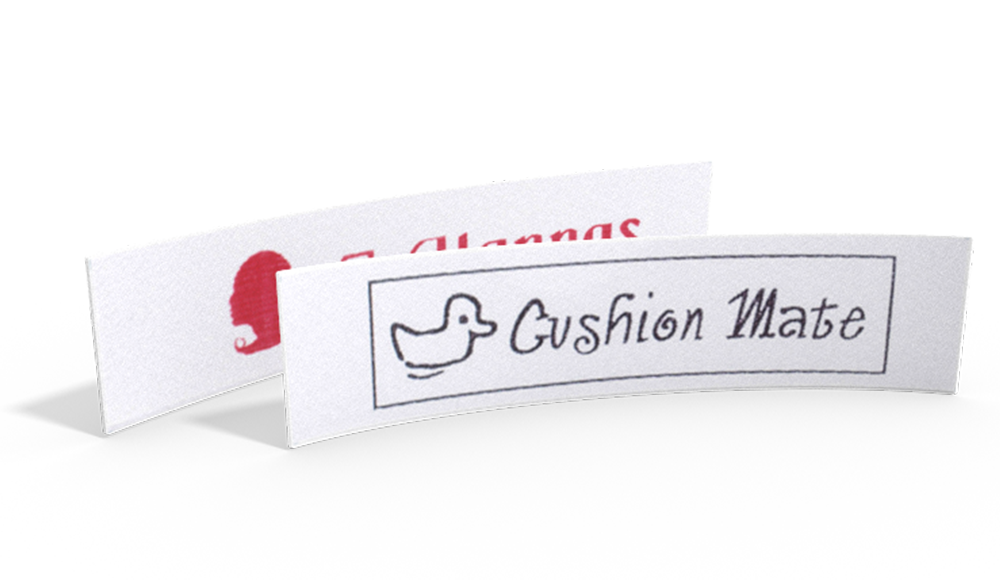
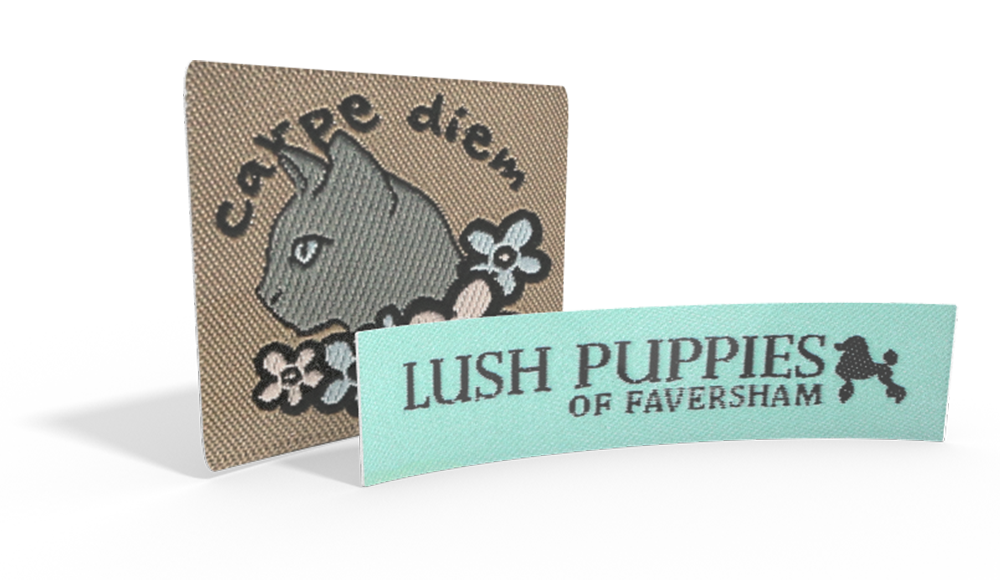
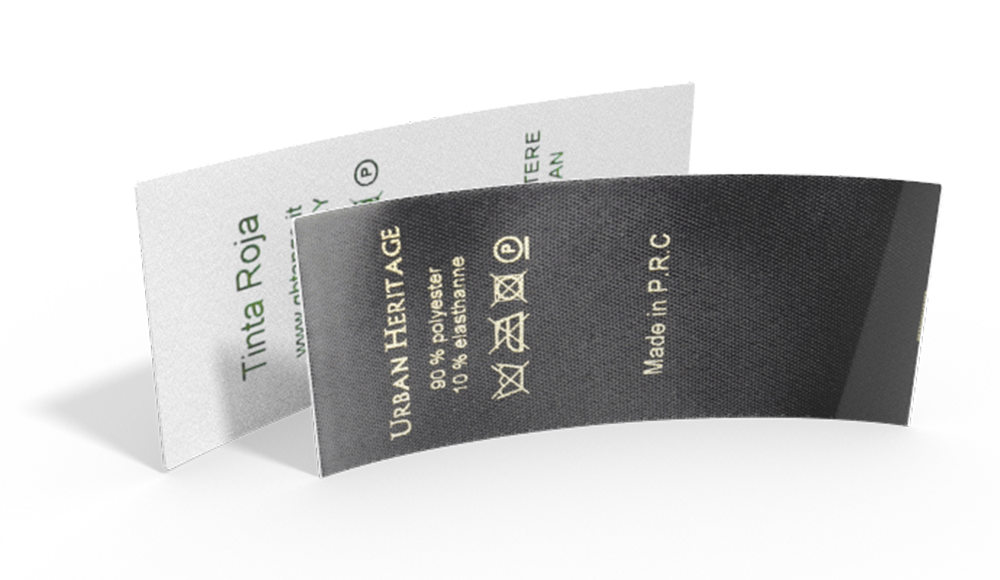
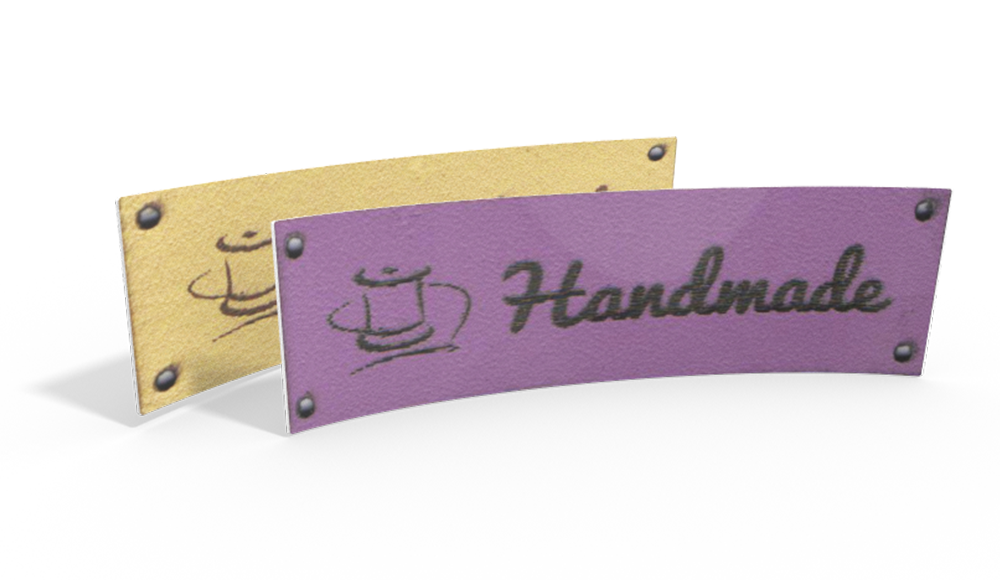
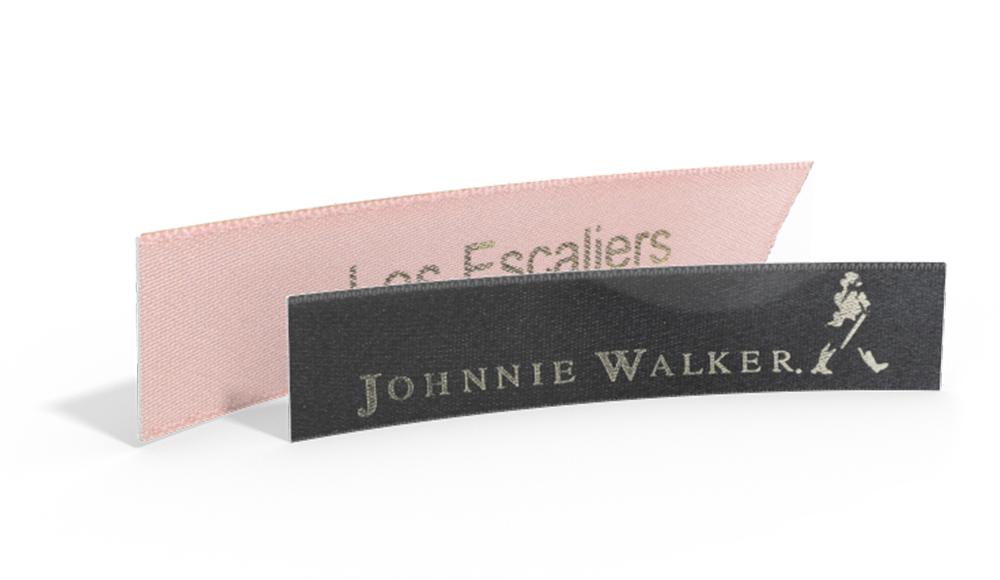
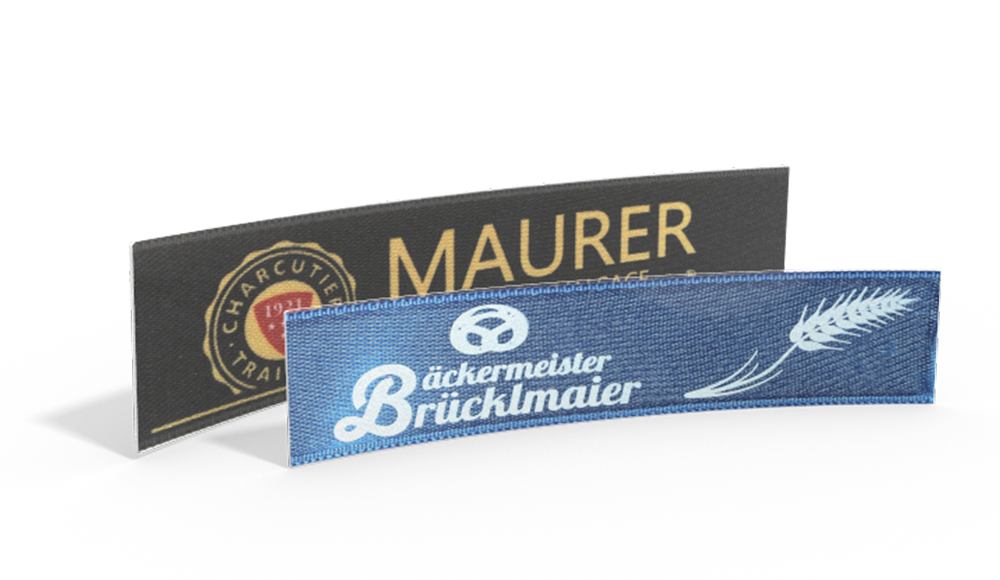
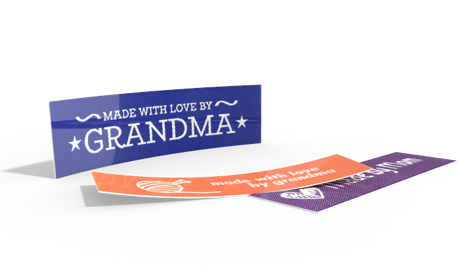
- Your Logo Label from Wunderlabel
Cutting the fabric for your cosmetic bag
To sew your cosmetic bag you need to have the following pieces of fabric ready:
Cut two pieces of the outer fabric measuring 22 cm by 16.5 cm.
Cut two pieces of the interfacing measuring 22 cm by 16.5 cm and fuse
them to the wrong side of the outer fabric pieces, following the manufacturer’s
instructions regarding iron temperature and timing.
Cut two pieces of the lining fabric measuring 22 cm by 16.5 cm.
Step by step: How to sew a makeup bag
Just follow the steps below: the pictures will help you to understand just how to sew the makeup bag.
Sew across the open end of the zipper a couple of times – this makes it easier to
maneuver later.

Now we need to attach the outer and lining to the zipper. Place one piece of your outer
fabric right side up, then your zipper right side down and centered along the top.

Position one piece of the lining fabric right side down and lined up neatly with the outer fabric and pin or clip to keep in place.

Sew the zipper on slowly using a zipper foot, as close to the zipper as you can manage. You will need to stop part way with the needle in the fabric, lift your presser foot and maneuver the zipper pull past the foot. Fold the fabric back away from the zipper and press.
Repeat the process with the other side of the zipper.
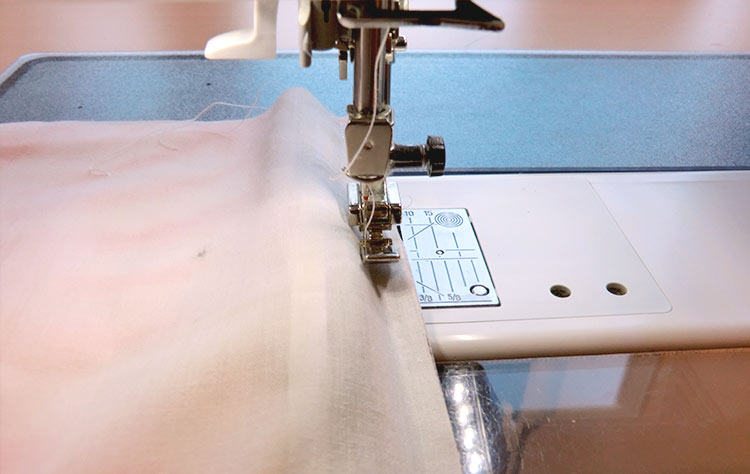
Top stitch close to the edge of the zipper on both sides – this gives a finished look and also stops the fabric from catching in the zipper when the pouch is complete.

Baste your label to the short side of one of the outside fabric pieces pointing inwards, about 1” (2.5cm) down from the top edge and a little under ½” (1.25cm) in from the side.

OPEN THE ZIPPER PART WAY. If you forget to do this you will need to do some unpicking later.
Put the two pieces of outer fabric right sides together and line up the edges – repeat with the lining fabric. Pin or clip together and sew around the outside with a ½” (1.25cm) seam allowance, leaving a 2” (5cm) hole in the bottom of the lining to turn the pouch through. Back stitch at either side of the turning hole and pivot with the needle in the fabric at the corners. When you reach the zipper, make sure that the outer and lining fabrics are aligned neatly, with the seam allowances facing towards the lining.
Trim the corners of the outer fabric and the lining to reduce bulk.

Turn the pouch through the hole in the lining. Close the turning hole by stitching close to the edge, or sew it closed by hand.

Push the lining into the pouch and zip it up!
We hope that you enjoyed this How to Sew a Makeup Bag Tutorial. Feel free to get in touch with feedback, ideas and suggestions.
Seamstress: Emma Lorenz
Tutorial Photo Credit: Emma Lorenz
Don't miss these blog posts from Wunderlabel:
Free Tutorial: DIY Foldable Shopping Bag
Do You want to save this idea for later?
Simply bookmark the link to this blog post or add it to your "Favourites" so that you can quickly find it in your browser later.
Here is how to save the tutorial:
- On your computer: Click on the asterisk or the three dots in the top right hand corner or on the book icon in the top left hand corner (depending on the browser you use).
- On your Android smartphone: Click on the three dots in the top right hand corner and then on the asterisk.
- On your iPhone: Click the book icon at the bottom and add the link to your bookmarks or book list.


