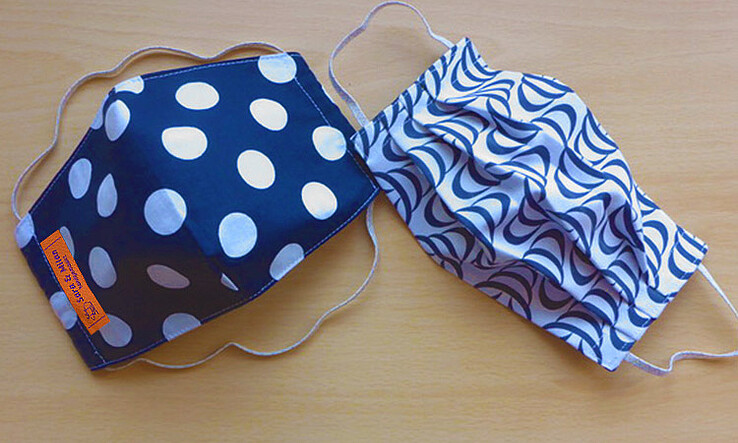
Face masks have been in short supply since the start of the Corona pandemic. They are sold out in pharmacies which means hospitals and doctor’s offices are working with minimal quantities to get through the day, leaving them at risk. Tattoo studios and the like have donated their supply but it’s just not enough.
For weeks now, sewing enthusiasts from all around the globe have been making DIY fabric face masks for themselves as well as for donation. In this post, we walk you through how to make two types of face masks yourself. Tip: Antimicrobial fabric is ideal for these masks and can be found in online fabric shops. Regular cotton fabric is great too!
DISCLAIMER:
These DIY face masks are not RESPIRATORY MASKS! They do not protect the wearer from infection. The DIY masks are only intended to prevent the wearer from infecting others through coughing and sneezing. The masks should be washed on HOT or on the SANITIZE setting before each use. Masks should only be worn once and then washed before being worn again.
Sew your own fabric face mask, Variation # 1
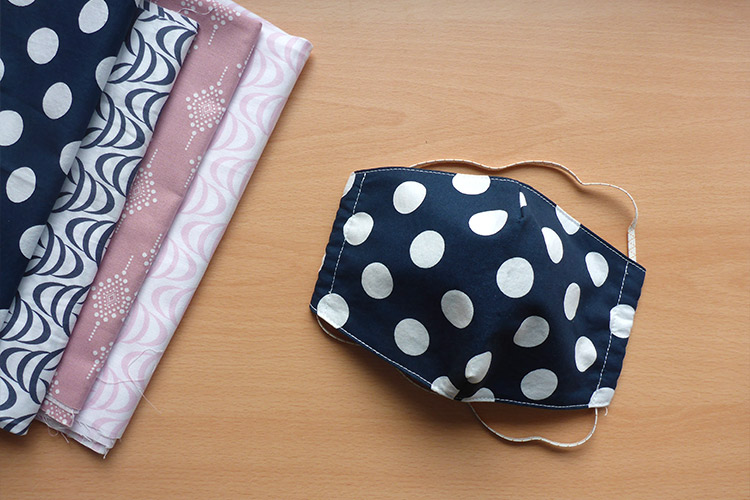
The first mask has darts along the sides which means that it has snug fit and forms well to the shape of your face. We’ll show you how to make this fabric face mask by walking you through each step.
You will need:
- cotton fabric
- Interfacing - we used Vlieseline G700
- 5 mm wide elastic
- The attached sewing pattern
- A iron on label with text & symbol
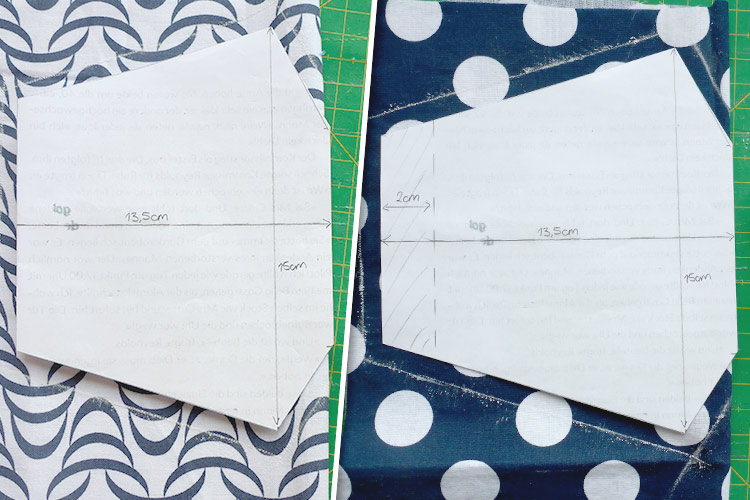
Start by printing out the PDF face mask pattern. Make sure you choose the “original size” when printing so that the dimensions on the pattern are correct.
The left pattern is for an adult mask and the right pattern is for a child sized mask. In this tutorial, we will be making the adult sized mask. The finished mask measures 20 x 14 cm.
Double up your fabric by folding it in half and attach the pattern (the long side of the pattern should run along the folded edge). Cut out the fabric leaving a 0.75 cm allowance.
Fold the shaded portion of the pattern back. Use this folded pattern as the new pattern for the inside of the fabric face mask. Double your fabric again and repeat the step.
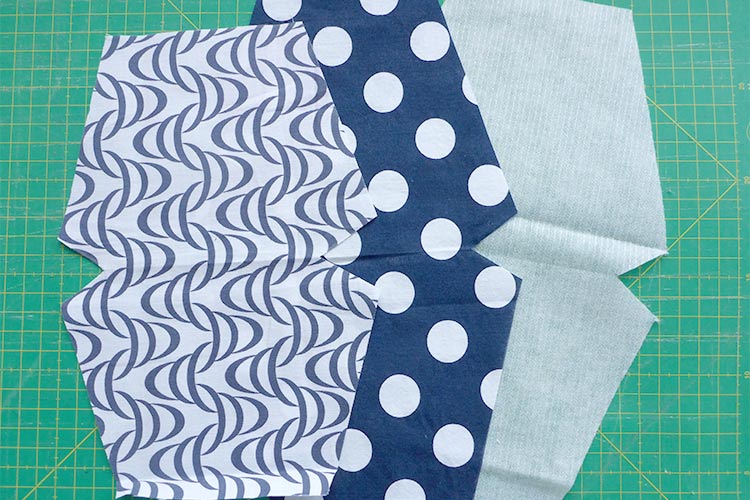
Iron on the interfacing, according to the manufacturer’s instructions onto the back side of the larger piece of fabric.
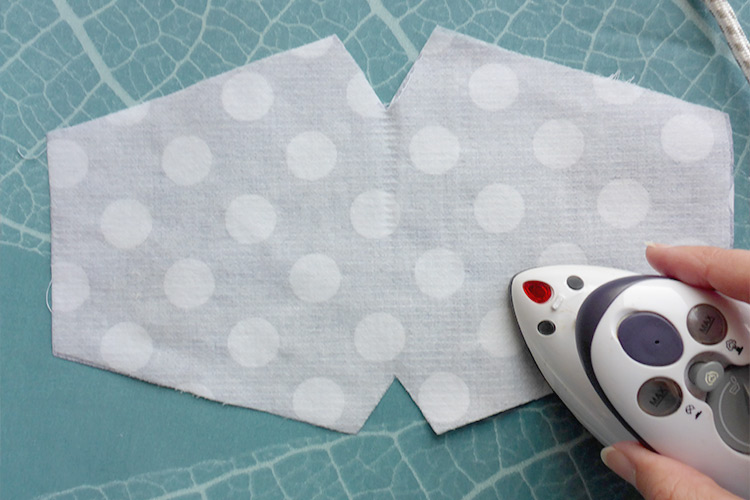
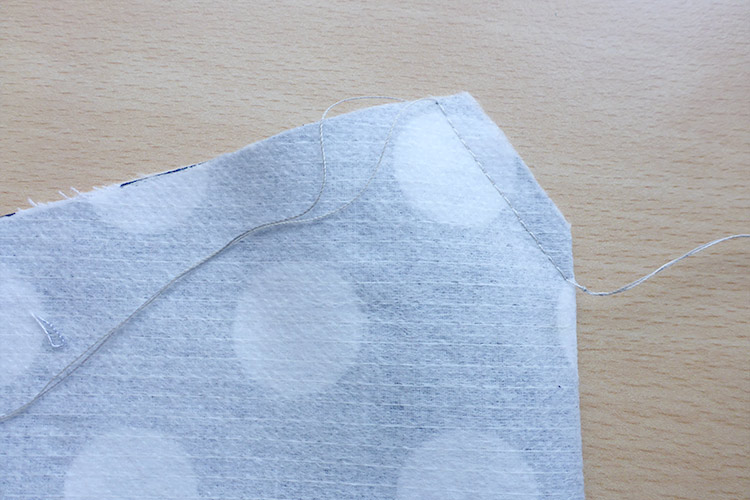
Next up are the darts. Fold one piece of the fabric in half putting the right sides of the fabric together. Sew the darts (the notches in the fabric) from the cut edge inwards. Do not backstitch, simply tie off the threads. This will make the darts rounded and not pointy. Repeat for the dart on the other side as well as the second mask cut-out.
Sew the top and bottom seam of the mask with the right sides of the fabric together using a seam allowance of 0.75 cm. Then turn the mask right side out through the end openings. Iron the mask and tightly clip the edges together.
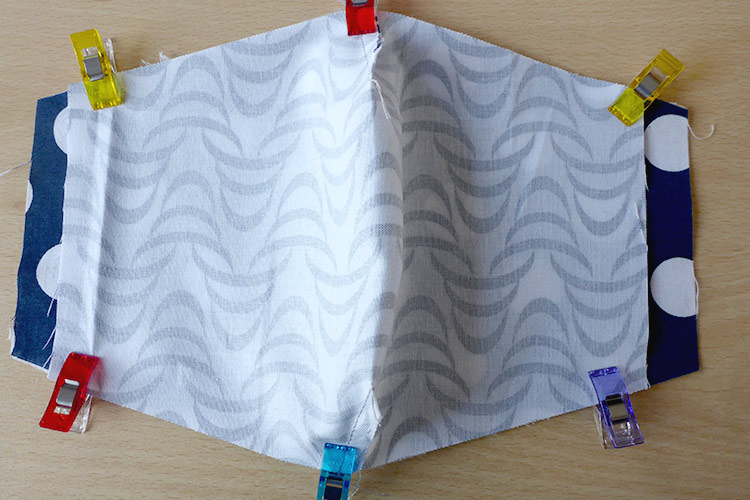
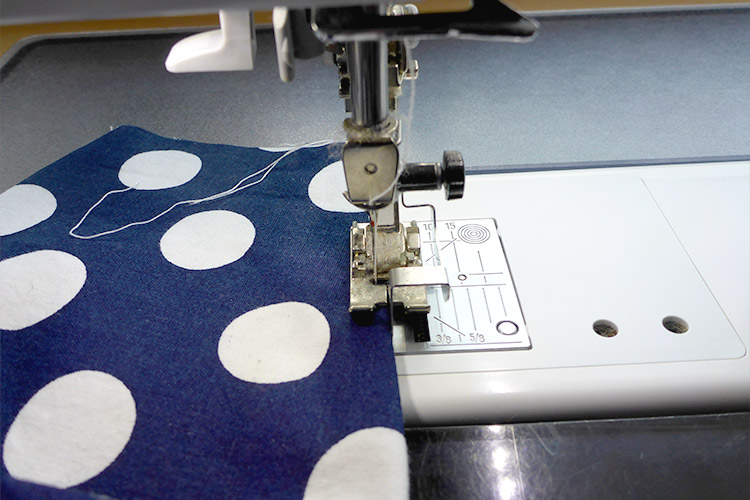
The short ends of the mask will have a channel for the elastic band. To create this, fold the cut edge inwards 0.5 cm and iron in place. Fold inwards again leaving enough space to run the elastic band through the channel created. Iron in place and secure the fold with pins or clips. Sew along the inside edge of the fold to secure.
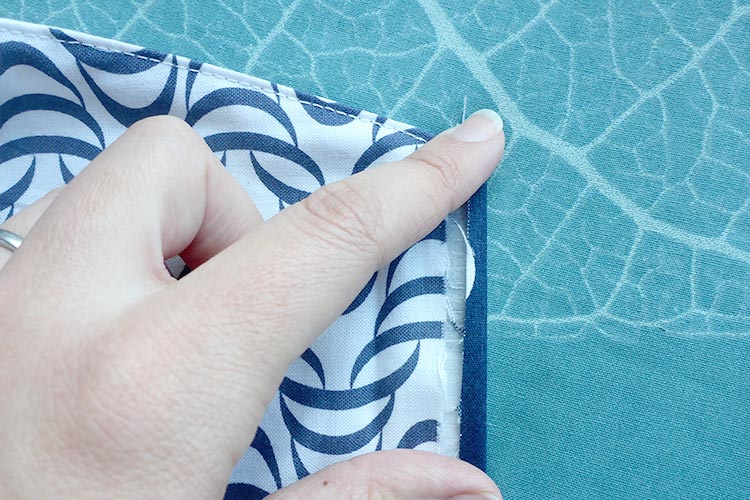
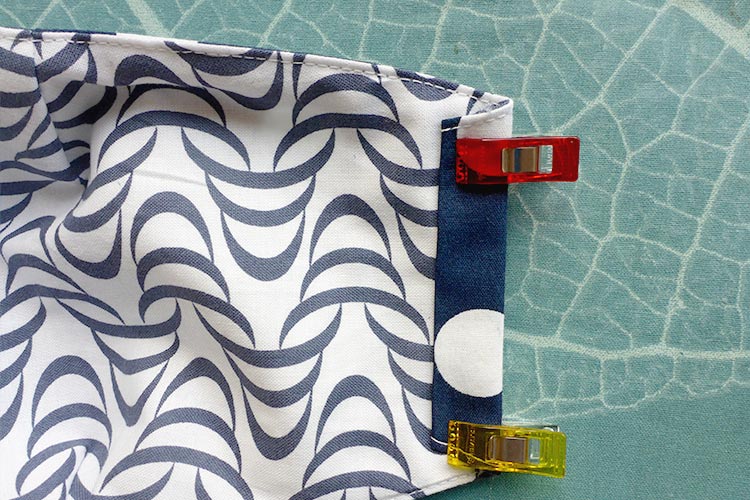
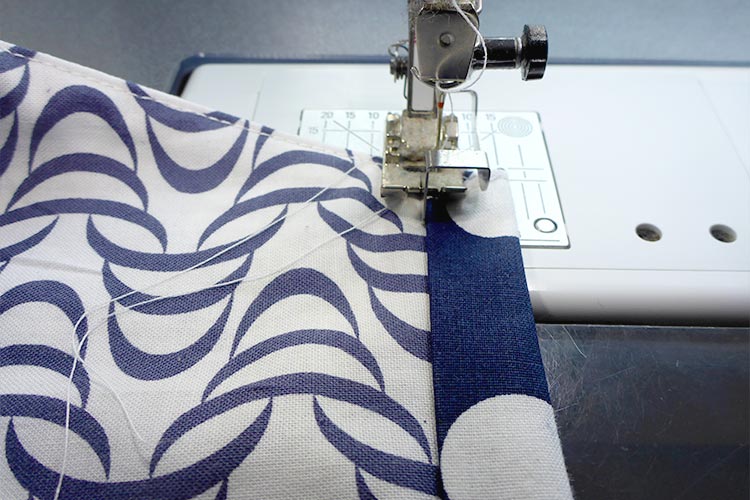
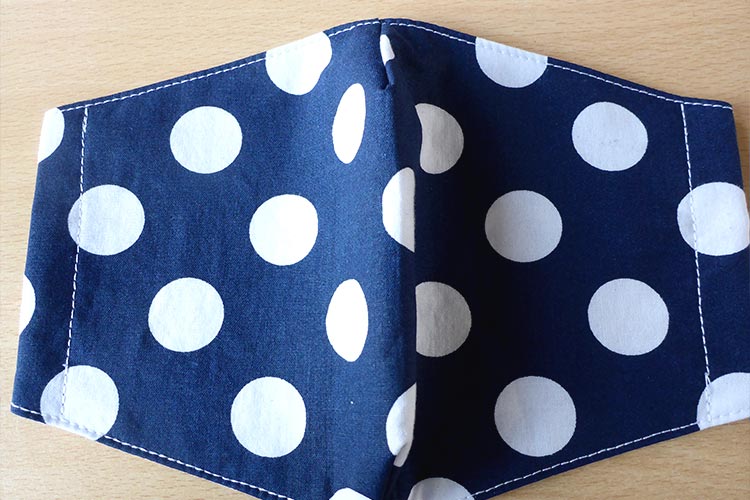
The last step is to run the elastic through the end channels. You can choose to do a short length which then hooks around the ears, or a longer length which stretches around the back of the head. We choose the longer length for this tutorial (approx 65 cm). Run the elastic through the channels and knot or sew the ends together - and pull the finished ends into the channel so that it’s no longer visible.
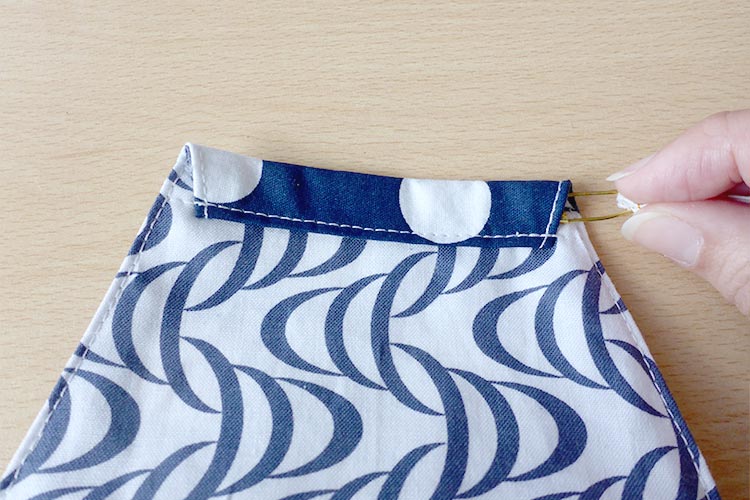


The first variation is finished! Now we’ll move on to the second DIY fabric face mask variation.
Sew your own fabric face mask, Variation # 2

This fabric mask variation is reminiscent of a classic pleated surgical mask. There is no pattern needed, so let’s get started!
Material:
- Cotton Fabric - (1) 21 x 35 cm and (2) 5 x 15 cm
- Interfacing - we used Vlieseline G700 - as an alternative you can use jersey fabric with a woven interfacing to stabilize the fabric.
- 5 mm wide elastic band
- A woven label with text and symbol
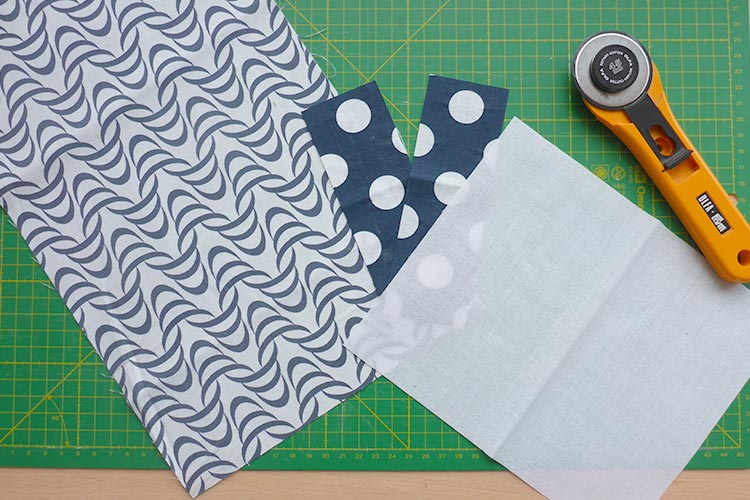
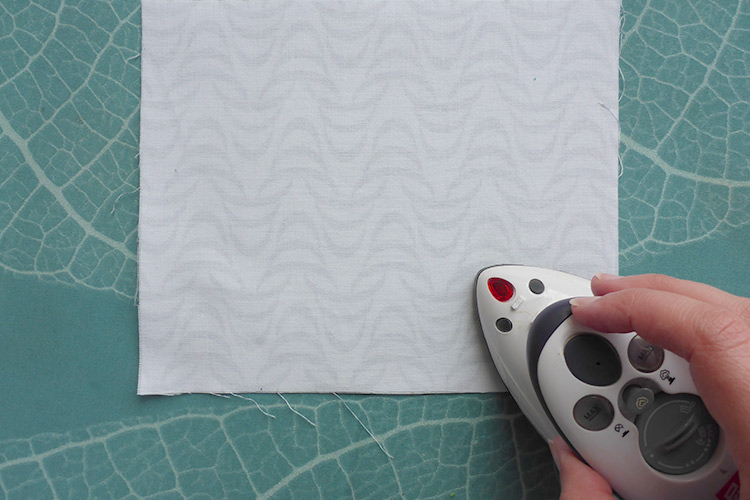
Cut a piece of interfacing measuring 21 x 17.5 cm and iron onto the back side of the larger piece of fabric according to the manufacturer’s instructions.
Fold the larger piece of fabric in half, so that the short sides meet together. Sew the short sides together using a 0.75 cm seam allowance. Turn the fabric right side out and iron the seam.
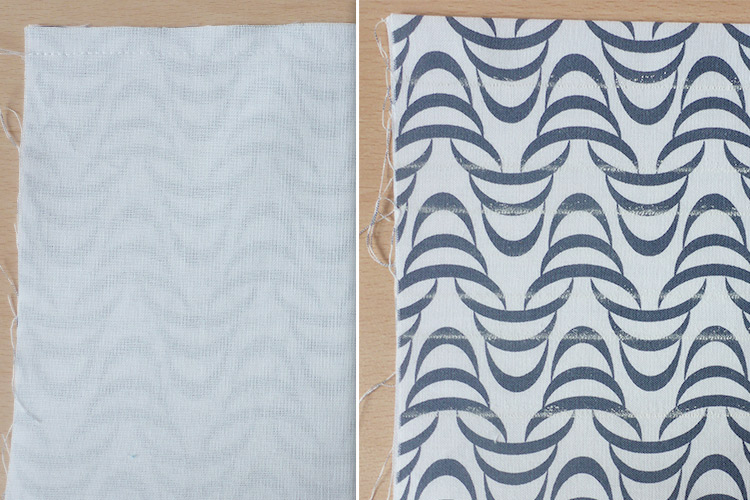
Now the pleats need to be created so that the mask can form to the face. Mark the fold lines with points as shown in the images. Make the folds according to the marks on the fabric. Iron the folds and secure with pins along the sides of the fabric. The mask should now measure 9 cm high.
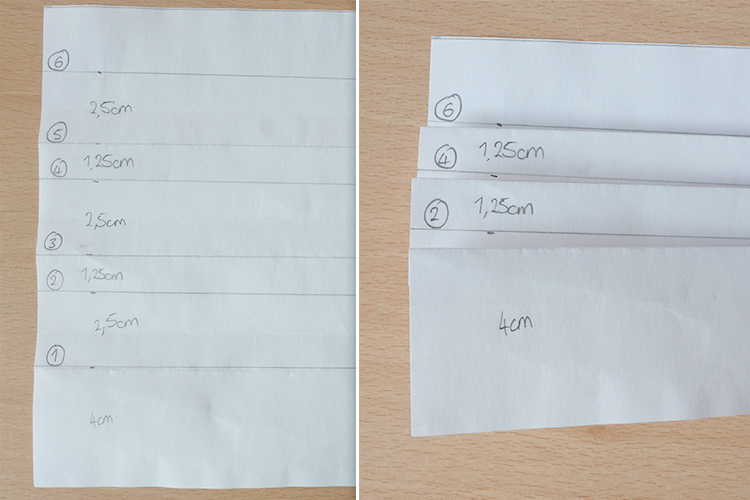
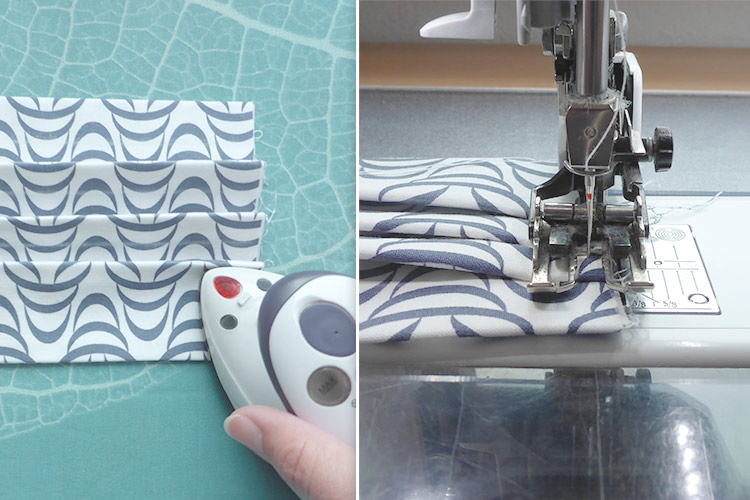
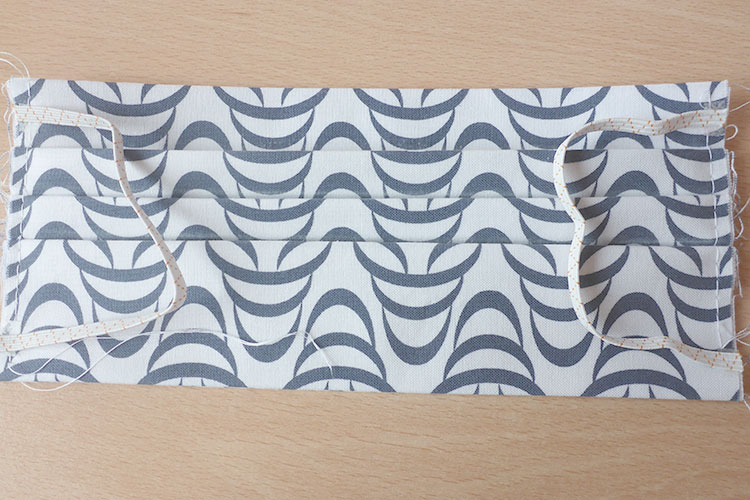
Cut two approximately 15 cm long elastic bands and sew them on to each end of the mask - approximately 0.5 cm from the corners. Take extra care to ensure the elastic is not twisted. To make this job easier, you can pre-attach the elastic with double-sided tape. As an alternative, you can use longer elastic pieces to create a band that stretches behind the head. For a perfect fit, measure your head and cut the elastic accordingly.
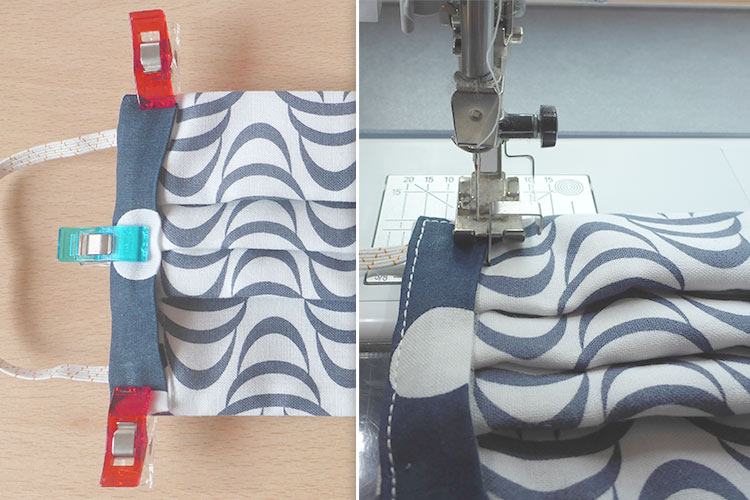
Fold the smaller pieces of fabric together, wrong sides together and press. Place them on the mask so that the cut edges line up (see photo). The fabric will be a little longer than the mask itself - simple trim the extra length off but leave 1.5 cm overhang. Fold the 1.5 cm of fabric over the edge and secure everything in place with pins or clips.


Sew the layers together at both ends using a seam allowance of 0.75 cm. Backstick at the beginning and the end of the seam. Fold the short pieces away from the mask. Iron in place.
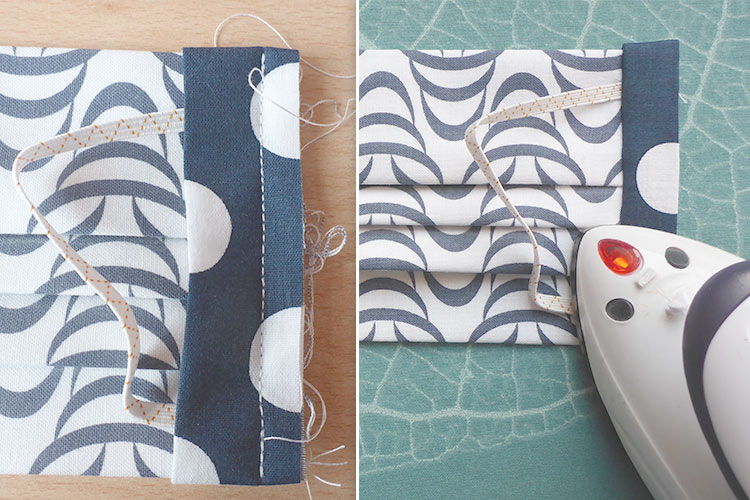
Fold the short pieces back toward the mask so that they cover the cut edges. Iron in place and stitch tightly. It is also helpful to use double-sided tape to keep the fabric in place.
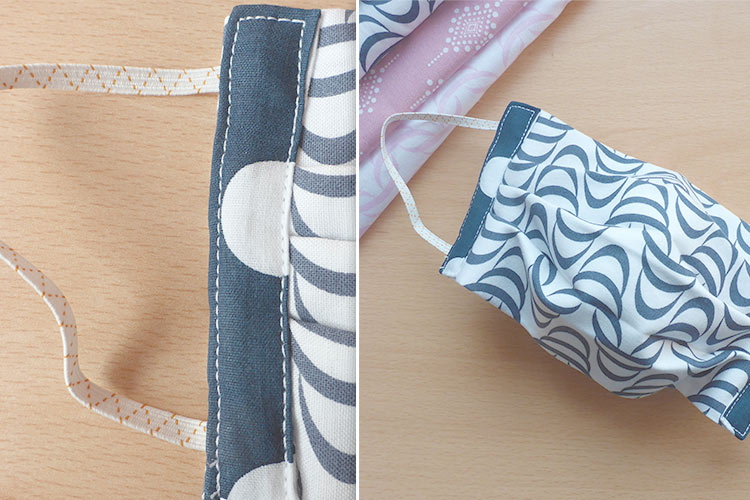
Finished! You were able to make your own face mask!
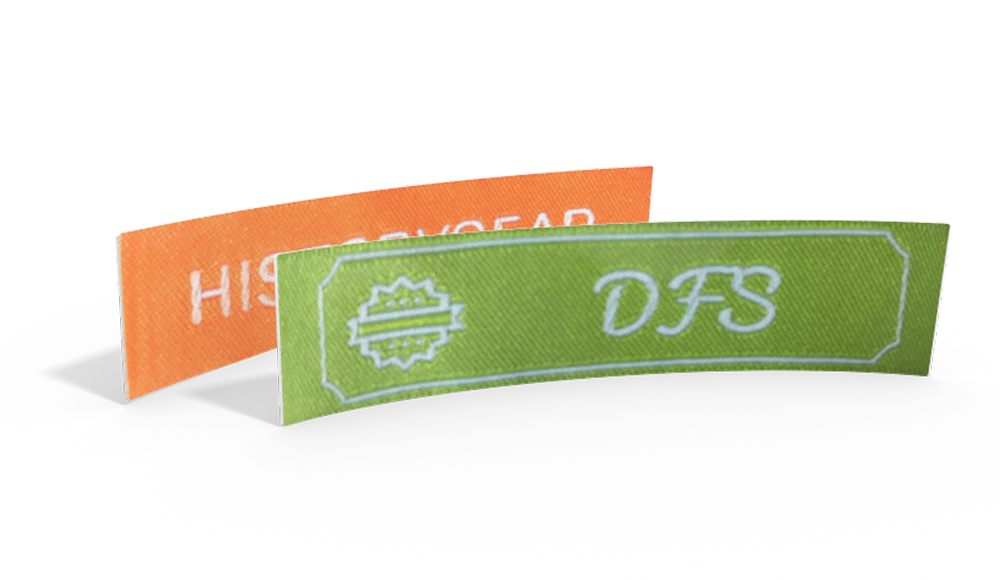
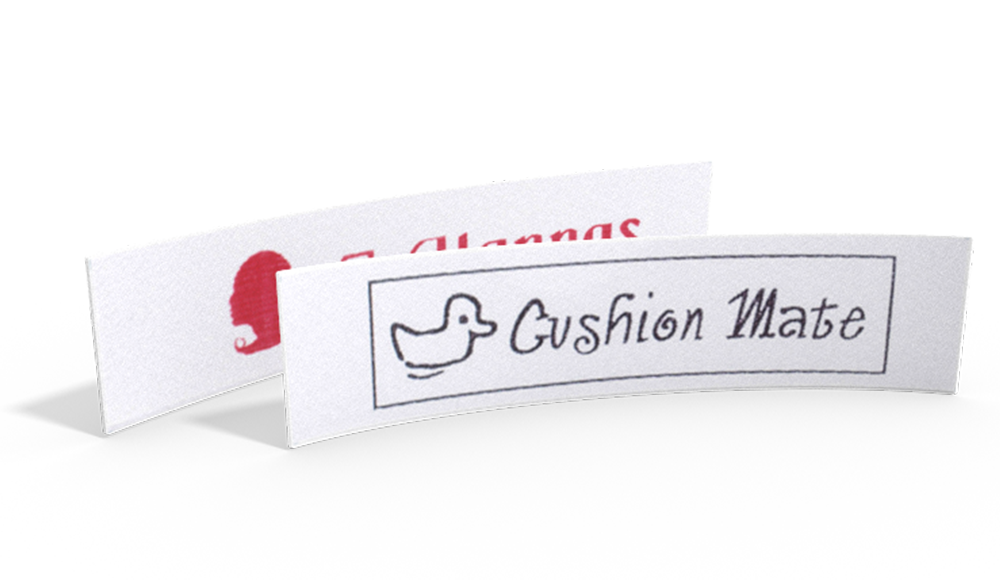
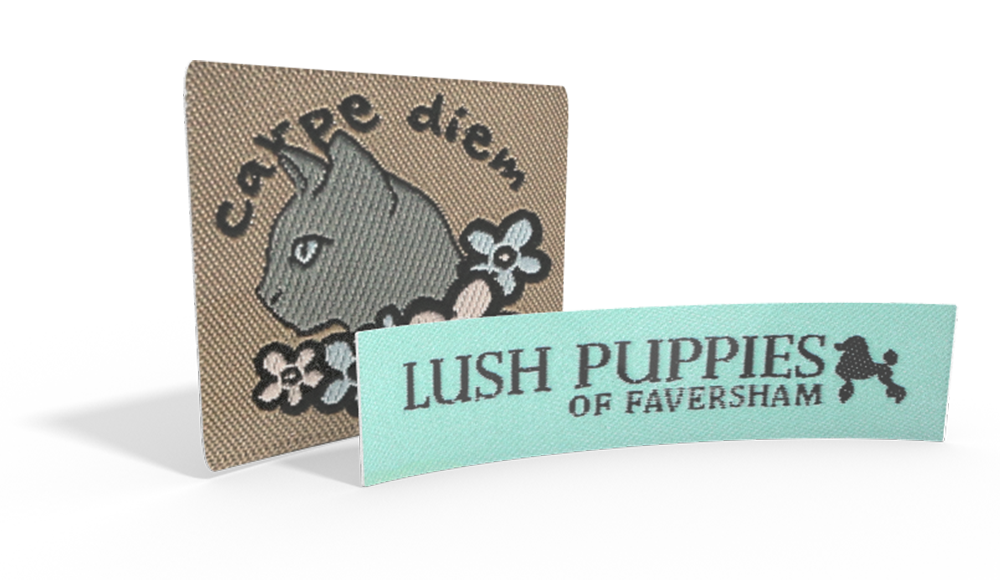
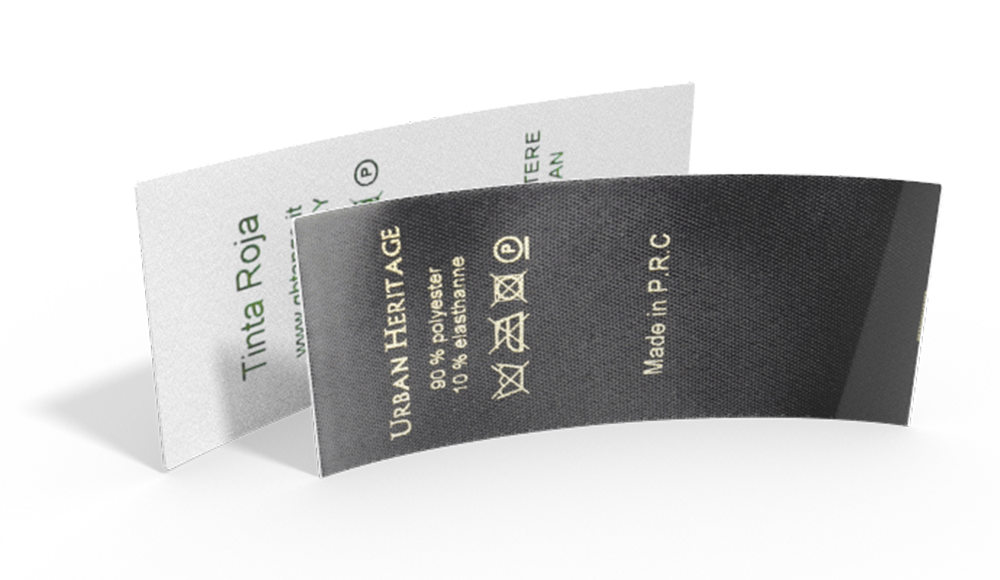
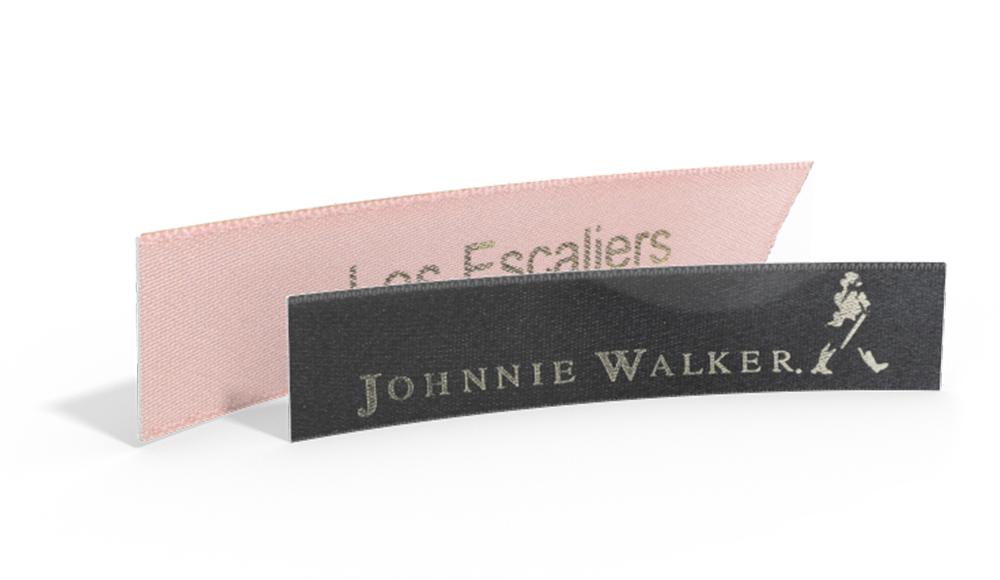
A small woven label with text and a symbol can look great on these masks! If you decide to donate masks, a small uplifting message in the form of a label would look nice, such as “Take Care” or “Stay Healthy” or even “In It Together”.
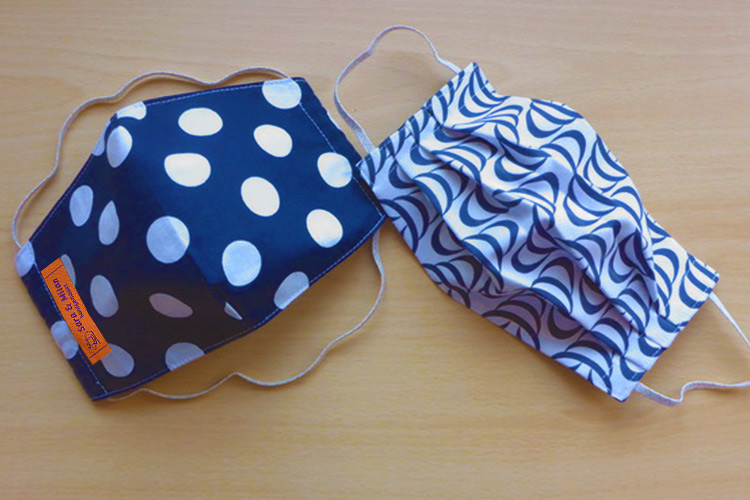
Have fun with this project and stay healthy while you’re at it! We’d love to see your self made masks on Facebook and Instagram - tag us with #wunderlabel.
