Are you thinking that Christmas is ages away? Think again! It’s only about a month until Christmas Eve. Where has the time gone? So let’s get in the Christmas mood with this adorable festive patchwork table runner with stars. Use it for your Christmas table or make it as a present for a loved one. Our DIY table runner measures 11.8” x 82.7” (30 x 210 cm).
Just follow the steps of the table runner free pattern.
You will need the following:
- Fabric - 2.2 m of the main fabric and fabric remnants for appliqué
- Vliesofix (fusible web)
- Embroidery backing
- Sewing thread
Table Runner Tutorial
We know that there are many free Christmas table runner patterns and patchwork table runner patterns out there but we like to think that ours is one of the best! Let’s get started!
First measure your table (our table measures 90 x 180 cm). Divide the width by three and add 30 cm to the length to calculate the measurements of your table runner. In our case the table runner size will be 30 x 210 cm.
Now you can cut your fabrics to size. You will need 36 x 216 cm of the main fabric, as well as embroidery backing and Vliesofix. Cut out patterns for the appliqués from the fabric scraps. We have chosen a simple star - for each star you will need 6 diamond shapes of 4 x 4 cm. You can of course also choose another pattern, such as Christmas baubles, snowmen or Christmas trees.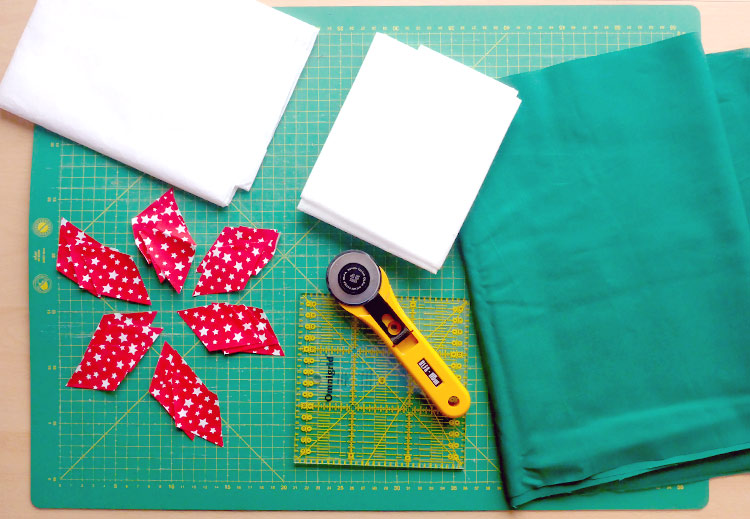
First sew two fabric diamonds together with a small seam allowance and then add a third diamond to the pair. Repeat this step so that you have two half stars. Sew both halves together and iron the star so that the seam allowances at the back are all facing the same direction (see picture). Repeat this three times.
Then hem your table runner. Draw two lines with chalk: One 1.5 cm and the other 3 cm from the edge of the cut. Fold the hem to the wrong side, iron it, fold it again so that you can't see the raw edge, then iron it one last time. Unfold the last pleat and draw a 45° line diagonally to the corner (see picture).


Fold the corner together so that the right sides lie on top of each other. Sew together along the drawn lines and shorten the seam allowance. Repeat this step for all four corners, fold the hem properly and iron again. Finally you can topstitch your table runner all around with a narrow edge.
Position your stars on the table runner and iron them on with Vliesofix. If you wish, you can outline them with a zigzag stitch border.


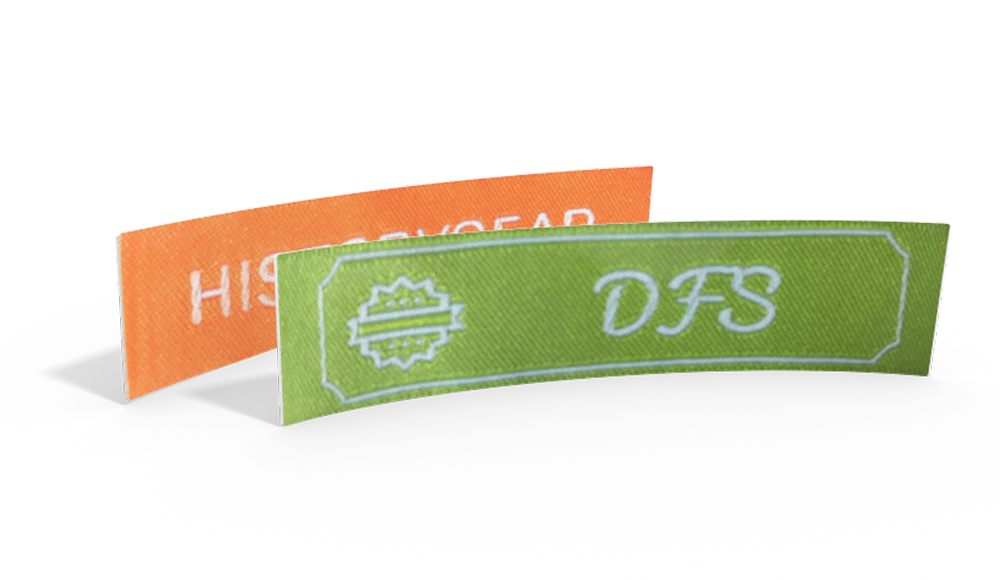
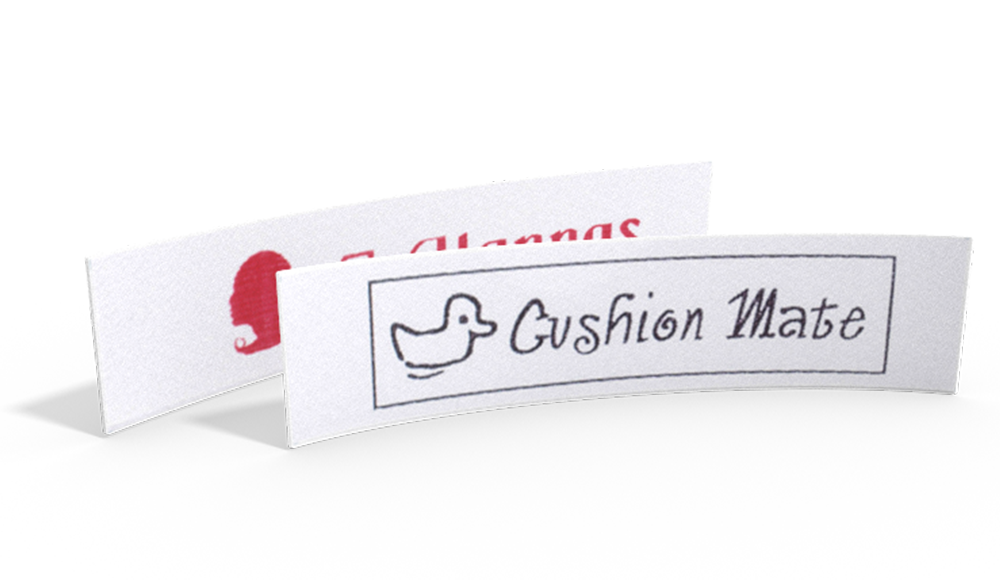
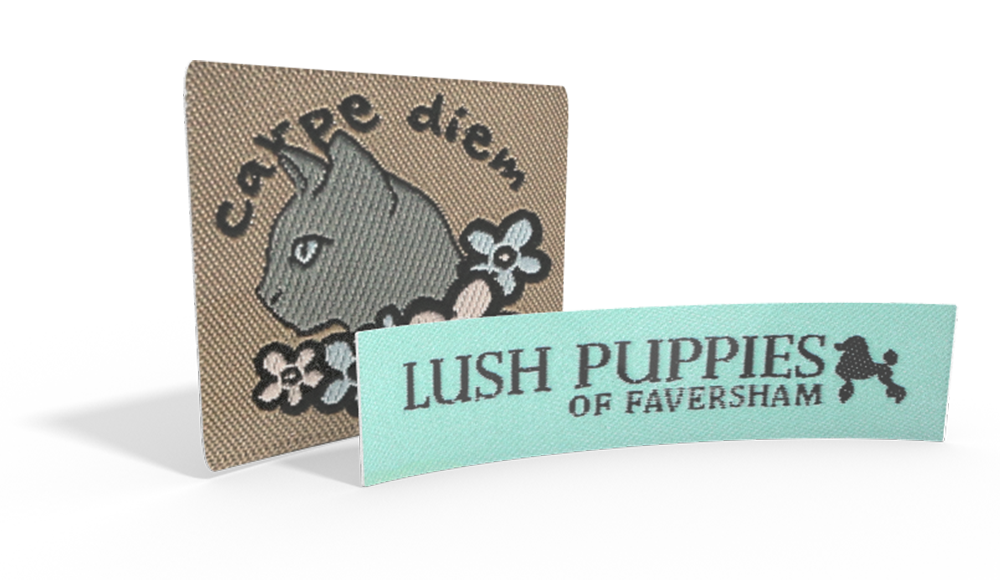
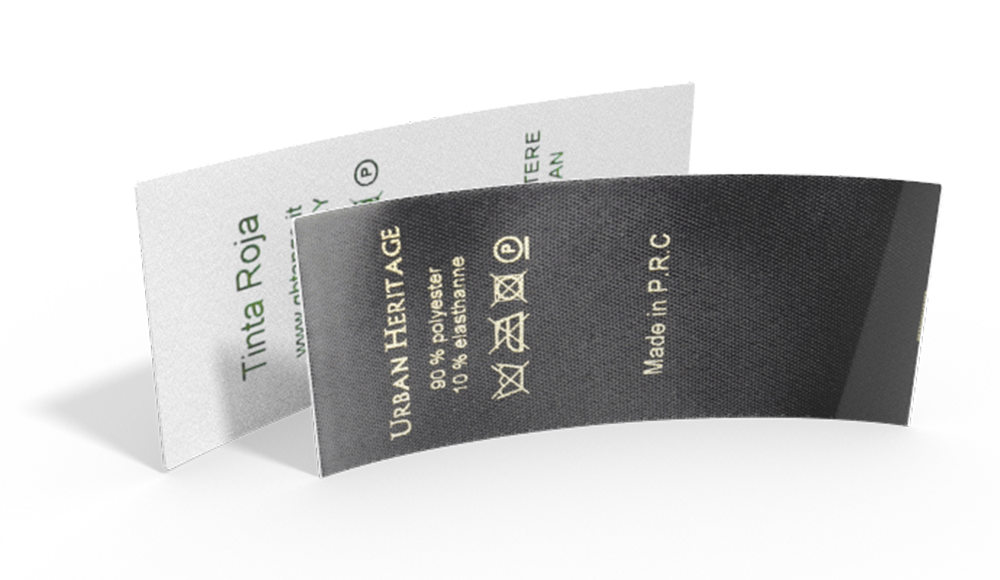
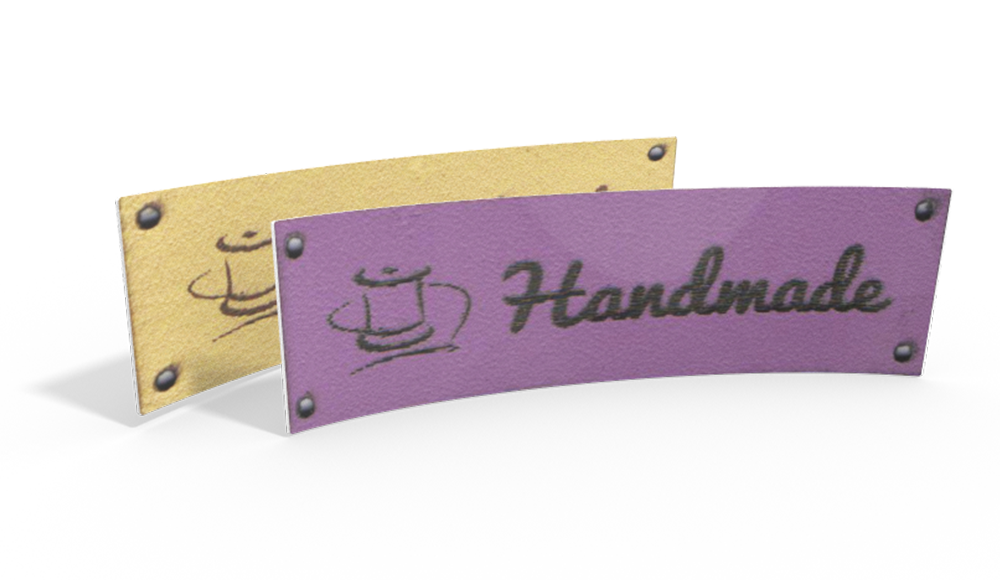
Last but not least: Sew on a Christmas handmade label from Wunderlabel! You can find a range of festive pre-designed products in our shop. Or just design your own personalized labels!
We hope you enjoyed learning how to sew a Christmas table runner. Did we inspire you? Will you sew our very easy table runner for your festive table? Show us what you made on Facebook and Instagram with #wunderlabel!
Don't miss these blog posts from Wunderlabel:
Sew a Christmas Table Runner - Free Tutorial
Festive tutorial on how to sew a Christmas tree
Do You want to save this idea for later?
Simply bookmark the link to this blog post or add it to your "Favorites" so that you can quickly find it in your browser later.
Here is how to save the tutorial:
- On your computer: Click on the asterisk or the three dots in the top right hand corner or on the book icon in the top left hand corner (depending on the browser you use).
- On your Android smartphone: Click on the three dots in the top right hand corner and then on the asterisk.
- On your iPhone: Click the book icon at the bottom and add the link to your bookmarks or book list.

