Swimming season is upon us! Whether you’re headed to the beach or going to dangle your toes in the pool, you’ll need a roomy bag to transport all your things. This quick and easy beach bag will have you toting your swimming essentials in style.
You will need
- ½ yard (0.5m) outer fabric
- ½ yard (0.5m) lining fabric (we used the same fabric for the lining and the outer)
- Interfacing – we used Vlieseline S320
- 2 ½ yards (2.5m) rope for the handles – try 1cm thick, or thicker if you prefer the look
- Four grommets with setting tools (check your rope fits through the grommets!)
- Thread to match your fabric
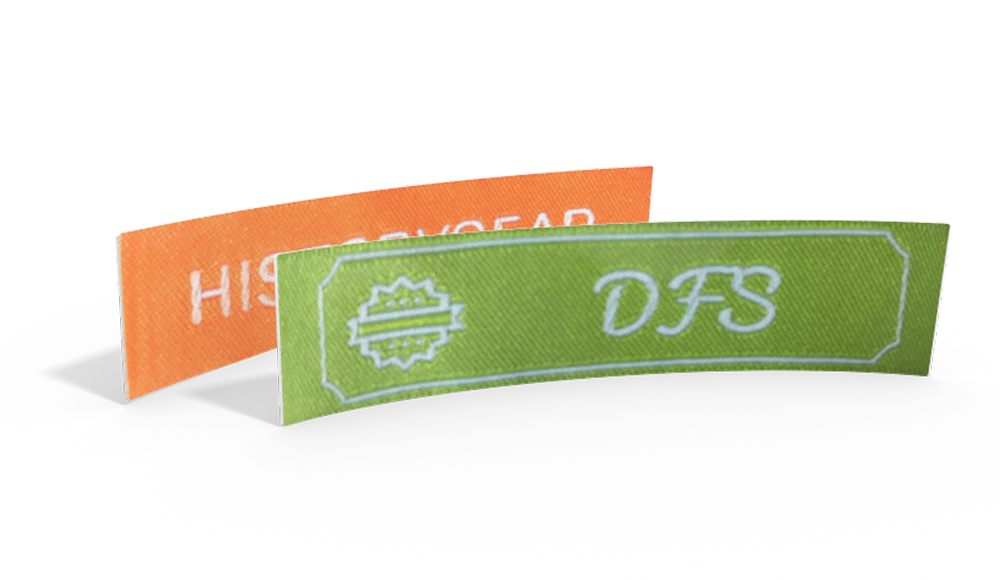
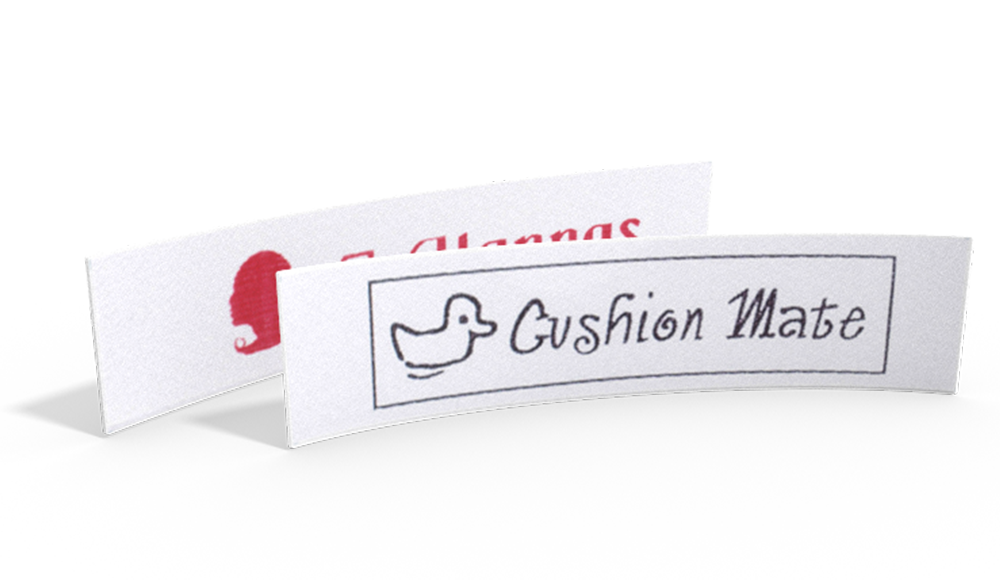
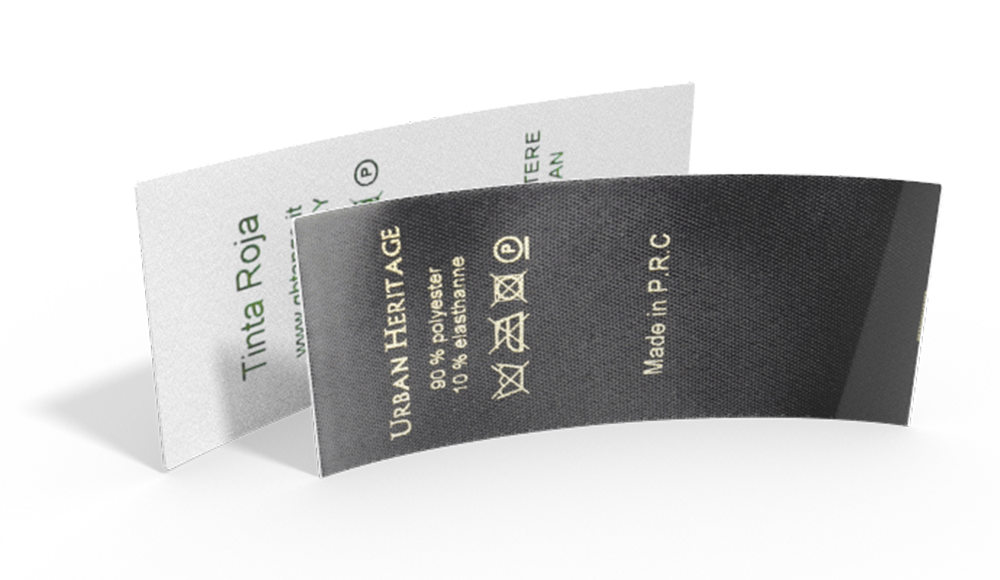
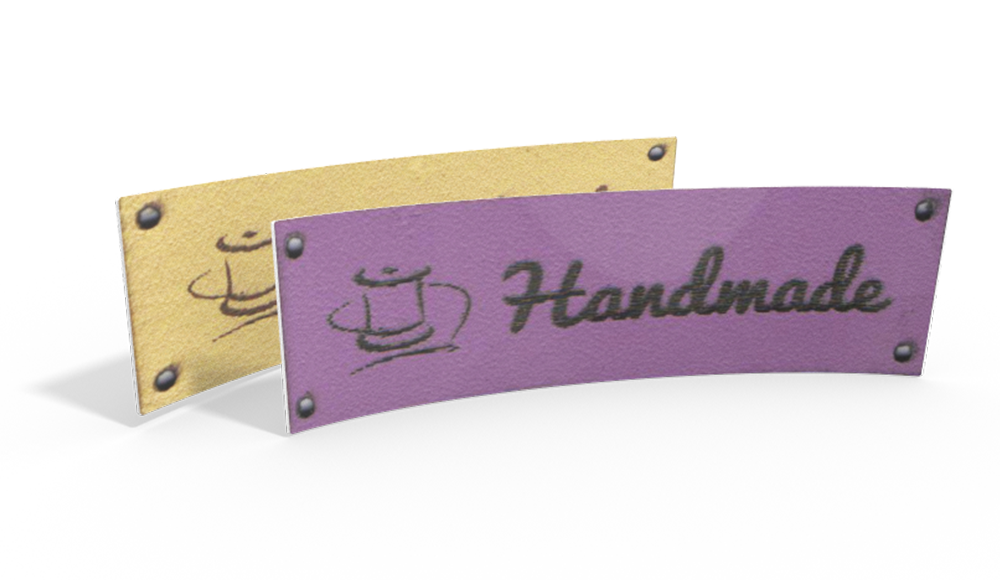
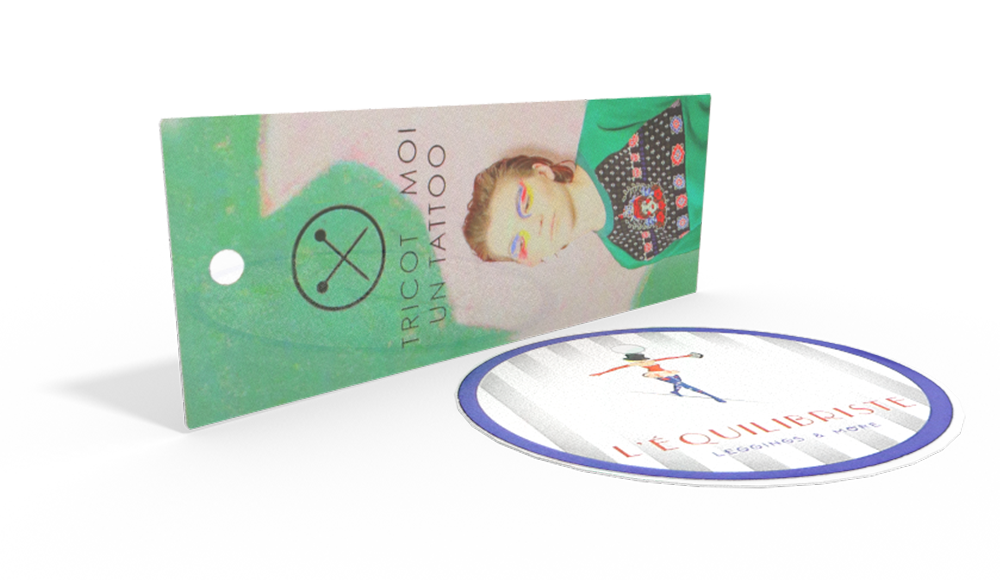
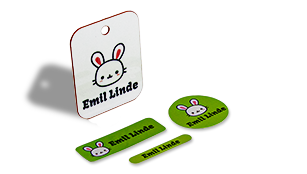
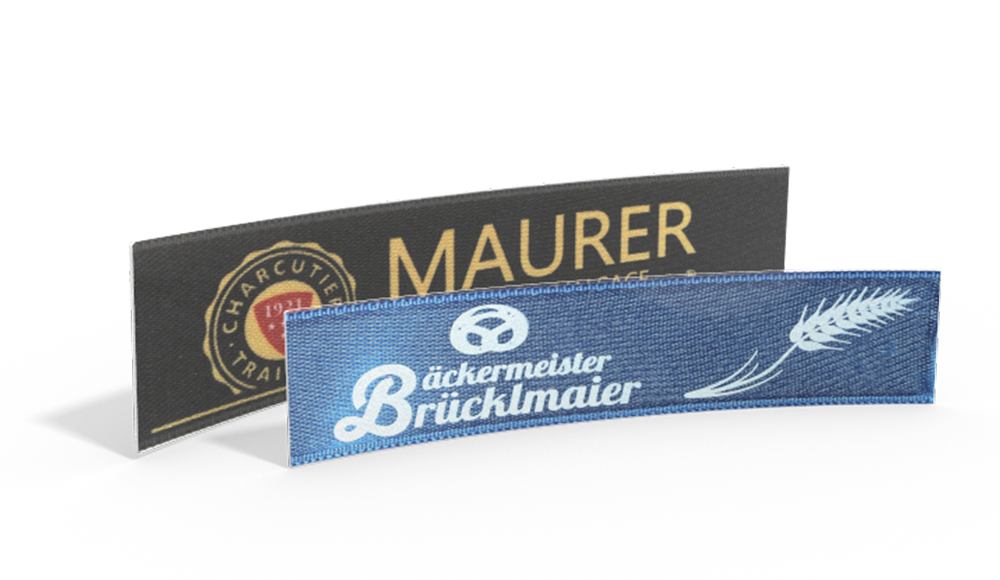
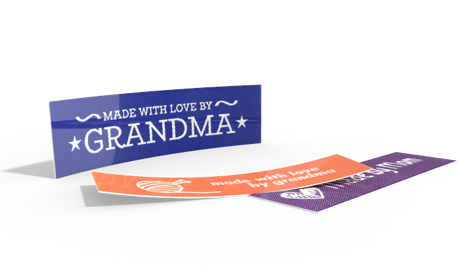
- pesonalized printed label
Finished dimensions: 15in x 19in (38x48cm)

Cut your fabric:
- (2) 16in x 20in (41x51cm) outer fabric
- (2) 16in x 20in (41x51cm) lining
- (2) strips of interfacing (we used Vlieseline S320) measuring 2in x 16in (5x41cm) to reinforce the grommet area.
If your fabrics aren’t directional, you can just cut one rectangle of 31in x 20in (80x51cm) from each fabric and skip the next step. Sew the short sides of the outer fabric wrong sides together with a ½in (1.25cm) seam allowance.

Make sure your fabric pieces are oriented correctly! Repeat with the lining fabric. Press the seams open.


Iron the interfacing strips onto the short edges of the outer bag, following the manufacturer’s instructions.

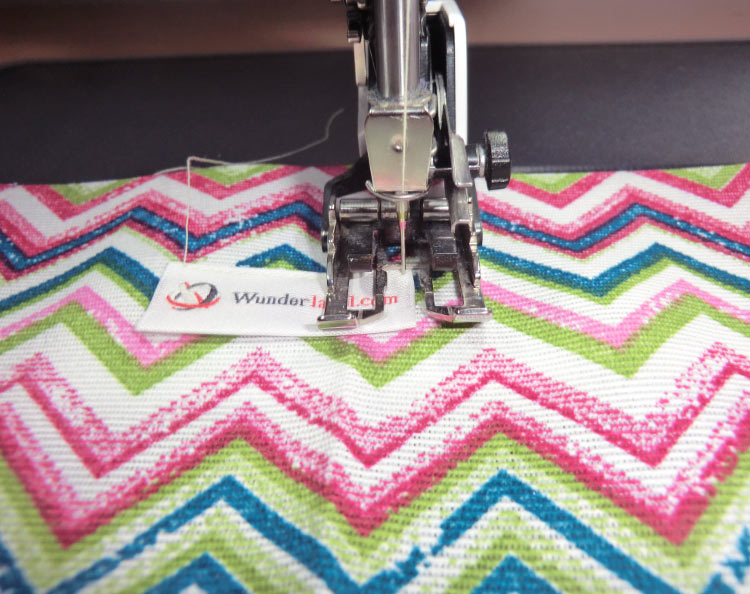
If adding a label, sew it on 1.5in (4cm) down from the centre top of the lining fabric, pivoting with the needle down at each corner.

Wonder tape is helpful to temporarily stop the label from shifting as you sew it on. You can either cut the thread ends off short or pull them to the wrong side of the fabric and tie them together.
Fold the outer fabric in half, short sides together and right sides together and sew up the long sides of the outer fabric, again with a ½in (1.25cm) seam allowance and backstitching at the top edge of the bag.

Repeat with lining fabric, but this time leave a 4in (10cm) hole in one side seam, backstitching before and after the hole. Press the seams open.

Now fold one corner of the project together so that the side seam matches the bottom seam and the corner makes a point (see picture below).

Sew a straight line across 2in (5cm) from the point, and trim off the corner, leaving a ½in (1.25cm) seam allowance (see picture). Repeat with the other corner, and with both corners of the lining fabric.


Turn the outer bag right way out and place inside the lining bag, so that the right sides are together. Pin the top edge together, matching the side seams, and sew together with a ½in (1.25cm) seam allowance.

Turn the bag the right way out through the hole in the lining fabric.

Press the bag and topstitch close to the top edge. You may find you need to roll the seam between your fingers to get it right to the edge of the bag – try to favour the outer bag slightly so that the lining is not seen when the bag is complete. Topstitching tends to look better if you lengthen your stitch length – 3.5-4 usually looks good.


Fold the seam allowance of the turning gap in and sew closed by hand using a ladder stitch, or machine stitch close to the edge with a matching thread.

Now we need to install the grommets for the handle. First, mark where your handle will attach to the bag – the centres of your holes need to be ¾in (2cm) down from the top of the bag. Find the top centre by folding the side seams together, then measure 3in (7.5cm) out on each side and mark a cross with chalk (or other marking tool). Repeat on both sides.


Use the tools provided with your grommets to punch holes of the appropriate size centred on the centre of your crosses.

Install the grommets using the tools provided.

The last step is to add the rope handles – cut two lengths of rope measuring 1¼yd (125cm) and thread the ends through the grommets. Tie a knot at each end (you can make the handles shorter if you prefer, just tie the knot further along and cut off the excess rope) and either burn the ends with a lighter (if using polyester rope) or just let them unravel. We left about 1in (2.5cm) of ours to unravel.


Do You want to save this idea for later?
Simply bookmark the link to this blog post or add it to your "Favorites" so that you can quickly find it in your browser later.
Here is how to save the tutorial:
- On your computer: Click on the asterisk or the three dots in the top right hand corner or on the book icon in the top left hand corner (depending on the browser you use).
- On your Android smartphone: Click on the three dots in the top right hand corner and then on the asterisk.
- On your iPhone: Click the book icon at the bottom and add the link to your bookmarks or book list.

