Sewing Tutorial: These simple book covers with customized leather label are quick and easy to make! They can be used to spruce up the look of your bookshelf, protect textbooks or just add some whimsy to books in your everyday life. Simply adjust the measurements to create a custom fit cover for any book, no matter the size. Let’s get started!
These book covers can be used to spruce up the look of your bookshelf!

You will need:
- Approximately 1/4yd (0.25m) of fabric (more if you’re covering a larger book than we did), or two matching fabrics if you want to piece the cover together
- Thread in a matching colour
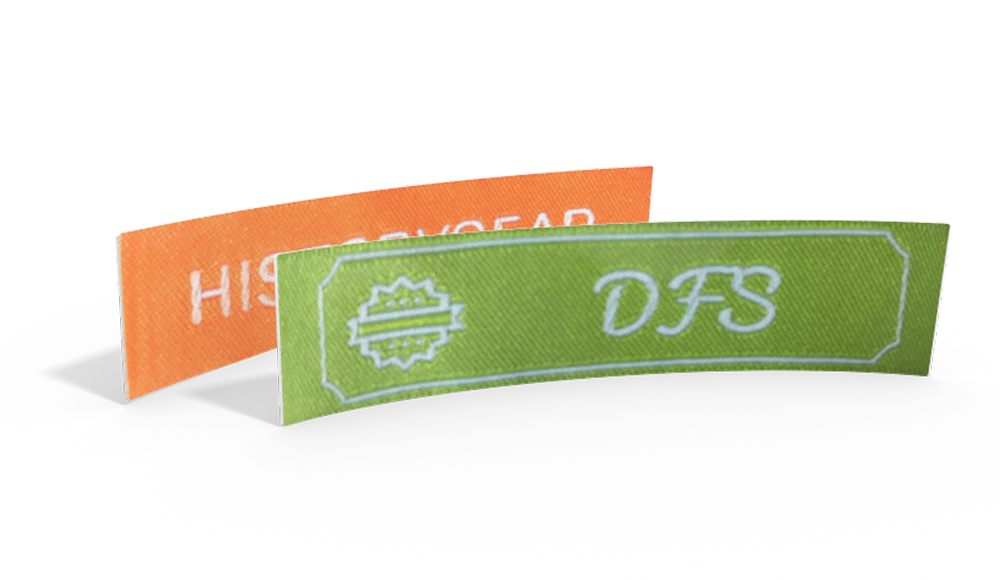
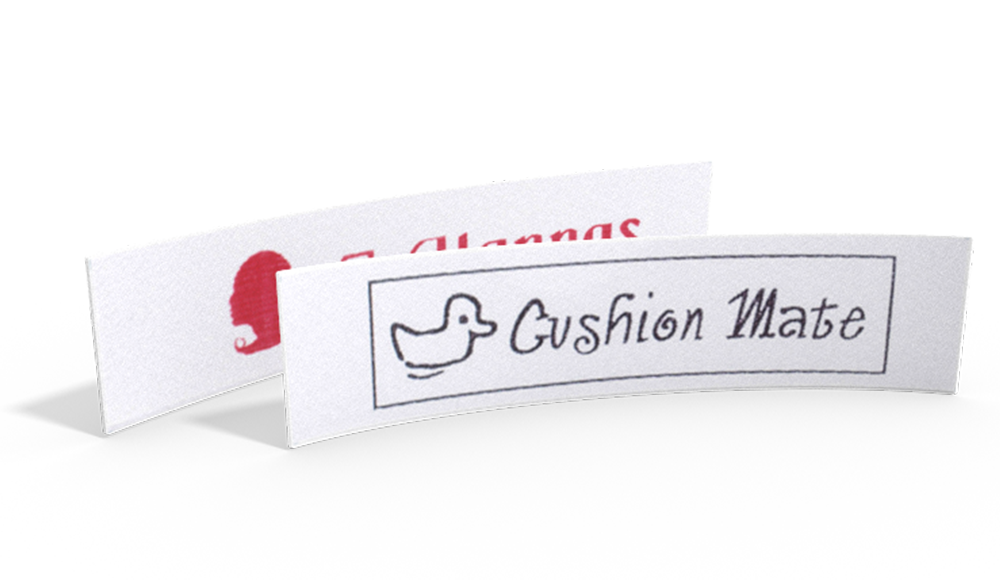
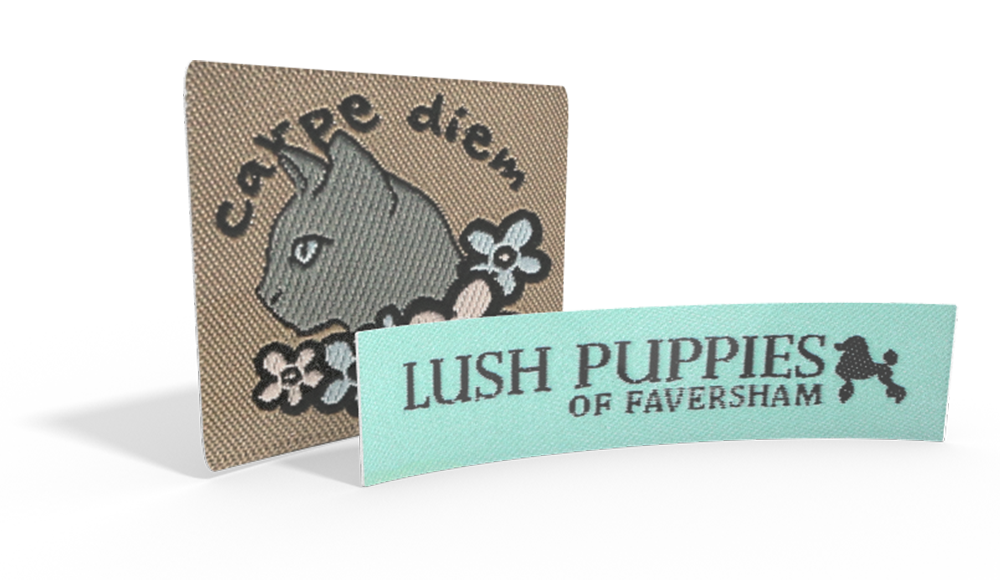
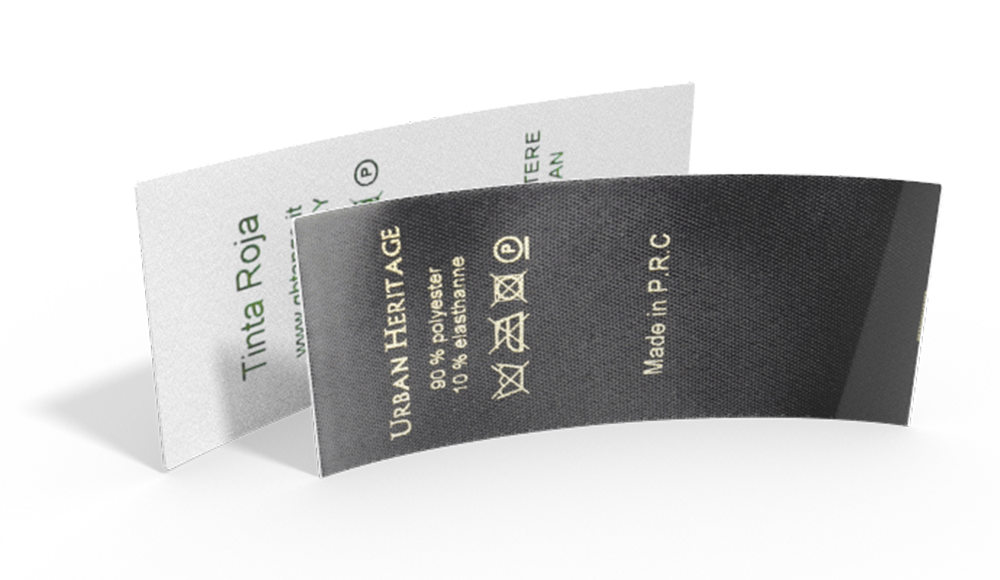
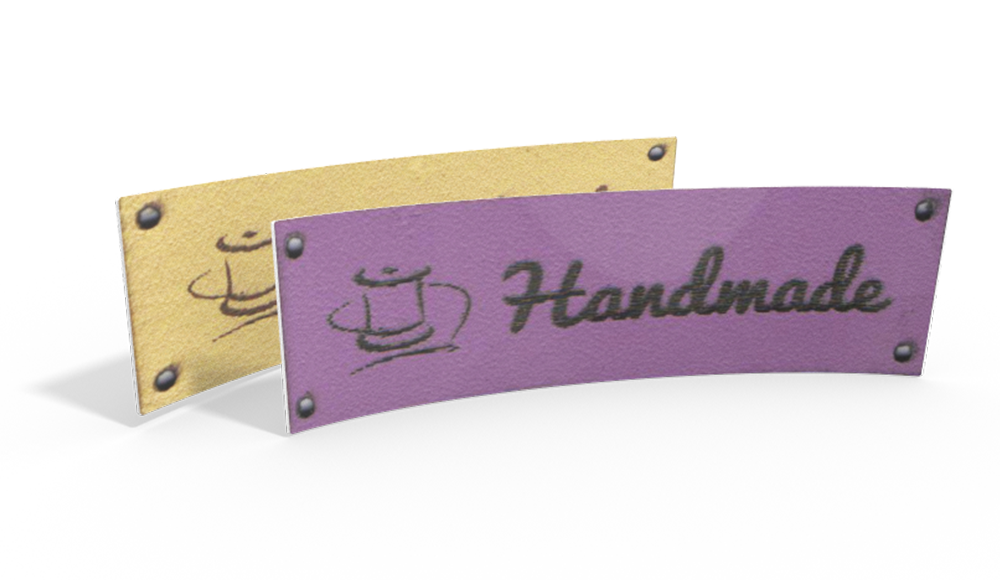
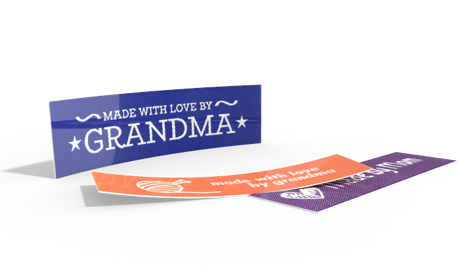
- Customized leather labels
Finished dimensions:
- Ours ended up at roughly 9in by 12.5in (22.5cm by 31.5cm)
Cut your fabric – a centre strip from one fabric and two end pieces from the other, all measuring 7in by 12in (18cm by 30cm), or a single piece measuring 18.5in by 12in (47cm by 29cm) if using just one fabric. In this case, you can skip the next step. Make sure the pattern will be the right way up when you’re finished!
Sew one of the end pieces to the centre piece along the long side with right sides together, using a 0.25in (0.75cm) seam allowance. Press the seam towards the darker coloured fabric and repeat the process with the second end piece on the other side of the centre piece.


Create your top and bottom hems by pressing each long side towards the wrong side of the fabric by 0.5in (1.25cm).

Stitch along your hem close to the edge to secure it.

Create the end hems by pressing each short side towards the wrong side of the fabric by 0.5in (1.25cm).

Stitch along your hem close to the edge to secure it.

Next, make the flaps for the covers of your book to slip into. Lay the book out flat, centred on your book cover with the right side of the book cover facing upwards.

You may find it helpful to finger-press the top centre and bottom centre of the cover. Fold the short ends over and pin/clip them together.


Mark the stitching lines at the top and bottom – you want to give the book a little room to move
(so that you can slide it into the cover easily) but not so much that it’s going to fall out!

Take the book out and stitch along your lines, backstitching at the ends of the lines.

Turn the book cover the right way out and press it carefully, making sure that the top and bottom edges are nice and straight.

Sew on the leather label.

Add your book and you’re all done!
Seamstress: Emma Lorenz
Do You want to save this idea for later?
Simply bookmark the link to this blog post or add it to your "Favorites" so that you can quickly find it in your browser later.
Here is how to save the tutorial:
- On your computer: Click on the asterisk or the three dots in the top right hand corner or on the book icon in the top left hand corner (depending on the browser you use).
- On your Android smartphone: Click on the three dots in the top right hand corner and then on the asterisk.
- On your iPhone: Click the book icon at the bottom and add the link to your bookmarks or book list.

