Halloween is a highlight for children worldwide: The combination of costumes, spooky decorations and candy is simply unbeatable! The shops are full of pumpkins, spider webs and skeletons months in advance. But something homemade is always nicer, right? In our free tutorial, we show you how to crochet a trick or treat bag: The pumpkin shape of the crocheted Halloween bag goes with any costume and is, of course, perfect for storing the collected treats!
What kind of yarn is best for crocheting a bag?
The type of yarn is dependent on what the crochet bag will be used for. For a children’s bag cotton yarn is a good option.
What size should a crochet trick or treat bag be?
For toddlers a bag with a width of approx. 8” (20 cm) is sufficient. For older children we recommend crocheting a bag that measures approx. 14” x 8 ½” (36 x 22 cm).
You will need the following for your trick or treat bag:
- 2 x 50 g (125 yards) of cotton yarn (orange and black)
-A crochet hook size 2.5 to 3.5
-Black and orange felt
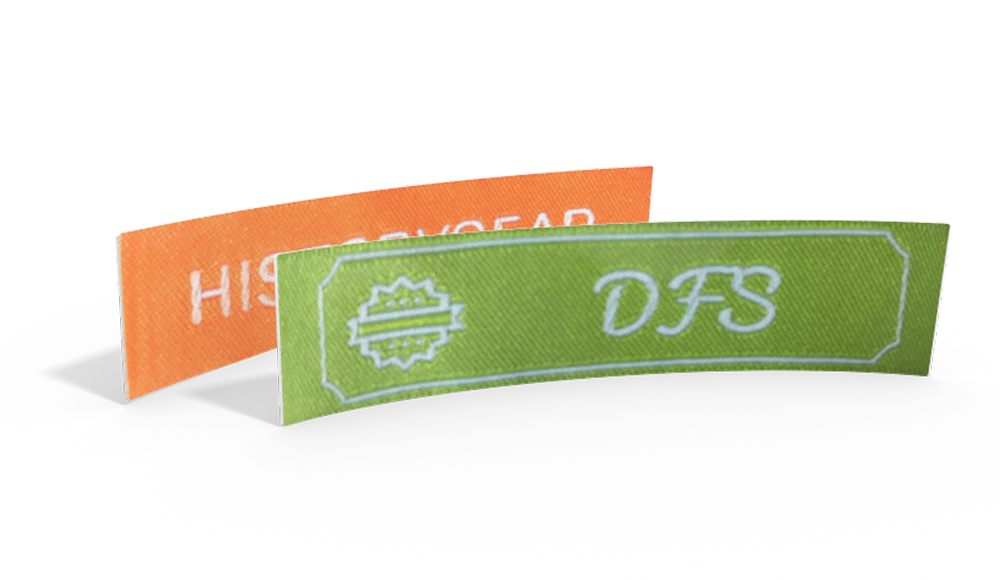
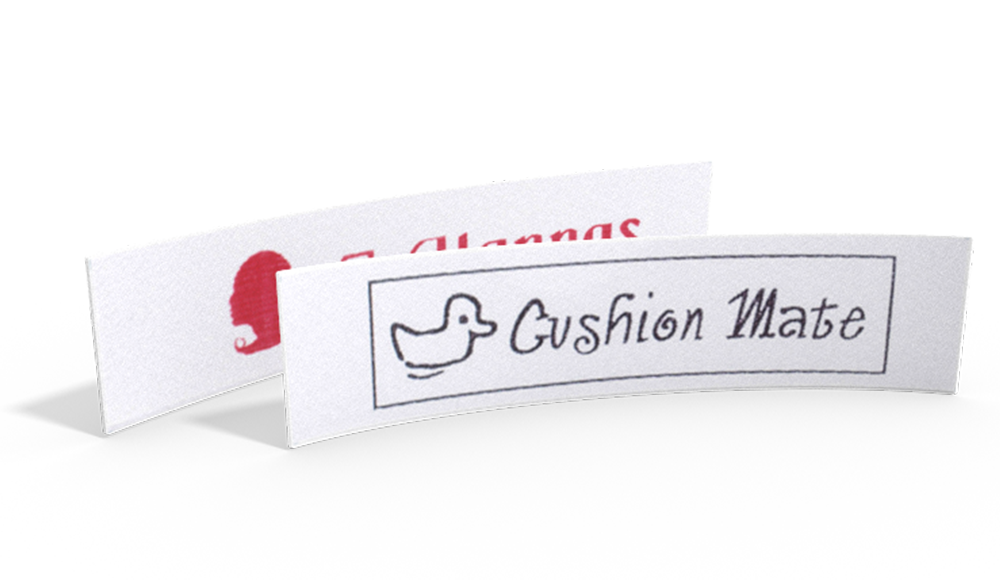
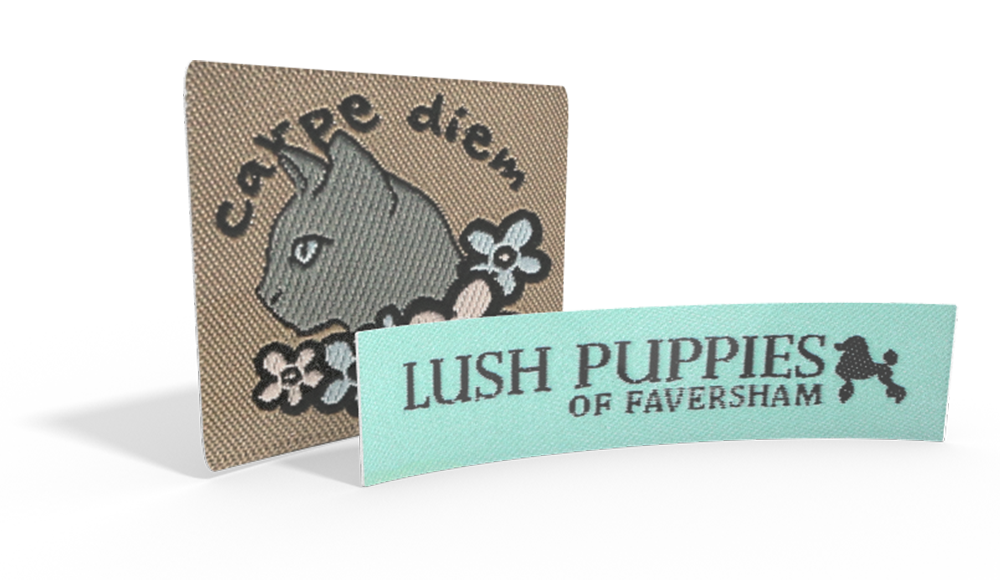
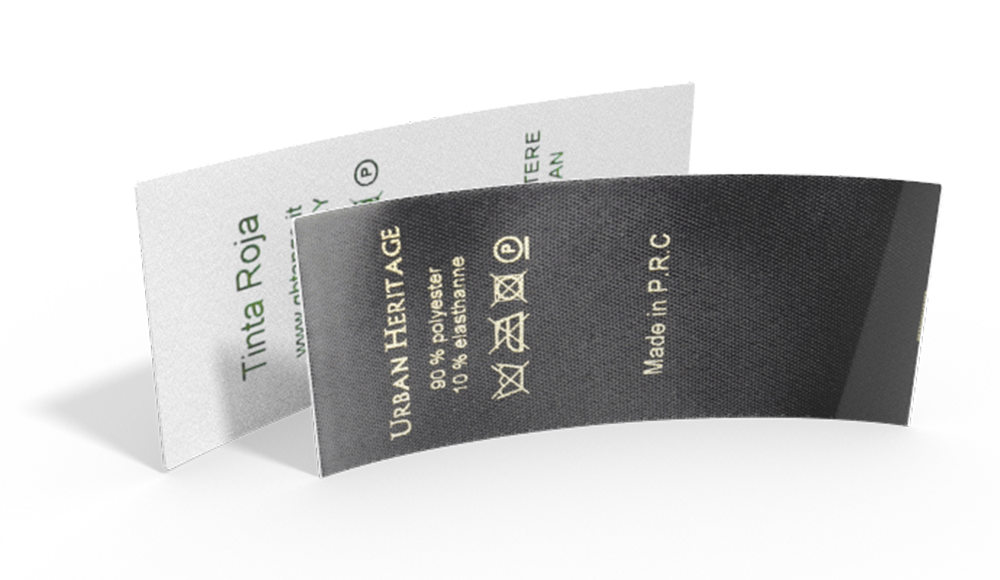
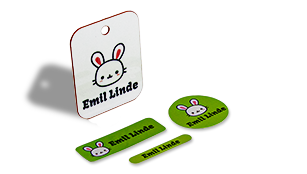
-A custom name label
Abbreviations:
ch = chain stitch
dc = double crochet
ss = slip stitch
htr = I = half treble
Increase = V stitch = V-st (work 2 stitches into the same chain stitch)

Instructions for crocheting your Halloween bag:
1. In this tutorial we will be showing you how to crochet a trick or treat bag.
Start off with a magic circle (also called magic ring).


2. Work 8 double crochet stitches onto the circle. Then pull the thread to close the ring.

3. ch 2. V stitch in every chain stitch (8 stitches), ss to finish the first round, make sure the stitches are not too tight in any of the rounds.

4. Round 2: *ch 2, V-st, htr, V-st, htr,…*, ss to finish the round

5. Round 3: *ch 2, V-st, htr 2, V-st, htr 2, V-st, htr 2, …*, ss to finish the round
Continue working this pattern by alternating V stitches and half treble stitches. The half treble stitches keep increasing on each round (htr 3, htr 4 and so on) until you have built up to *V-st, htr 10, V-st,...*. Be aware that the rounds don’t always end evenly so there might be less treble crochet stitches when the round finishes.

6. Now it’s time to crochet the handle. dc 10 where you want the bag opening to be and then ch 1 to turn the work around.
7. dc 20, ch 1, turn, dc 20, ch 1, turn, dc 20, ch 1 and turn the work around one more time.
8. ch 25 and attach the chain to the other end with a ss.

9. ch 1, dc 25, repeat this five more times.

10. ch 1, turn the work around and stitch the handle together with a ss.

11. Do exactly the same for the other half of the bag using the black yarn. Place the two pieces wrong sides together and stitch them together with slip stitches using the black yarn, leaving an opening where the handles are.


12. Cut out felt shapes for the face of the pumpkin and glue them on.

13. Sew on your custom label with your text and a Halloween symbol.

All done!
Do You want to save this idea for later?
Simply bookmark the link to this blog post or add it to your "Favorites" so that you can quickly find it in your browser later.
Here is how to save the tutorial:
- On your computer: Click on the asterisk or the three dots in the top right hand corner or on the book icon in the top left hand corner (depending on the browser you use).
- On your Android smartphone: Click on the three dots in the top right hand corner and then on the asterisk.
- On your iPhone: Click the book icon at the bottom and add the link to your bookmarks or book list.

