Is the sewing room, bathroom or playroom messy again? Then you need a hanging storage bag to keep everything tidy! Consider sewing several storage bags at once: You will most likely end up using all of them. Follow the simple steps in our free tutorial to sew your wall hanging storage bag. These “bubble pods” are round with a higher back and shorter front. They measure approximately 24 x 29 cm.
How big is the ideal hanging storage bag?
The ideal hanging storage bag should measure approximately 24 x 29 cm. But feel free to adapt the pattern to achieve custom measurements.
What type of interfacing should you use for a wall hanging storage bag?
A thicker interfacing fabric can help make the wall hanging storage bag more sturdy. Sew the interfacing in with the fabric. Alternatively, you can use an iron-on interfacing and iron it onto the fabric.
You will need the following for your hanging storage bag:
- Patterned cotton fabric 1, 60 x 100 cm
- Patterned cotton fabric 2, 60 x 100 cm
- Thin polyester fabric (bias tape) for the hanging loop and the edges, 5 x 50 cm und 5 x 30 cm
- Interfacing, 50 x 50 cm
- Matching sewing thread
- Pattern for hanging storage bag download (without 1 cm seam allowance), pdf
- Your own custom label
Instructions
1. You will need a pattern to sew a round hanging storage bag. Start by printing out the pattern. Do not scale the printout, just print at 100%. The pattern does not include a seam allowance (+ 1 cm).
The side pieces of the storage bag are cut on the fold.
Then cut the fabrics to size as follows:
- 2 x circles (each with a 21 cm diameter + seam allowance of 1 cm )
- 2 side pieces of both fabrics (pattern: bottom 67 cm, top 62 cm. Height: 27 cm at the sides/ 18 cm in the middle)
- 2 side pieces of interfacing material to match the patterned fabric
- 2 circles of interfacing material aus Vlieseline (21 cm diameter + seam allowance of 1 cm )
- 1 x 5 x 16 cm strip of polyester fabric for the hanging loop
- 1 x polyester fabric strip for the edges (bias tape / binding)

2. Pin each fabric bottom circle in place and topstitch together with the interfacing.

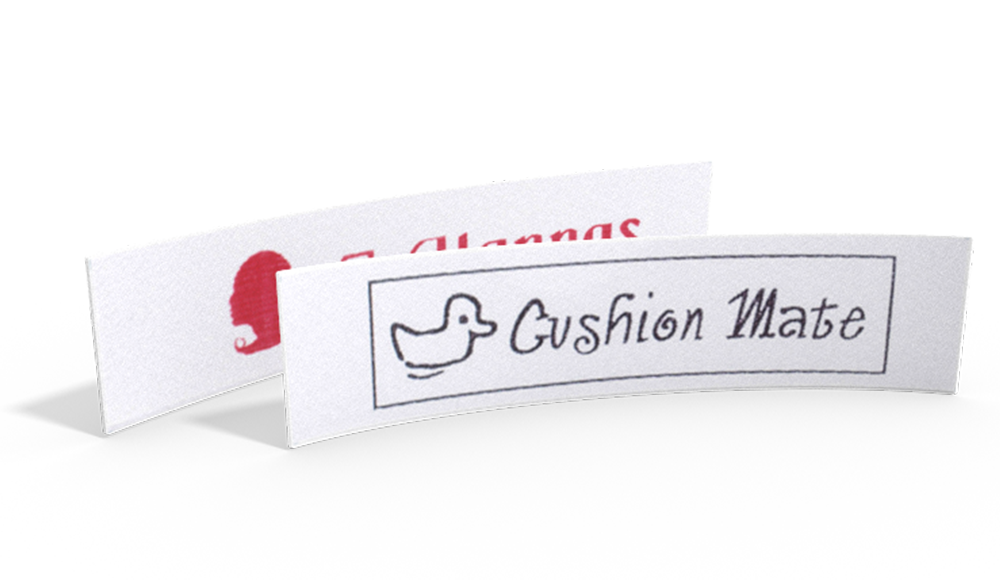
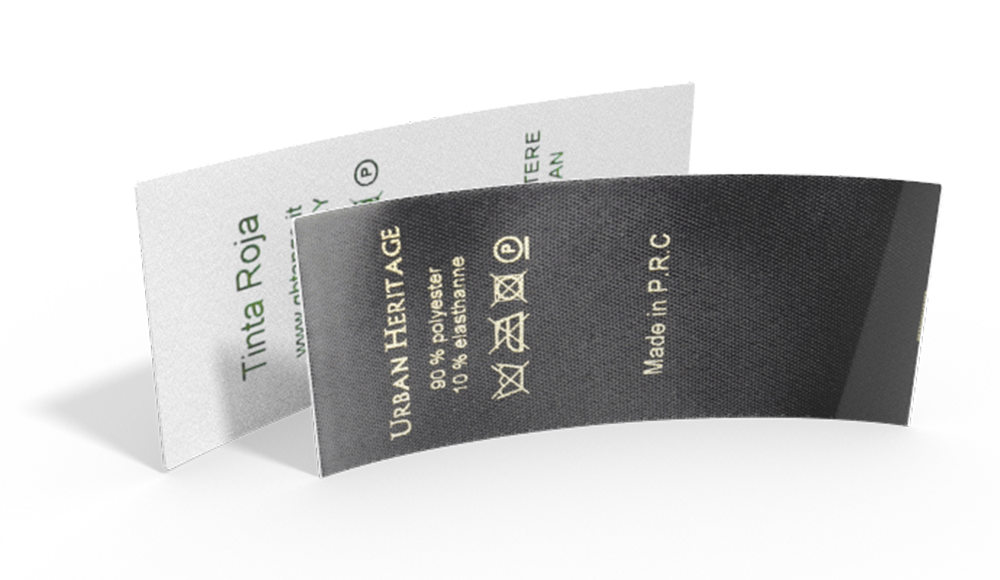
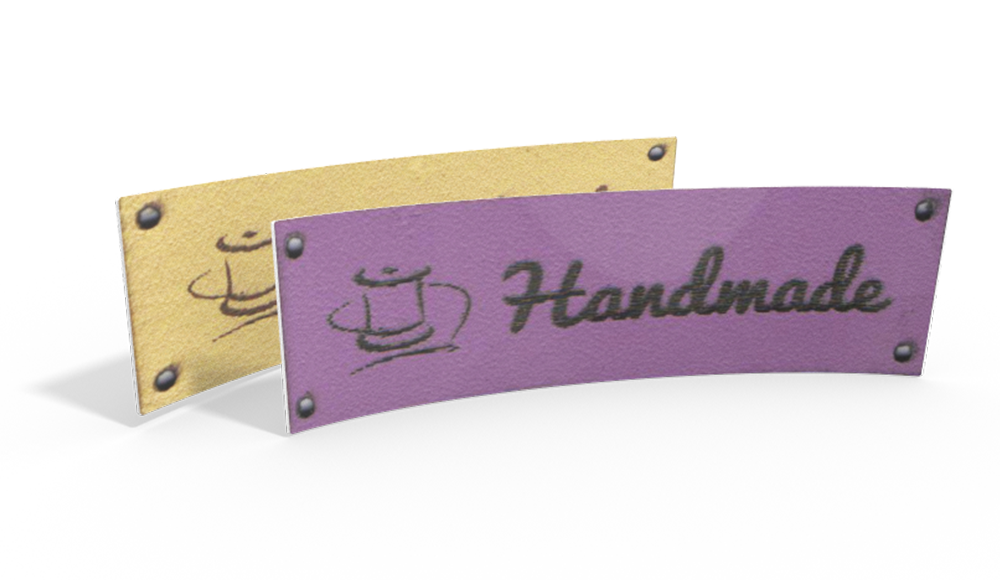
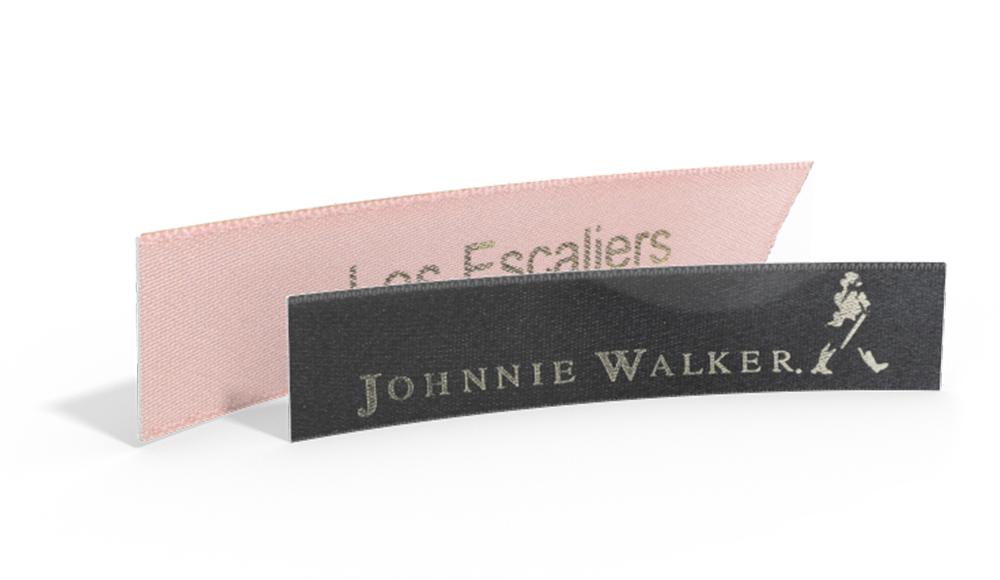
3. Sew your personalized melange woven label onto the inner fabric (on the longer edge).


4. Topstitch the side pieces together ( 3 x horizontally and 7 x vertically).

Pick up the opened seam allowances and secure them with a 5 mm gap on the right and left so that two seams are formed next to each other.
This step gives your hanging storage bag stability and shape.

5. Proceed to make the loop (16 cm): Fold both edges towards the center by 1.5 cm, iron in place and sew together with a zigzag stitch.

Fold the ends of the loops 1.5 cm to the right and left and then sew them on. This prevents the edge of the strap from fraying and makes the basket more sturdy when hanging it up or carrying it.

6. Mark the bottom and the storage bag wall in 4 equal parts with chalk and pin them together. Align the markings so that both elements, the bottom and the outer wall, match up.
Pin the side fabric pieces together with their respective bottom patterns (motif 1 to motif 1, motif 2 to motif 2) so that there are two bags (an inner bag and an outer bag).

Repeat the process for the inner part.
Slightly cut into the seam allowance on the bottom piece and side all the way around to the seam, making sure to space the cuts out evenly. This gives a nice round shape and makes sewing easier.

7. Put the inner bag into the outer bag. The seams of the two bags should lie against each other on the longer side.
Pin the two bags together evenly, measure the edge and cut off any protruding filling. If you wish, you can make the low side a little flatter at this point.

Bind the top edge with polyester bias tape using zigzag stitches.

This results in an optically pleasing result with elastic stitching. And it also allows you to fold the edge over and show off both fabrics.

Your wall hanging storage bag is done!
Do You want to save this idea for later?
Simply bookmark the link to this blog post or add it to your "Favorites" so that you can quickly find it in your browser later.
Here is how to save the tutorial:
- On your computer: Click on the asterisk or the three dots in the top right hand corner or on the book icon in the top left hand corner (depending on the browser you use).
- On your Android smartphone: Click on the three dots in the top right hand corner and then on the asterisk.
- On your iPhone: Click the book icon at the bottom and add the link to your bookmarks or book list.

