Is the kid’s room messy with toys again? We have a great solution for you! What if you could tidy up all the dolls, stuffed animals and building sets in one go and make it fun for the kids too?
If you think that it’s impossible then we are about to prove you wrong. With just some colorful fabric, some cord and our free sewing tutorial you can make a child-friendly round drawstring toy storage bag. Place the toys in the middle, draw the cord tight and make the mess disappear! The diameter of the toy bag measures 90 cm.
You will need the following for this toy bag tutorial:
- 1m fabric for the outside
- Interfacing fabric - if you use normal cotton for the outside, your fabric will need some reinforcement, e.g. Vlieseline G700. If you use a stronger fabric (e.g. oilcloth), you can simply leave out the fleece.
- 1.1 m (about 1 yard) fabric for the inside and drawstring
- 3.5 m cord
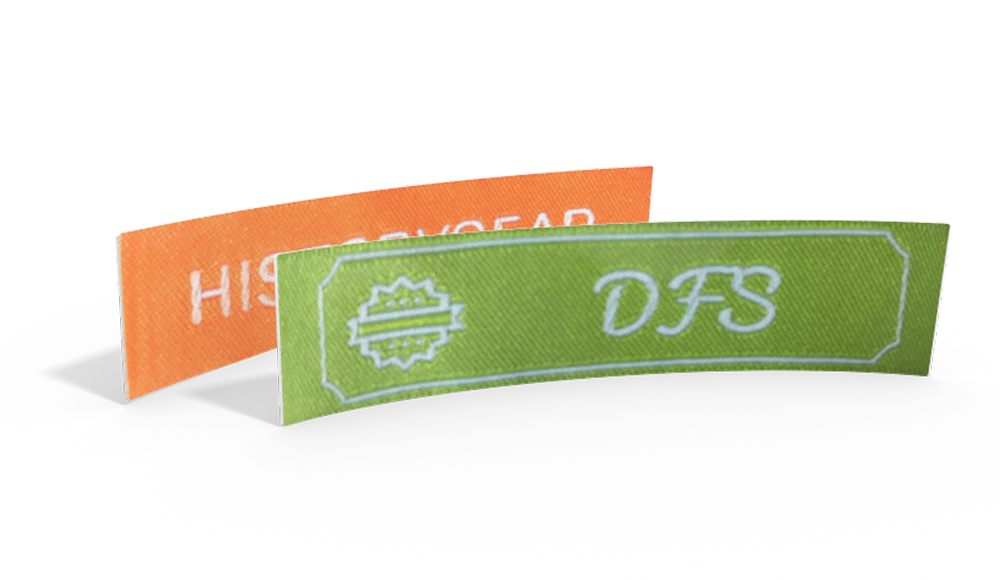
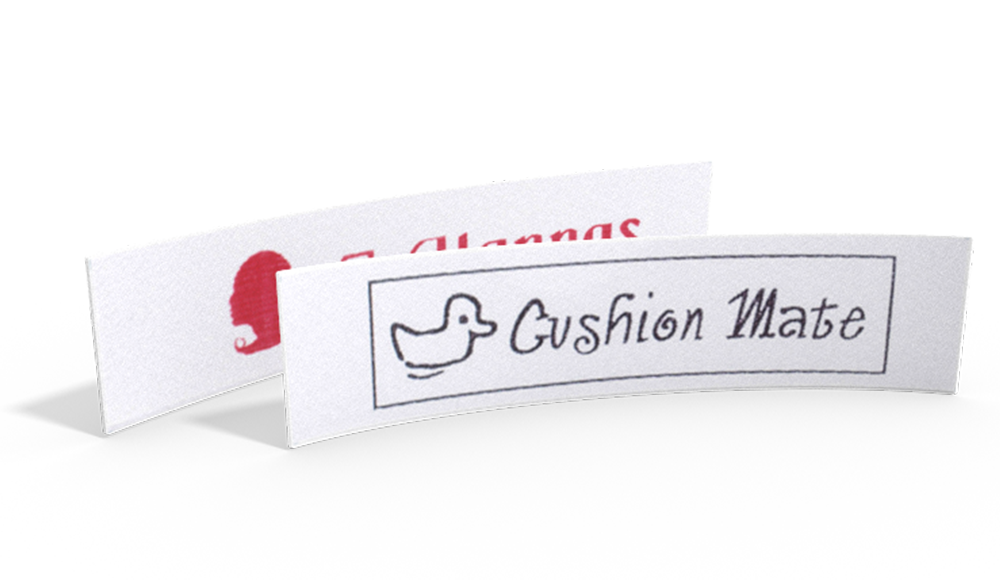
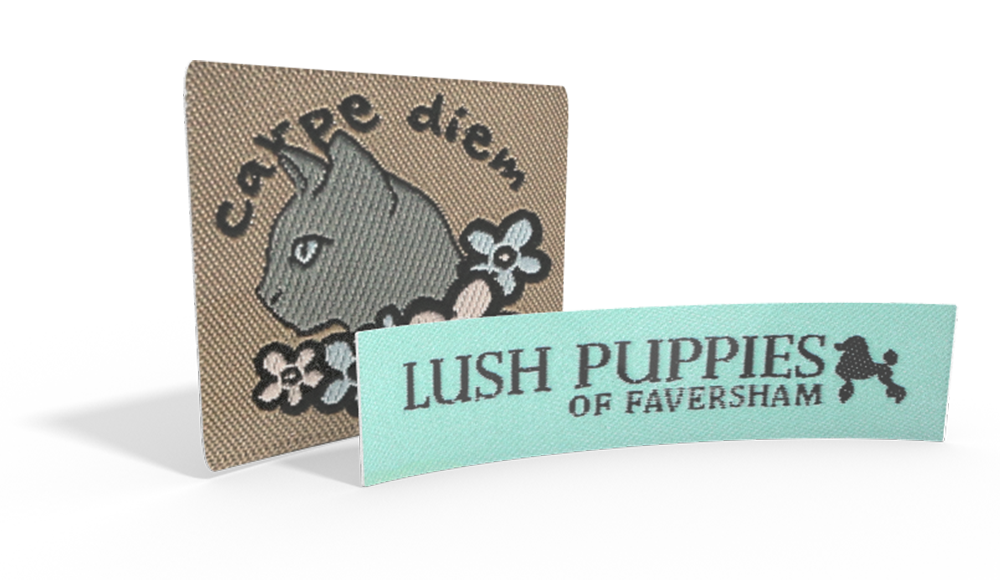
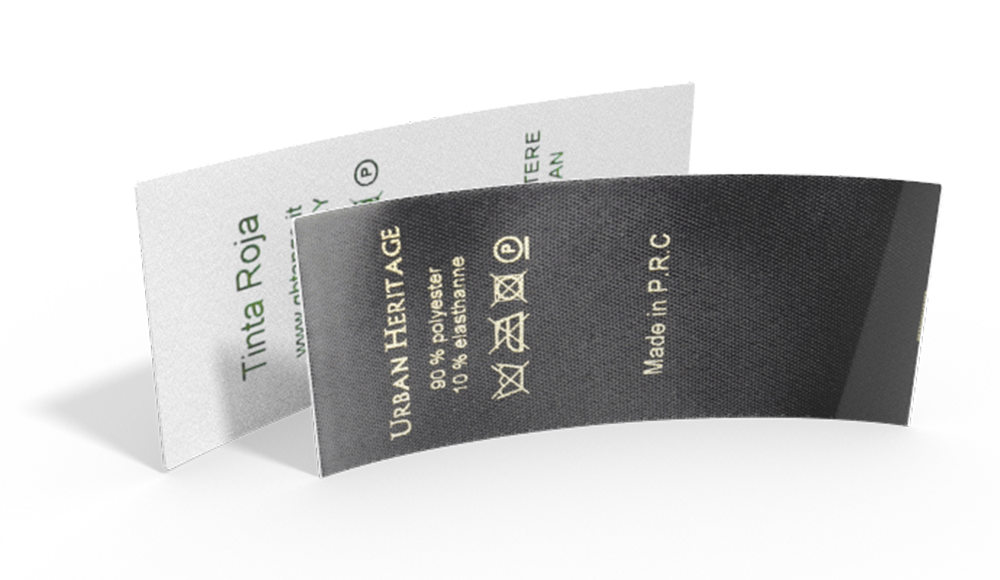
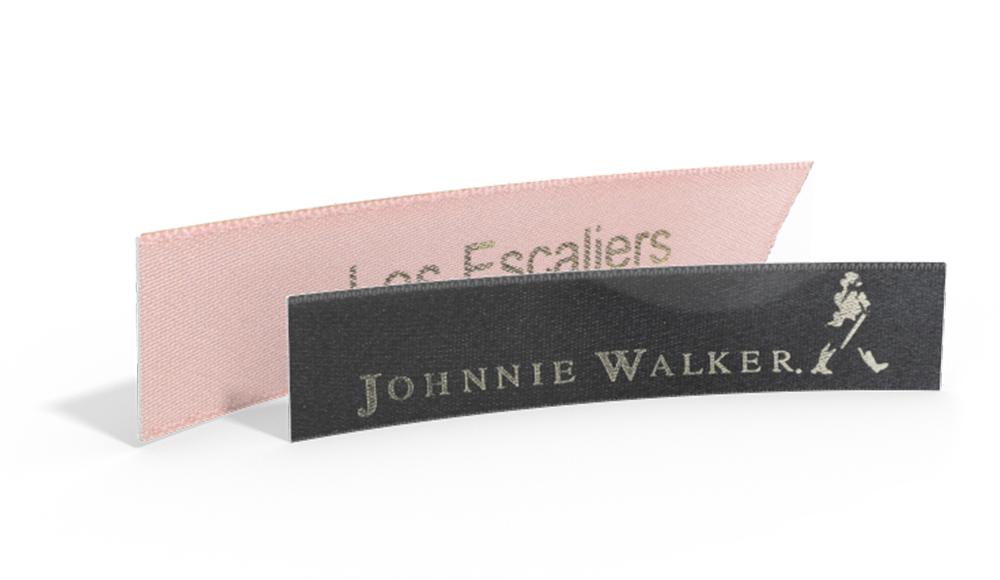
- Your own custom woven label from Wunderlabel
Let’s get started!
First cut your fabrics.
You will need:
- 4 pieces of lining fabric, each 10 x 40 cm.
- One circle of each fabric with a diameter of 90 cm (also of the interfacing if applicable).
Cutting out circles is easy: Fold your fabric into quarters and attach a 45 cm long thread to the corner, which you now use as a "compass" to cut a curve. Then cut along the curve through the 4 layers of fabric and you will end up with a round piece of fabric.
If you are using interfacing fabric, iron it onto the inside of the outer fabric according to the manufacturer's instructions.

Next, prepare the drawstring. Fold the short sides of your rectangles inwards twice by 1 cm. Iron everything smooth and topstitch close to the edge. Repeat the whole process 4 times.


Fold the rectangles in half lengthwise and pin them to the edges of the outer fabric. Make sure that the spacing is even - you can use the fold lines as a guide. Sew everything in place with a seam allowance of just under 0.75 cm.

Place the inner fabric right sides together on the outer fabric and pin in place with clips or pins. Sew all around with a seam allowance of 0.75 cm. Don't forget to leave an opening of about 10 cm to turn your fabric at the end.

Turn your toy bag through the opening and iron it. Make sure that the seam allowance at the turn opening is ironed inwards. Topstitch all around, closing the opening.

Now all you have to do is thread the cord through the drawstring with a safety pin. Knot both ends together and your new toy storage bag is ready to be used!

To complete your project, you can sew or iron on a name woven label. You can learn which fabric to choose for your labels in the post "What Fabrics Do Woven Labels Use?"
Tipp: Opt for woven labels with texture that enhance the value of the clothing pieces.


